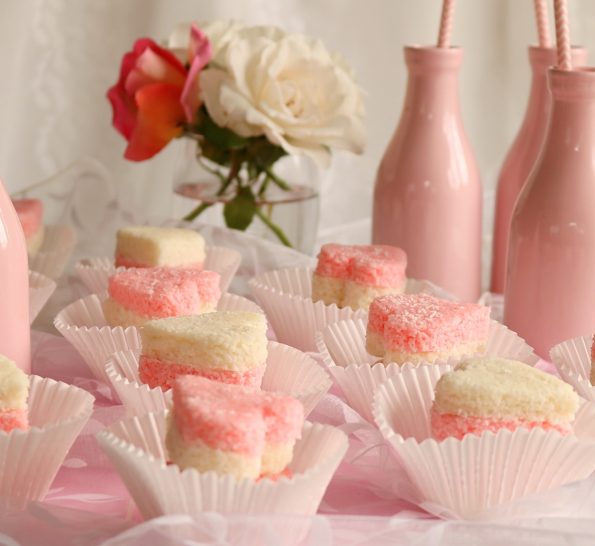
I’m really sorry this is late for Valentine’s Day! I had good intentions, I did, but I’m just a hopeless case, never on time. I’m often late, late for appointments, late for work. I’m either late or running right to the second. I can make it to things in the afternoon on time (not early, that’s stretching it) but being on time in the mornings is just too much for me. I literally don’t feel like a living and breathing human being until around 10 am and only then after consuming at least 17 cups of strong, black coffee. I’ve given up fighting it, trying to change, I’m a night owl through and through and I hope my funeral isn’t in the morning cos I won’t be showing up to that in time either. About the only thing I show up early for is the dinner table! So please just accept my feeble reasoning that it’s not late but nearly 12 months early!
Luckily for me, these little hearts are super cute for any time of the year, kid’s birthday parties, a baking gift and of course I’ve pretty much seen it sold in little bags at fetes, galas and fairs since I was a little girl. Just like fudge, it’s perfect for fairs because it has a long life so you can make and bag it days ahead.
Coconut Ice, as well as a lot of our Australian baking recipes, originated in England and was traditionally made by making a sugar syrup and then adding coconut. There is a boiled fudge-like version also that’s really good. This recipe is a ‘no cooking involved’ condensed milk version and is perfect for these hearts because I wanted to use a cutter rather than just cut it into squares. I also needed to remould all of the scraps and keep cutting out my hearts until the mix was all used up. I couldn’t do that with the ‘fudgy’ version because you wouldn’t be able to use the cuttings again (except to eat them) resulting in not so many hearts to give away.
I’m not sure how my little mind had the idea to make coconut ice hearts but I’m pleased it did because they are adorable and they made such cute pics…..I just heart them! 🙂 It does have a ton of sugar so is really just a special treat, not something you would whip up on a weekly basis. I have made the mix in two parts as I wanted the white section to taste different to the pink section whereas most just flavour the whole mixture, usually with lemon juice or vanilla. So I added vanilla essence to half and then red colouring to the other half but also raspberry essence because Dame Alison Holst did and she is my Queen so I must do it too and it tastes soooo nice! Vanilla and raspberry are of course lovely together and flavours that I think suit Valentine’s Day. 🙂
INGREDIENTS
1 x 395 g / 14 oz tin condensed milk
¼ teaspoon vanilla essence
¼ teaspoon raspberry essence
2 drops red food colouring
4 cups & 1 tablespoon desiccated coconut
2 cups icing sugar
makes x 24
Notes
- If you only have shredded coconut I advise against using it, as the pieces are quite large so the mixture won’t blend together as well and maybe a bit crumbly. Also, the heart shapes won’t be as tidy because they will have threads of coconut protruding from them, making them look messy!!
- For this recipe, I used vanilla essence that also contains the seeds but of course, just normal essence or extract is fine.
- The heart-shaped cutter I used is quite small. These are super sweet so smaller pieces rather than large (I think) are the way to go. Also, smaller ones are easier to bag up for gifts. In saying that…..a big coconut ice heart could be awesome! My cutter measures 4 ½ cm / 1 ¾ in across at its widest point and from the bottom to the top of the centre of the heart is 4 cm / 1 ½ in.
STEP BY STEP
First, you need two medium sized bowls because for these hearts we’ll be making two mixes, a vanilla flavoured one and a raspberry flavoured one.
Place half of the condensed milk in each bowl (that’s ½ cup plus 2 tablespoons).
Then into one bowl place the vanilla essence, stir it in well and then leave it aside.
In the other bowl place the raspberry essence and the red colouring and mix that together too.
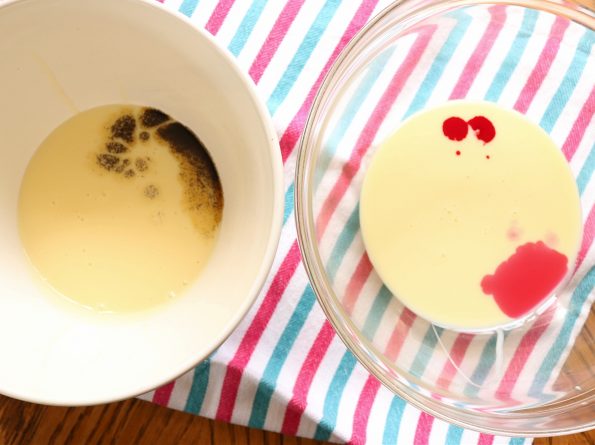
Next, to the vanilla bowl add 2 cups of the coconut and 1 cup of the icing sugar.and…
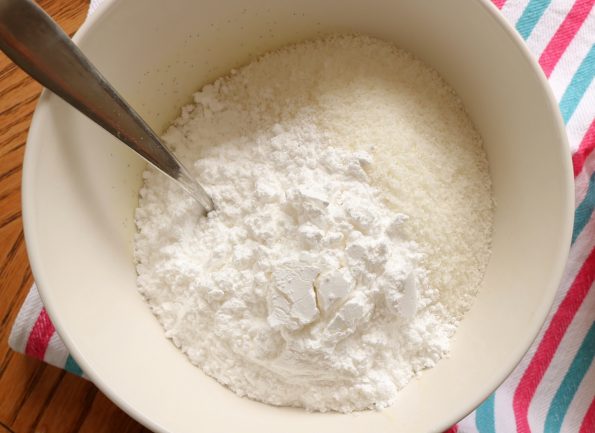
…..add the same to the raspberry mix, so the remaining 2 cups of coconut and the last cup of icing sugar.
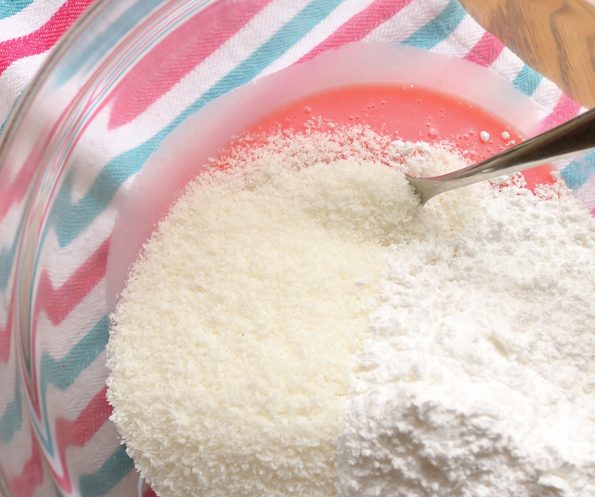
In their separate bowls mix them thoroughly together. It’s a bit of a ‘mish’ but you’ll get there!
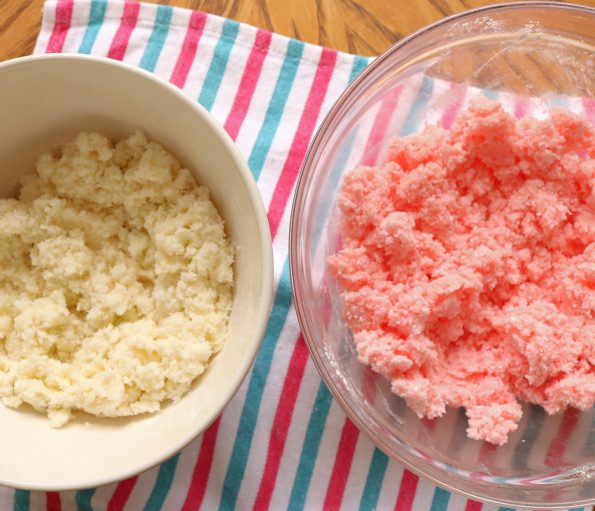
Sprinkle a small amount of icing sugar onto a clean bench and place the raspberry mix out onto the bench.
Mould and flatten it with your clean baker’s hands to get it as flat as possible and then use a metal spatula or the bottom of a flat cup or glass to make it as even as possible. It needs to be approx 1 ½ cm high (just over ½ an inch).
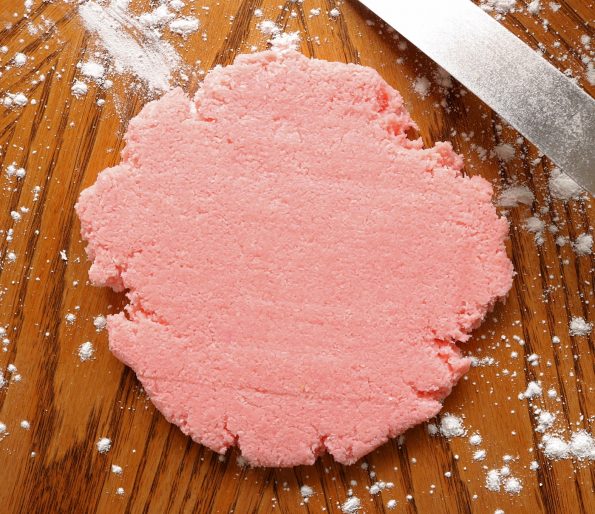
Cut out as many sweet little hearts as you can and…..
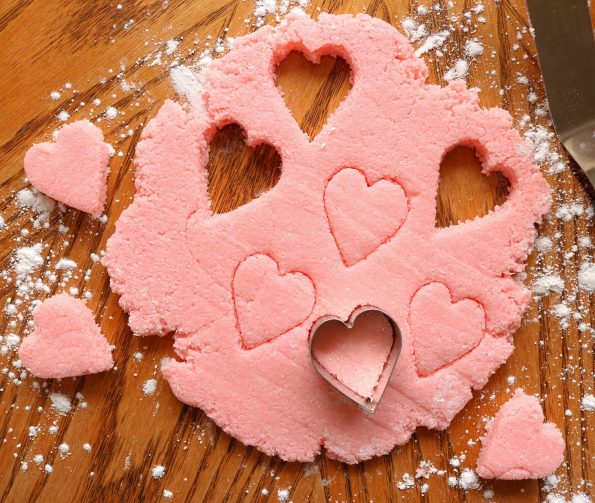
….then re-mould the scraps and keep cutting them out until it is all used up.
- You need to work as quickly as possible here because it starts to dry out.
Now give the bench a wipe and scatter some more icing sugar around and repeat the pressing out and cutting of the vanilla mixture.
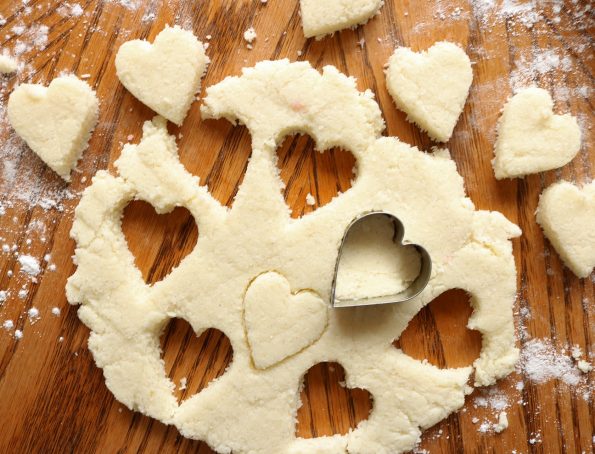
Sprinkle the extra tablespoon of coconut over the tops.
Now press the two flat sides together (the side that was sitting on the bench) and using your fingertips make sure the hearts are lined up nicely and gently press into the seams, making sure the shapes are nicely moulded together and will stay that way.
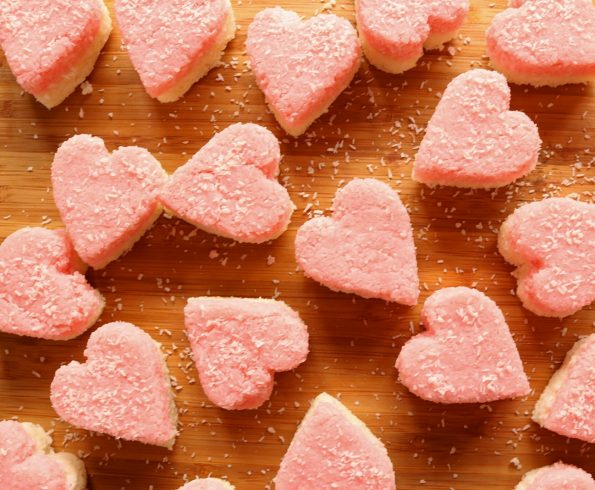
nawww…..it must be love.
These would be so cute at a birthday party and kids would love to help make these. Actually with no cooking whatsoever involved you could just leave them to it!
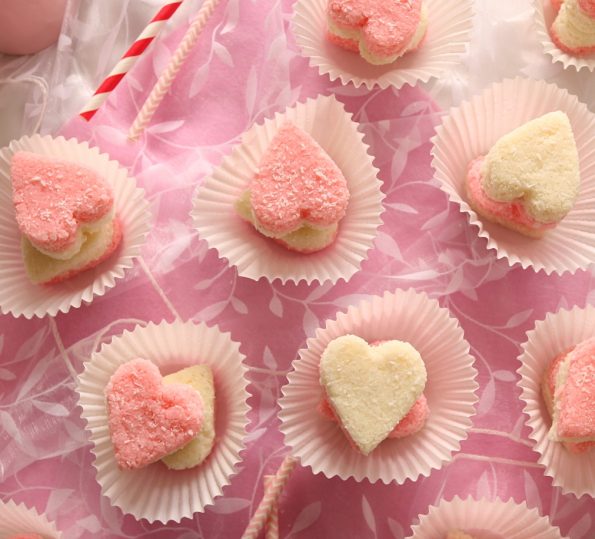
Super cute!!
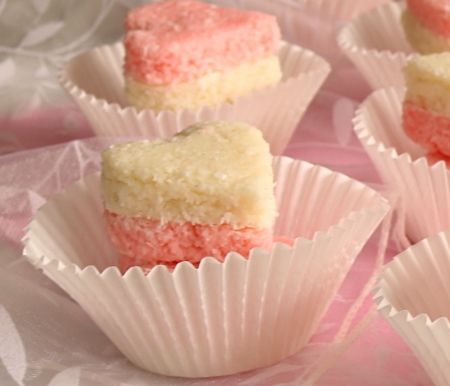
Storage – Box some up for your Valentine or keep in an airtight container in a cool, dry place (aka the pantry) for up to 3 weeks.
Vanilla & raspberry coconut ice, love hearts. A cute gift for valentine's day. Fun for kid's birthday parties & a sure sell at fetes, galas & fairs.
Ingredients
- 1 x 395 g / 14 oz tin condensed milk
- ¼ teaspoon vanilla essence
- ¼ teaspoon raspberry essence
- 2 drops red food colouring
- 4 cups & 1 tablespoon desiccated coconut
- 2 cups icing sugar
Instructions
- You will need a small heart shaped cookie cutter. The one I used measures 4 ½ cm / 1 ¾ in across at its widest point and from the bottom to the top of the centre of the heart is 4 cm / ½ in.
- Using two medium sized bowls, place half of the condensed milk in each, that’s ½ cup plus 2 tablespoons.
- Into one bowl add the vanilla essence, stir it in well and then leave it aside.
- In the other bowl place the raspberry essence, the red colouring and mix that together also.
- Next into each bowl add 2 cups of the coconut and 1 cup of icing sugar.
- In their separate bowls mix them thoroughly together.
- Sprinkle a small amount of icing sugar onto a clean bench and place the raspberry mix out onto the bench.
- Mould and flatten it with your hands to get it as flat as possible and then use a metal spatula or the bottom of a flat cup or glass to make it as even as possible. It needs to be approx 1 ½ cm high (just over ½ an inch).
- Working as quickly as possible (so it doesn’t dry out) cut out as many little hearts as you can and then re-mould the scraps and continue cutting until it is all used up.
- Now give the bench a wipe, sprinkle some more icing sugar around and then repeat the cutting out process with the vanilla mix.
- Sprinkle the extra tablespoon of coconut over the tops.
- Now press the two flat sides together (the side that was sitting on the bench) and using your fingertips make sure the hearts are lined up nicely and gently press into the seams, making sure the shapes are nicely moulded together and will stay that way.
- Box some up for your Valentine or keep in an airtight container in a cool, dry place for up to 3 weeks.


Leave a Reply