Hi there 🙂 This is the recipe I use for my sweet tarts. It’s a rich, crumbly, tender, flakey pastry that is blind-baked first using rice or pie beans. It is also called Sweet Pastry, Sweetpaste, Sweet Shortcrust Pastry or Sweetcrust.
I am not sure where I got this recipe from I have been using it since around the time I went to pastry school so probably from there.
This recipe is how to prepare and bake a 26 cm W x 2.5cm D pastry shell with some other instructions for different sized tins at the end.
Note* This recipe is for a shell that will have a filling added and then baked again. If you want to put a pre-cooked filling in (like a custard or a cream cheese filling that will set in the fridge) you will need to add another 5 minutes to the final cooking time (after the beans have been removed).
INGREDIENTS
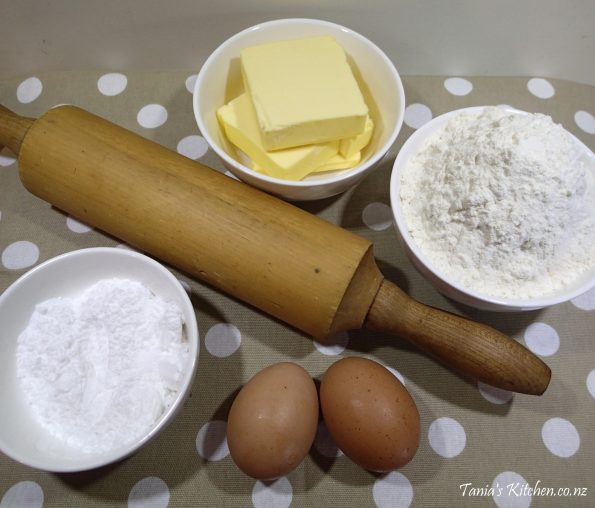
2 cups standard flour
1/2 cup icing sugar
200g cold butter (in quite big pieces or one big piece)
2 egg yolks
Optional – Depending on the flavour of the tart you are making you can add the seeds of half a vanilla pod or a tablespoon of zest from an orange, a lemon or a lime.
You will also need tinfoil and around two cups of pie beans or uncooked rice.
STEP BY STEP
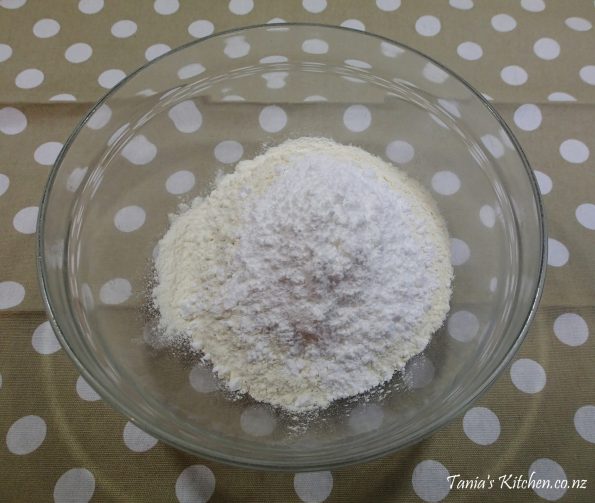
First place the flour and icing sugar in a bowl and stir together.
This is also the time to add the seeds of half a vanilla pod or a tablespoon of citrus zest if you are using those.
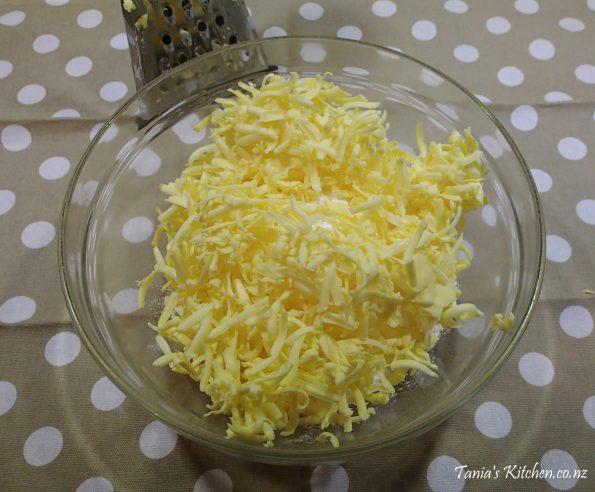
Next grate the cold butter on top (most recipes will ask you to cut the butter into small cubes but I find grating it does the same trick and is an awful lot faster).
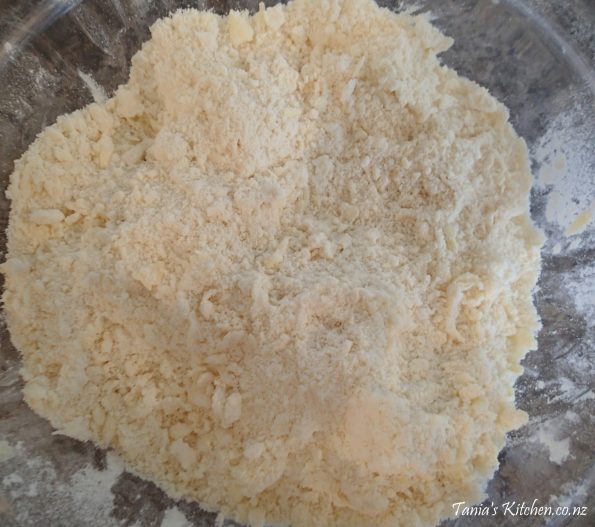
Using your fingertips rub the butter into the flour until it feels and looks like fine breadcrumbs. If the butter is not cold and is warm it will not mix in finely but will form little floury lumps. It will also cause the pastry to be too soft and you will struggle to roll it out later as it will stick to your rolling pin and it will break a lot when you go to lift into the tart shell. WARNING: major food closeup ahead….
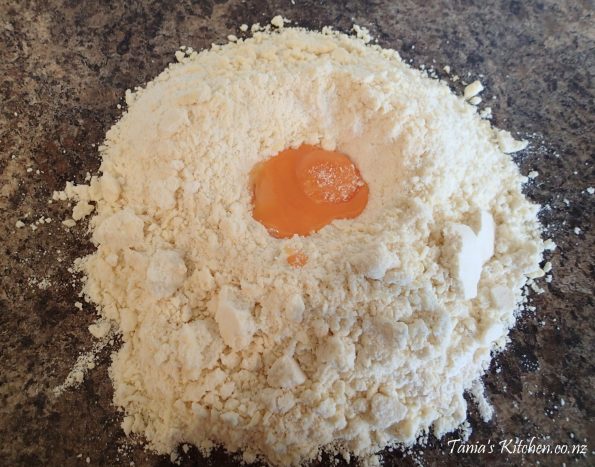
Now on a clean bench (duh) tip the contents of the bowl. Make a well in the centre and add the yolks into the well…..
Now the satisfying, ‘made-by-hand’ part!
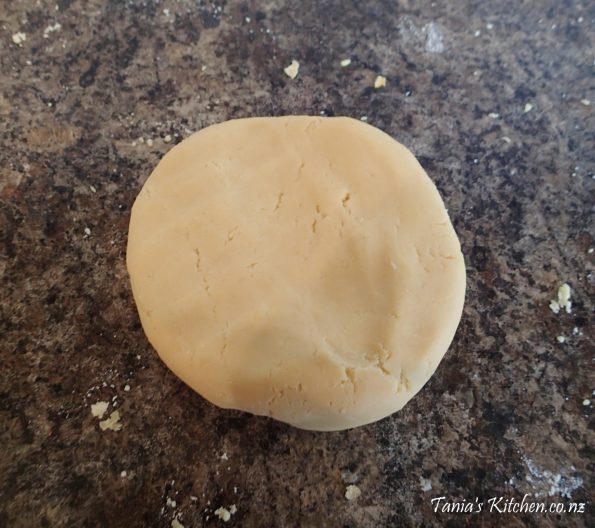
Mix it all together with your hands. Try not to overwork it (this gives you grey pastry) so as soon as there is no more flour on the bench STOP. Now make a nice, flattish circle (if making a round tart) or rectangle (if making a rectangle tart), this makes it easier later.
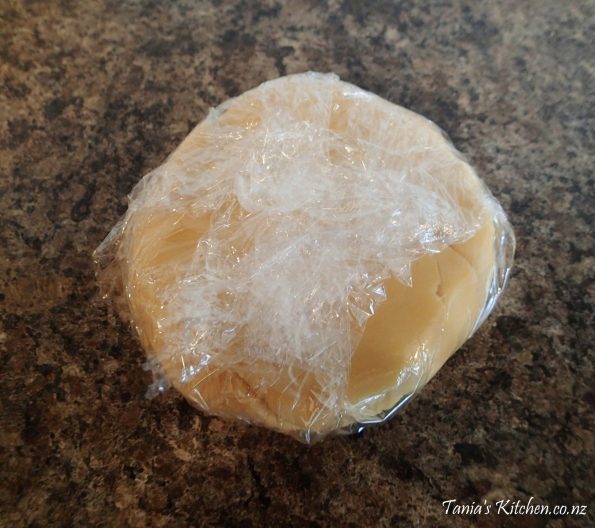
Next, wrap it in cling wrap and pop it into the fridge for an hour. There are two reasons for doing this, one is that it keeps the butter solid (as we softened it whilst we were making the pastry) so that when it is baking the solid fat will steam creating light and flakey pastry. Two is that you have stretched and tightened the gluten in the flour when making the dough so you need it to rest and relax again because if it’s not relaxed when you roll out the pastry it will keep shrinking back making it very difficult to roll and also it may shrink in the tin whilst baking.
Some tart fillings (according to the recipe, ie; lemon filling) can be made now.
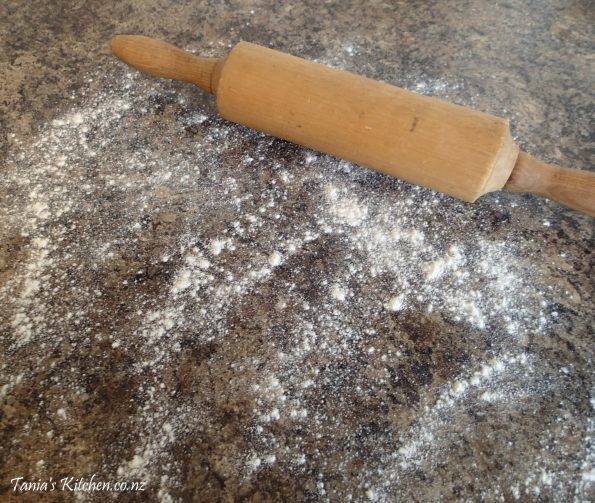
Lightly flour the bench (not too much because this changes the recipe and it already has the correct amount of flour in it).
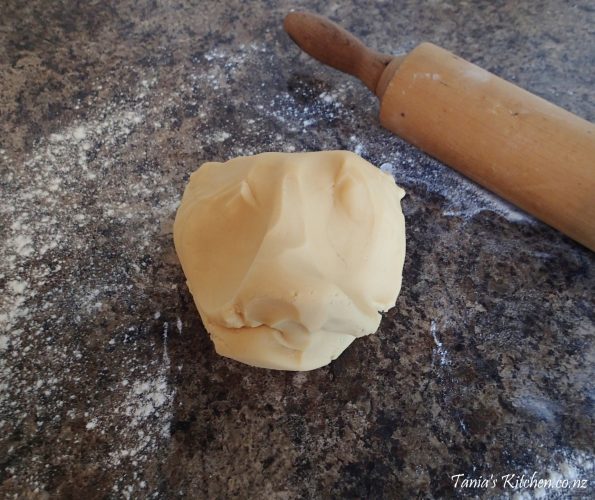
Knead your pastry for 30 seconds to make it pliable again or it will crack around the edges when you are rolling it.
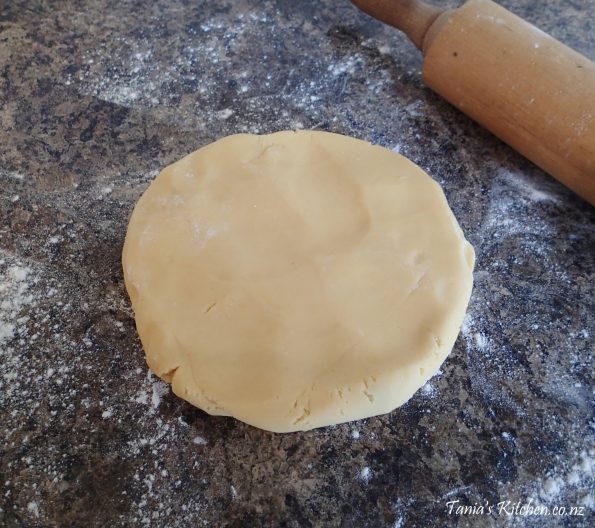
Then roughly shape it into a circle (or rectangle, depending on your tin shape) just like you did earlier and…..
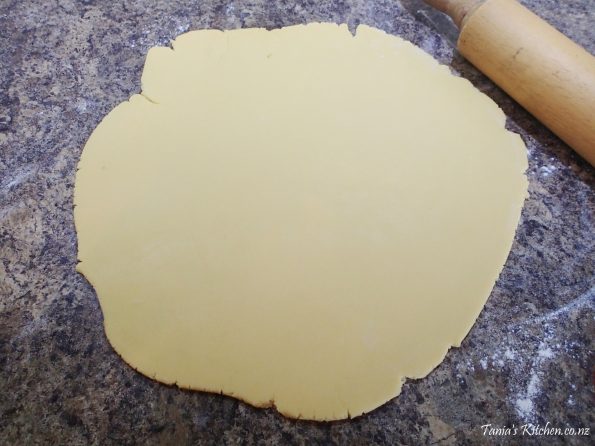
…..with your rolling pin start rolling out your pastry.
Now start rolling it out. I move the pastry around on the bench with every roll to help it not stick to the bench and I also gently flop the pastry over the rolling pin and gently flip it over usually three times whilst I’m rolling it out which gives me a more evenly rolled pastry and I lightly sprinkle the bench with a small amount of flour each time I do it (if you are not confident you don’t need to flip it over). Even though it’s important to try and roll it out as evenly as possible try to be reasonably quick as over working pastry causes it to go a slightly grey colour, or it might soften too much and start sticking to the bench and the rolling pin or even start to break up. Also over working it could cause it to shrink in the oven.
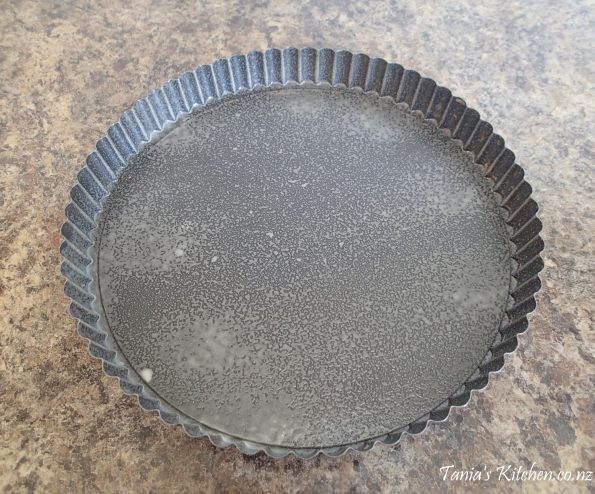
Now you can lightly grease your tin or tins with cooking spray.
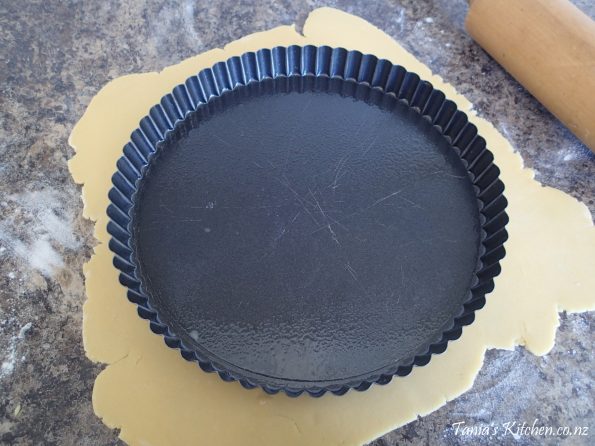
Keep rolling it until it is 3mm in thickness and about 3cm bigger than the tart tin you are using.
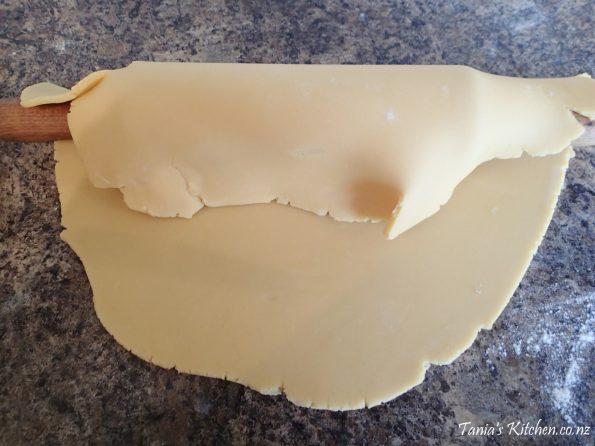
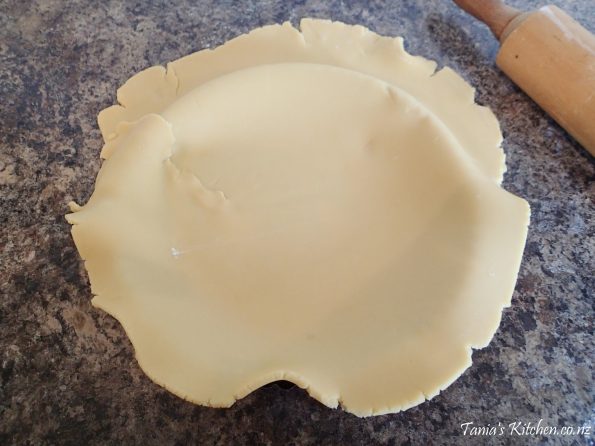
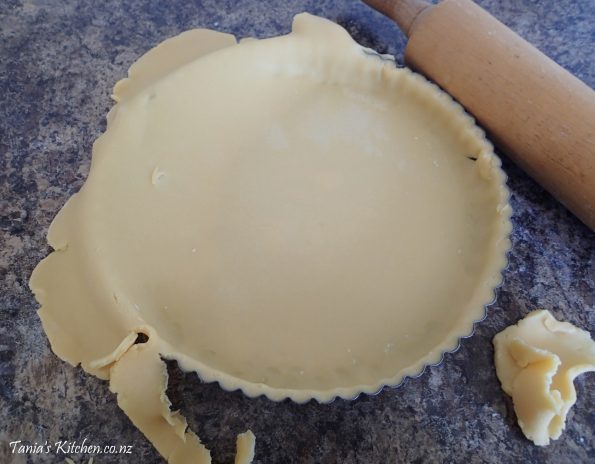
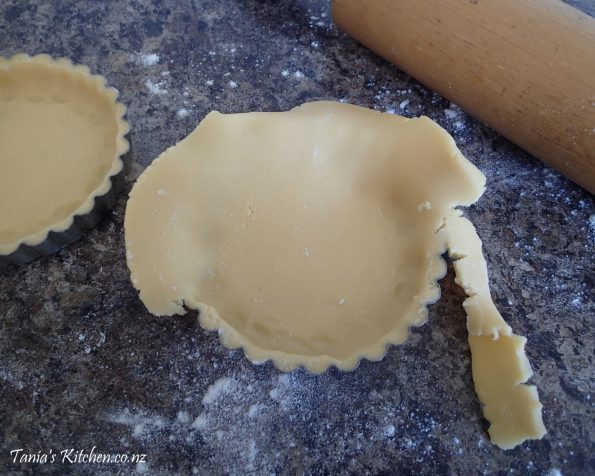
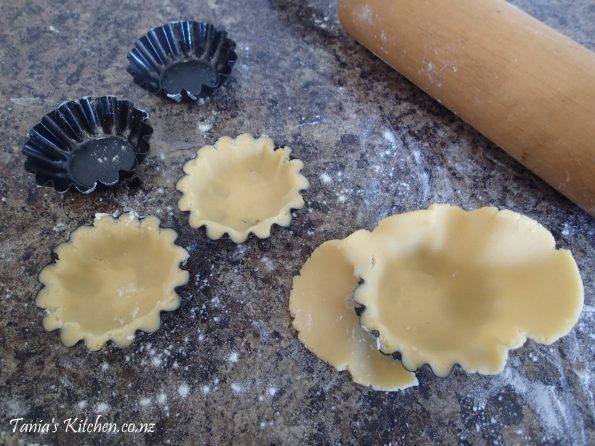
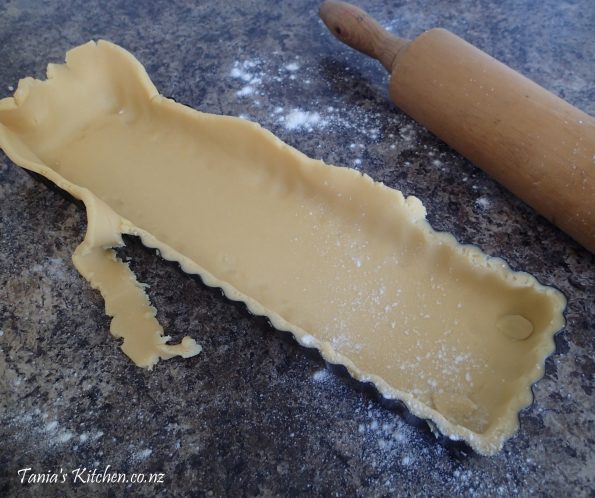
Then gently fold the pastry over your rolling pin and then gently lift and unfold it over your tart tin (no need to do that for smaller ones, you can just lift it in with your hands).
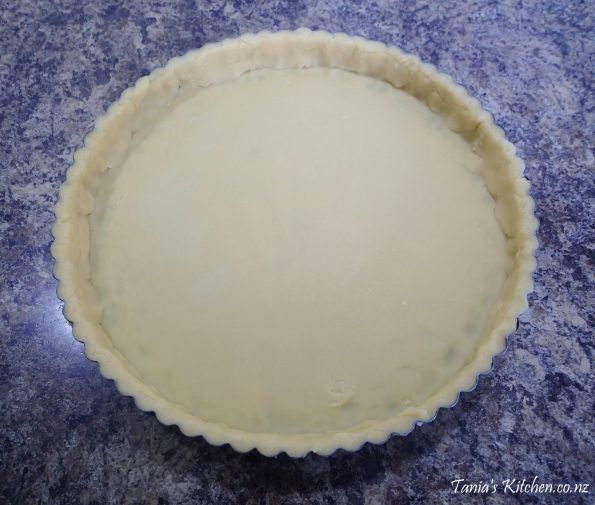
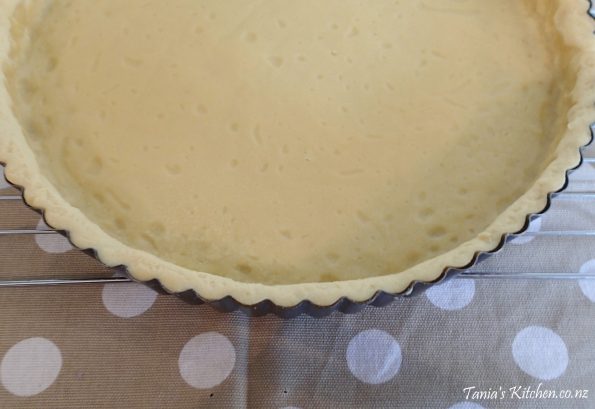
Slowly move around the edge with your fingertips, gently pressing the pastry into the ‘corners’ (by this I mean where the base meets the bottom of the sides). Then go around and again, gently push the pastry into the sides.
Next using your thumb evenly push the excess pastry from around the top of the tin, some people run the rolling pin over and that’s fine too.
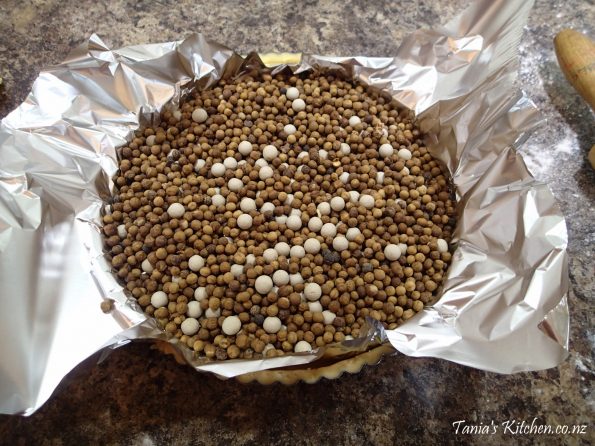
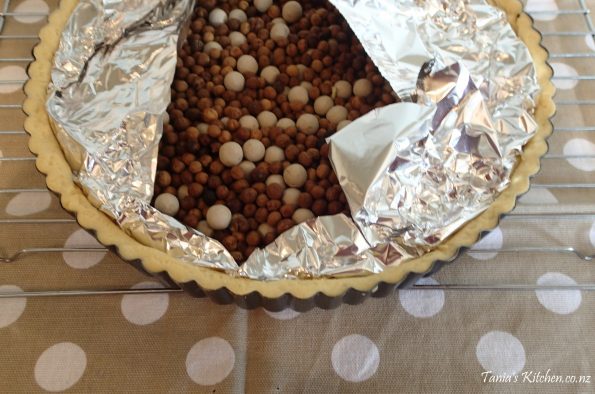
Line the shell with aluminium foil and fill it with uncooked rice or pie beans.
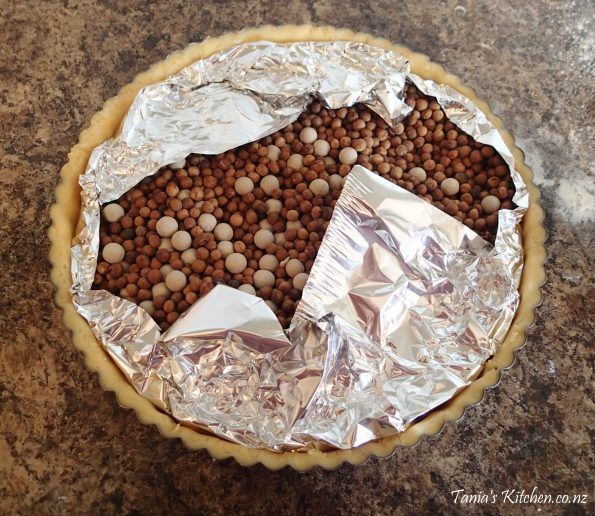
Fold the tinfoil over as best you can, making sure the rice or beans are pushed up against the edges of the shell. This stops your pastry from spreading inwards when you are blind baking it and will even force the edges to rise upwards slightly.
Note* I have just used standard sized tinfoil but you can buy longer ones that will encase the beans better or you could also use another piece of foil on top of the first (so if they were laid on the bench they would form a cross) which also helps encase the beans or rice better.
Next place the whole thing, beans and all back into the fridge for 30 minutes, to let the gluten relax and the butter harden again.
After it’s rested for 15 minutes with 15 more to go, preheat the oven to 150 degrees – fan-bake oven or 180 degrees – conventional oven, on bake. Place a rack in the centre of the oven, so that the top of the tart tin/tins are as near to the middle of the oven as possible.
During this 30 minute resting period, some tart fillings (according to the recipe, ie; frangipane filling) can be made now.
So after the pastry has rested in the tin for another 30 minutes, place in the oven and bake for 10 minutes.
Note* Check below for the cooking times for different sized tins.
So after the 10 minutes is up take it out of the oven.
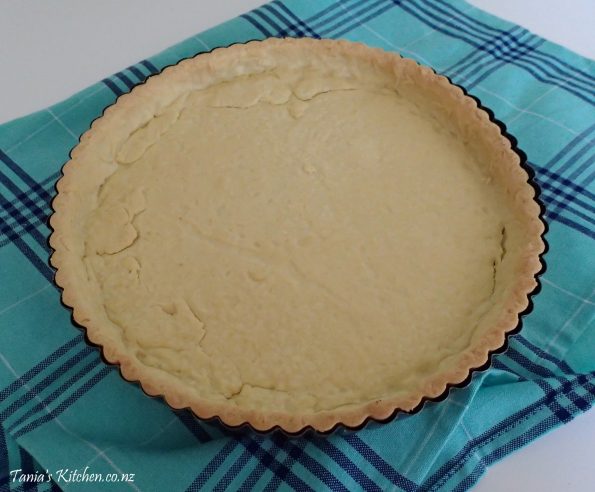
Remove the tinfoil and the beans (or rice). The top edges of the pastry should be dry and puffy looking and the base may still look a bit wet (uncooked).
Now return it to the oven for another 10 minutes and then it should be ready. The top edges of the tart should be lightly golden brown now and the centre should look ‘just’ cooked and dry.
Place your filling into the hot shell and carefully return it to the oven and bake your beautiful tart according to the recipe or remember to cook it for a further 5 minutes if you are putting in an unbaked filling that will be set in the fridge (let the shell cool if adding an unbaked filling).
There you go, a lovingly ‘made-from-scratch-impress-your-friends-and-family’ chocolate tart shell that will go famously just about any filling you choose to put in it 🙂
THIS PASTRY RECIPE WILL MAKE:
x 1 – 26 cm W x 2.5cm D large round tart tin. Note* There will be a bit leftover, you can freeze it if you like (see storage tips below) or make some more tart filling (like half a recipe) and make some smaller tarts if you have the tins. I always love making some cute little extras.
x 8 – 15 cm W x 2.5 cm D small round tart tins (same cooking time).
x 20 – 6.5 cm W x 2.5 cm D round, tiny little tins. These are only cooked for 5 minutes with the pie beans and then 5 minutes without the beans, so half the cooking time. I put these little tins on an oven tray as well as they are too fiddly to get in and out of the oven.
x 2 – 10 cm W x 36 cm L x 2.5 cm D long rectangle tins (same cooking time).
- This recipe is for a shell that will have a filling added and then baked again. If you want to put a pre-cooked filling in (like a custard or a cream cheese filling that will set in the fridge) you will need to add another 5 minutes to the final cooking time for all tin sizes (after the beans have been removed).
STORAGE:
Baked Shells – I wouldn’t keep a tart shell as a lot of fillings need to go straight in when it is hot because it seals the pastry. Then again there are some cream cheese tarts that are cold so if you have a cold filling going in and you are pushed for time you could make it the day before and keep it wrapped in an air-tight container overnight. You can freeze them for a few months but they are fragile so I personally would avoid it…….fresh is best!
Fresh Pastry – Unused pastry can be wrapped well and kept for a day, even two in the fridge and also can be frozen for up to three months.
If you would prefer to make a chocolate pastry shell there is a recipe here.


Leave a Reply