Hi guys. Gosh where did the year go. I’m feeling the ‘silly season’ pressure already, four weeks to go has kind of caught me off guard! As much as I’d like to go mad and bake a huge amount of christmasy things for my blog the reality is with work and all the rest I really don’t have enough time *cry 🙁 I’m going to try not to beat myself up about it though and just go with the flow, so I don’t fall into an exhausted heap!
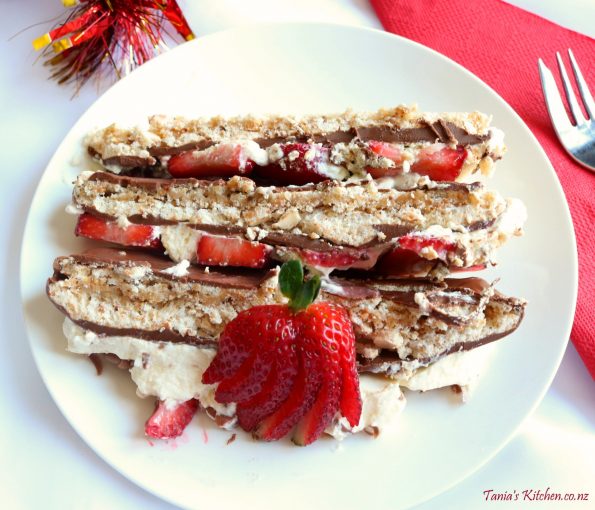
There’s nothing I loathe more than waiting for strawberry season (except for the next season of Game of Thrones!) You just can’t wait to use them for EVERYTHING right! If you saw my last recipe post it was a Dutch Hazelnut Meringue Mocha Cream Cake and the meringue was so damn good I had to make a ‘kiwi’ version. So using the same meringue discs I just added some fresh strawberries and whipped cream, it’s a lot less time consuming and still delish!
And Gluten Free people……..it’s Gluten Free!!
INGREDIENTS
HAZELNUT MERINGUES
4 medium-sized eggs, at room temperature (only the whites are needed)
1/2 teaspoon salt
1 cup castor sugar
1 1/4 cups icing sugar
1 cup toasted hazelnuts
STRAWBERRIES & CREAM
600 mls (2 1/2 cups) full cream
4 tablespoons icing sugar
1/2 teaspoon vanilla essence
2 punnets (400 gams) fresh strawberries (If you’d like to put more on top than I did you will need another punnet)
250 grams or 1 2/3 cups of milk chocolate (I used twice this much because I’m a chocolate lover or you can even leave it out altogether if you want to)
Note* If you haven’t toasted Hazelnuts before I have a post on toasting nuts here and if you would like to use some for decorating like I did, place x 18 whole hazelnuts aside after you’ve toasted them.
WALKTHROUGH
Hazelnut Meringues
For this you first need to get two baking trays ready. Next, cut two pieces of baking paper to fit the size of the trays and then pressing quite hard with a dark pencil draw around a baking tin, twice on one tray and once on the other so you have three shapes. I drew three rectangles using my bigger loaf tin which is 24 cm long x 13 cm wide, you can use a ruler if you like (you could also use a 20 cm round cake tin and draw circles). Then turn both papers over and if you pressed hard enough you should still see the outline of your shapes. Put your trays aside whilst you make the meringues.
To get the oven ready, position one oven rack in the centre of the oven and position another rack two rungs under the first one and preheat the oven to 100 degrees – fan-bake oven or 130 degrees – conventional oven, on bake.
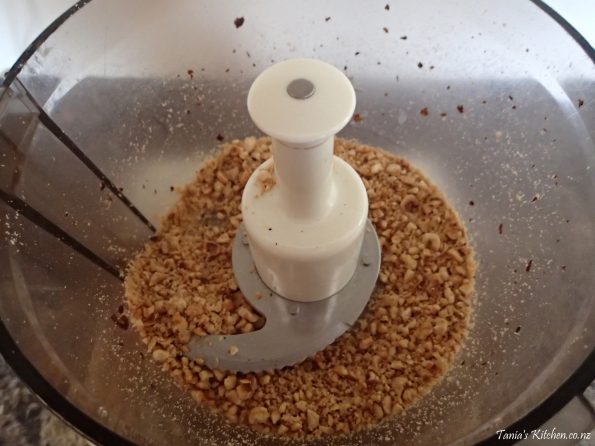
Next place the cup of toasted hazelnuts into a food processor and…..
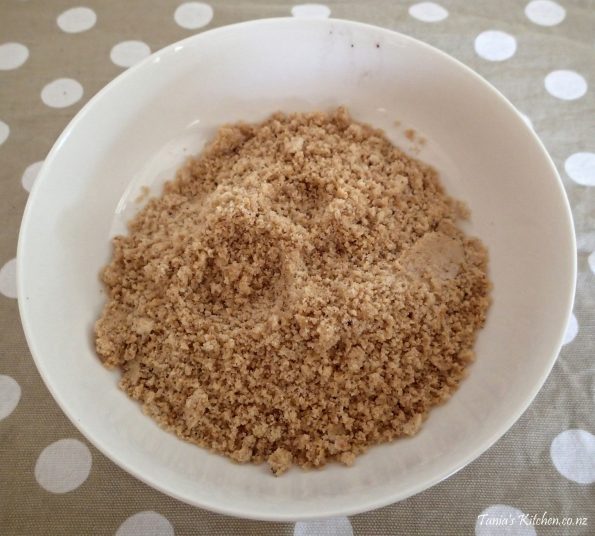
…..process until very small, like large breadcrumbs and set aside.
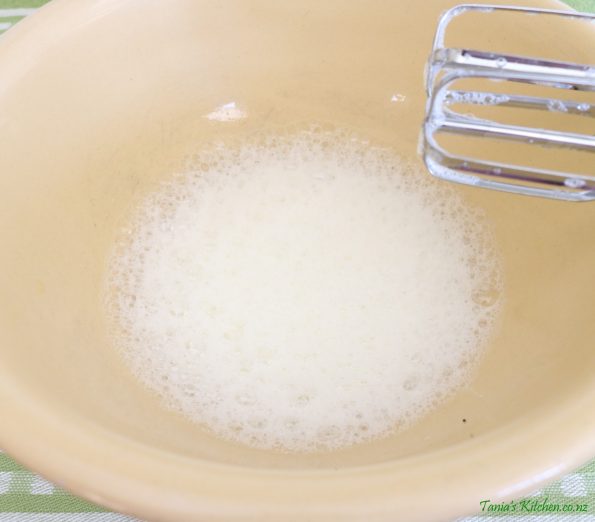
To make the meringue place the egg whites and salt in a large mixing bowl and using your electric beater (or cake-mixer) beat on a medium/high speed for around one minute, until they are nice and foamy.
Note* Eggs whip up to a greater volume when they are used at room temperature (30 minutes out on the bench before using them should do it).
After a minute add roughly 1/3 of the castor sugar and continue beating for around three minutes. The egg whites should have then doubled in size.
Then add 1/3 more of the castor sugar and again beat for around three minutes and again your mix should double in size.
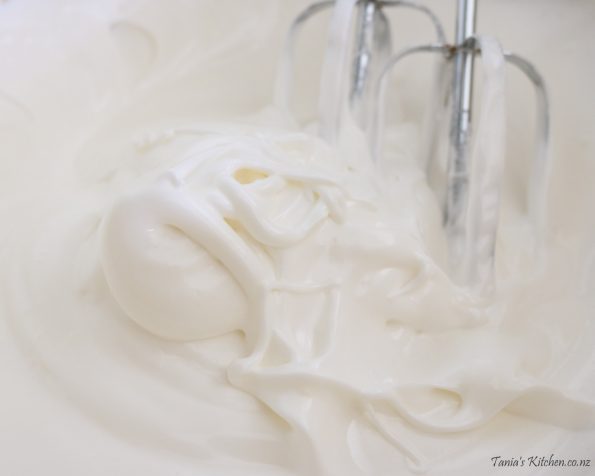
Then…….add the last third of the sugar and beat for ANOTHER three minutes, doubling your mix in size again. It should look like the pic below, having stiff peaks, see how it holds it’s shape? Lift some up with a spoon and if it stays there it’s good to go, but if it falls back in to the mixture you need to keep beating until it does hold it’s shape. If this is the case you may not have been mixing fast enough or long enough between adding the sugar measures. You may even reach the stiff-peak stage sooner than I did, if your bowl is smaller of your beaters beat a bit faster then mine.
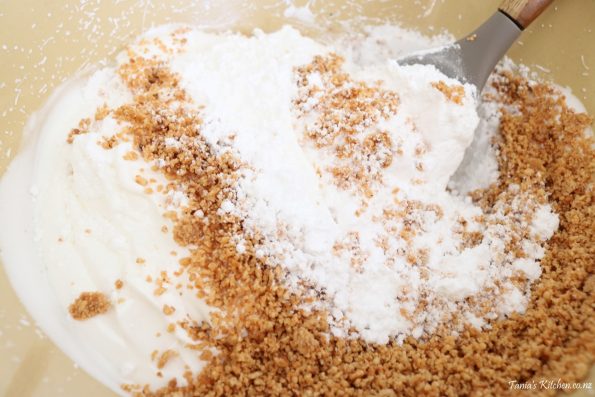
Now using a large rubber spatula or spoon, very gently fold through the icing sugar and the blitzed hazelnuts, until just combined.
Now lightly spray the baking paper on your trays with non-stick cooking spray (or lightly grease the paper with butter).
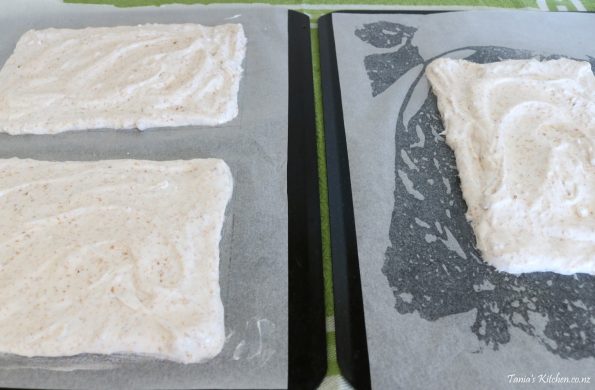
Then very carefully, but quickly (no pressure lol) place a third of the hazelnut meringue mix into each shape and using a small spatula carefully spread it out to the edges. When you have finished check that they are as even looking as you can get them so they cook evenly.
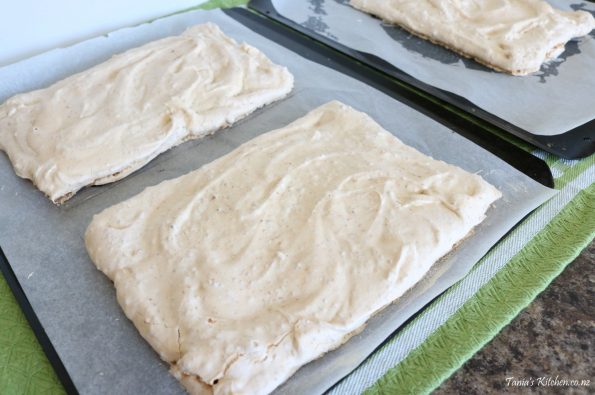
Place the trays in the oven and bake for one hour, swapping the trays around in the oven after 30 minutes to help them bake evenly.
Once baked, leave them to totally cool down and then using a metal spatula carefully loosen them from the paper, leaving them on the trays ready to be coated in chocolate.
Now the meringues are ready to be spread with chocolate so it’s time to melt the chocolate in a ‘bain marie’, but first set 50 grams of chocolate aside (around 4 squares) to use for decoration later.
So break the rest of your chocolate into pieces (or roughly chop it up) and place it into a heatproof bowl. Now find a saucepan that the bowl fits snuggly into (a small saucepan is usually the way to go) and quarter fill the saucepan with water. Sit the bowl of chocolate over the pan of water and then lift it out and check that the bottom is dry (you do not want the water to be touching the underside of the bowl) so if it is wet, tip some water out until you are confident it’s not touching. Place the bowl of chocolate aside and over a medium heat bring the pan of water to a boil and then turn it down to medium/low until it is just simmering.
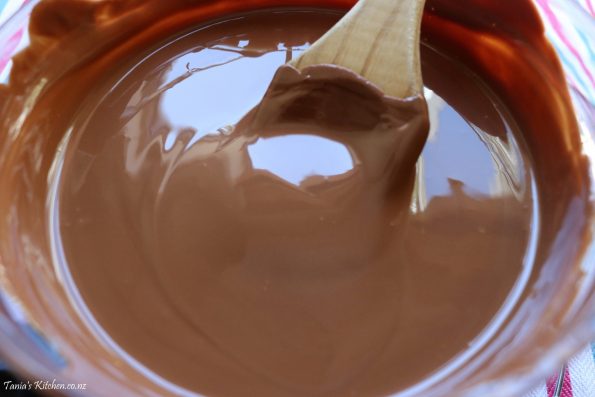
Next sit the bowl of chocolate on the saucepan, over the simmering water until it’s melted, stirring often so that none of the chocolate sticks to the bottom or sides of the bowl or it will burn and any little burnt bits will cause the chocolate to go all hard and grainy (seize).
P.S If I were really tiny I would bathe in this bowl of chocolate.
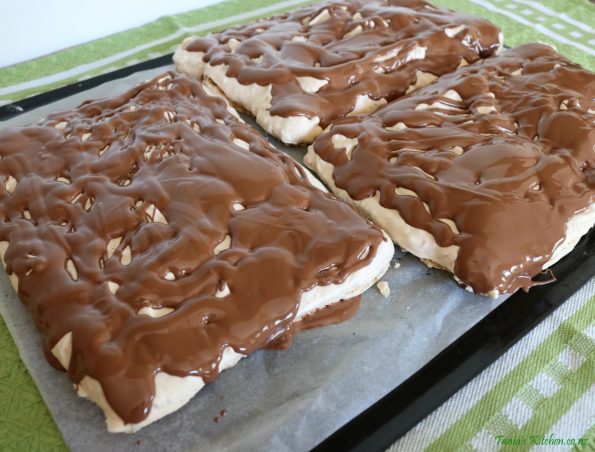
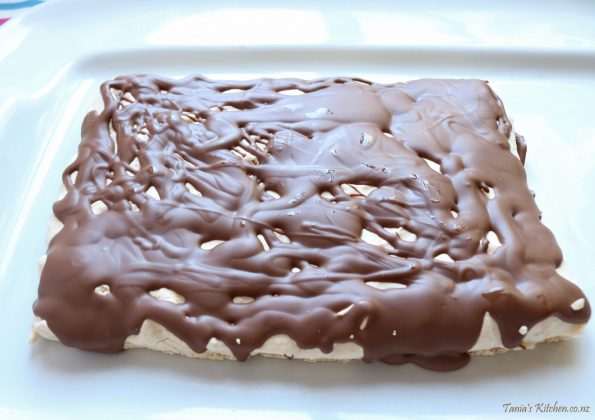
So now you can spread the tops of your meringues with around 2/3 of your melted chocolate, just drizzling it over and then gently (so as not to break the meringue) spreading it all over with the back of a spoon. Then place them in the fridge to set for around 20 minutes.
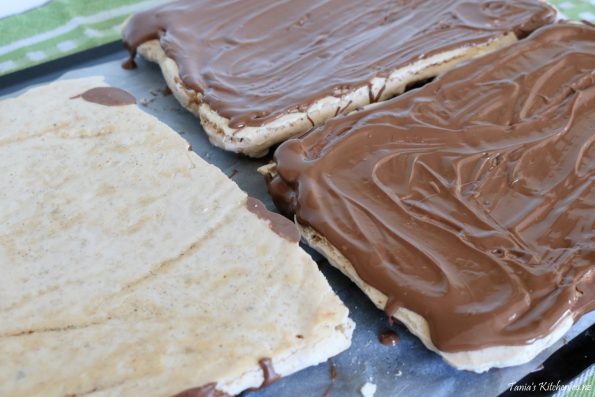
Once set, turn them over and spread the rest of the chocolate over two of them, leaving one plain, and then pop them back in the fridge to set. Whilst they are setting you can make the hazelnut mocha cream so that by the time the chocolate is set you will be able construct your meringue tart!
Strawberries & Cream
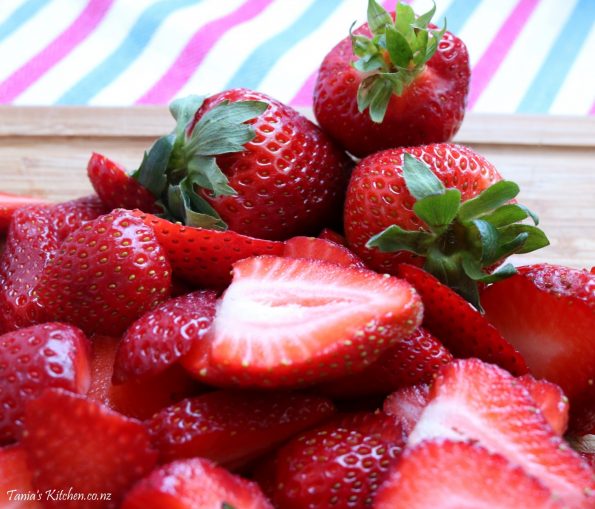
Place three big, fat strawberries aside, the ones with the nicest green bits 🙂 and thinly slice up all of the rest.
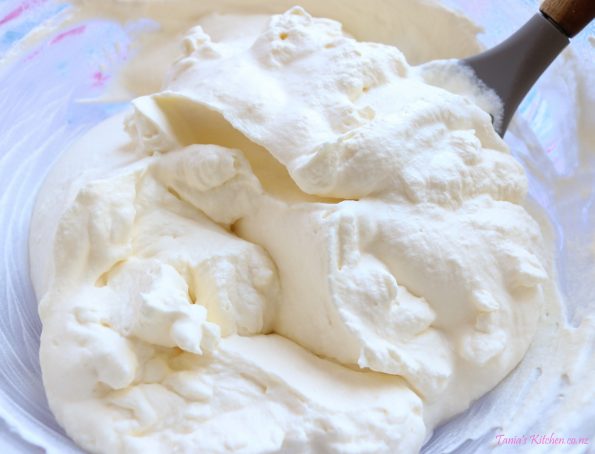
Next in a large mixing bowl, on a medium/high speed beat the cream, icing sugar and vanilla essence until stiff-peaks form, being if you pulled some up with a spoon it would stand up and hold it’s shape and not flop back over.
Construction
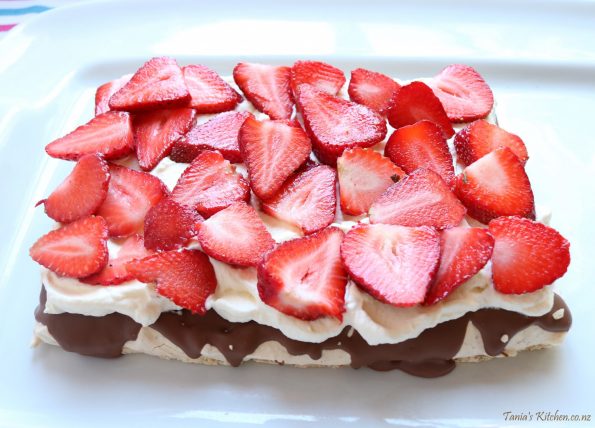
Place the meringue with no chocolate on one side on a plate (preferably the one you want to serve it on) with the ‘unchocolated’ side down and the chocolate side up and…..
…..spread around 1/3 of the whipped cream all over it and then layer half of the sliced strawberries on top of the cream.
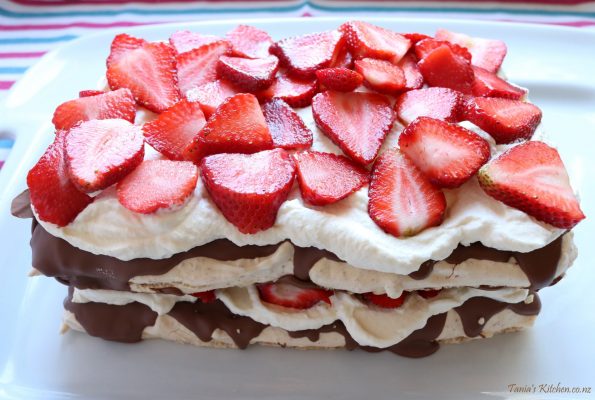
Then go ahead and carefully place another meringue piece on top, spreading the next third of the whipped cream all over and layering the remaining sliced strawberries over top of the cream.
Now place the third piece of meringue on and then spread the remaining whipped cream over top, then grate the chocolate you set aside earlier all over it….nom nom nom!
Note* I piped six ridges of cream on top of mine before I grated the chocolate on. I did this so my strawberries sat higher on top. You don’t have to do this of course but if you do, you will need to spread on only two thirds of your remaining whipped cream on and put the other third into your piping bag.
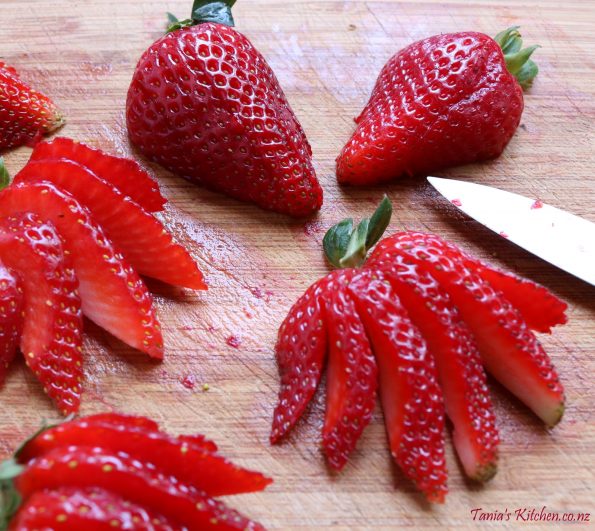
So for the strawberries, cut them lengthways into six halves, perfectly through the calyx (the green leafy top). Next with a sharp little paring knife, slice then thinly, stopping a few millimetres from the the tops, being careful not to totally slice them through and then fan them out.
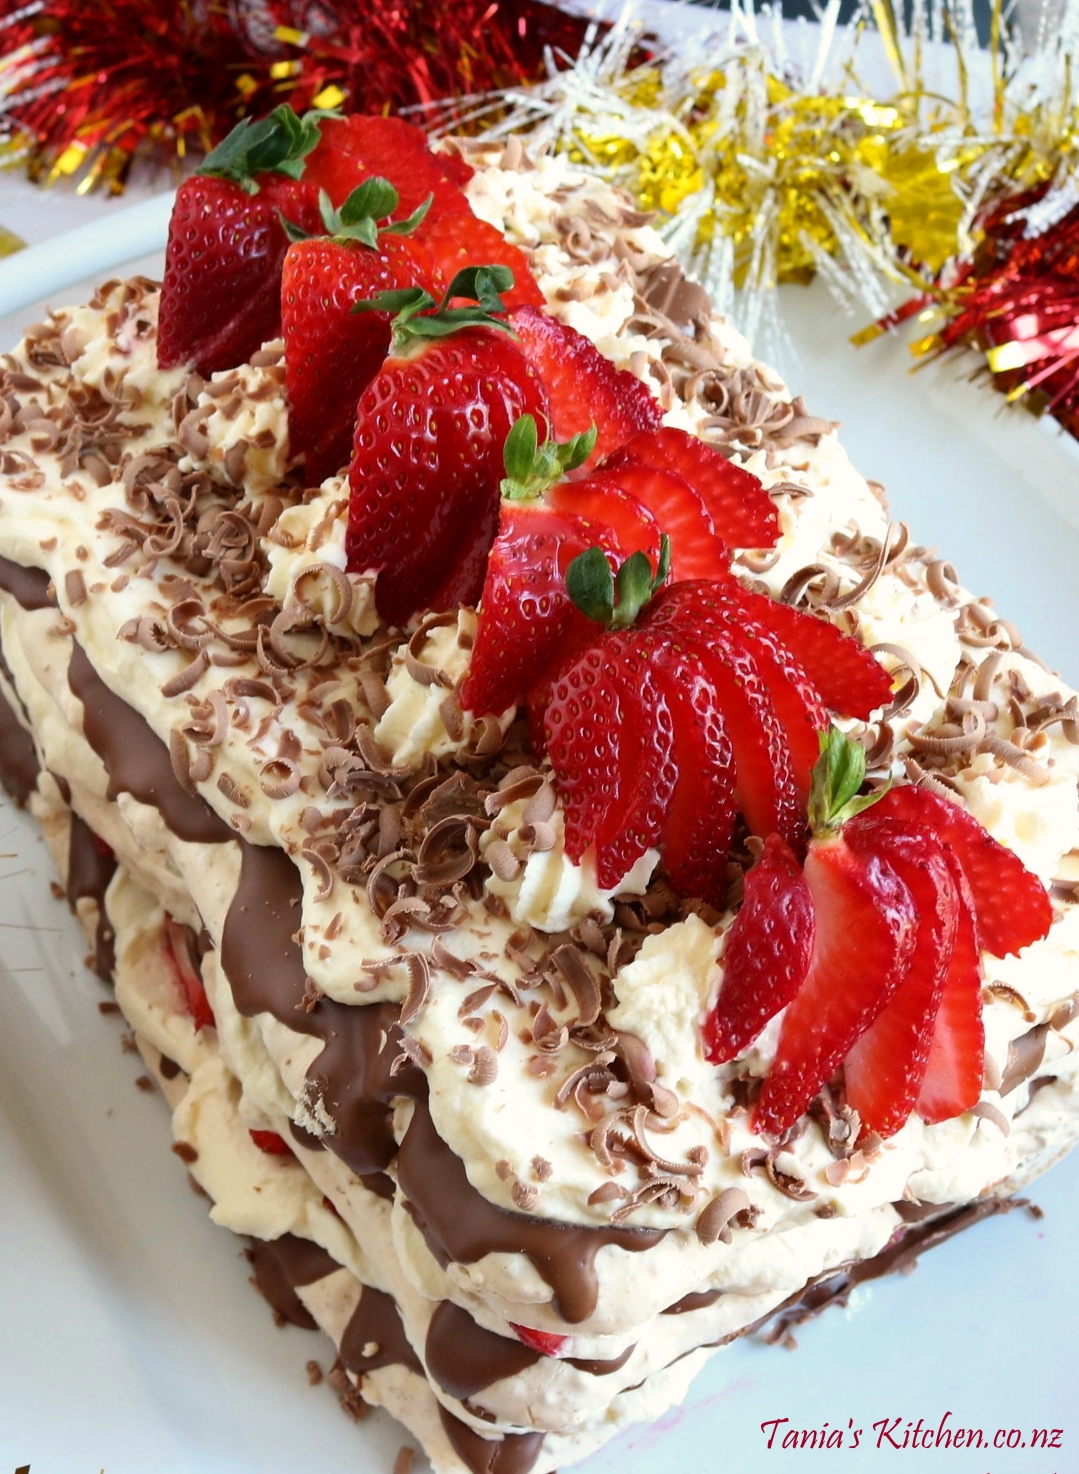
Place them on top of your meringue cake. I placed one on each ridge I piped, but you can put them wherever you think they look pretty and of course if you have more, you can use as many as if you like 🙂
This Meringue Cake can be a bit tricky to slice because of the firmer chocolate versus the soft cream. I used a really sharp bread knife to cut slices (an electric bread knife would be great for this).
If you like you can make the chocolate coated meringues a day or two before you need them and keep them in a cool place (not the fridge, they chocolate may sweat) and in an airtight container until the day you need them.
Storage – Once creamed it needs to be kept in the fridge. It will be nice for two days 🙂 If it lasts that long…….
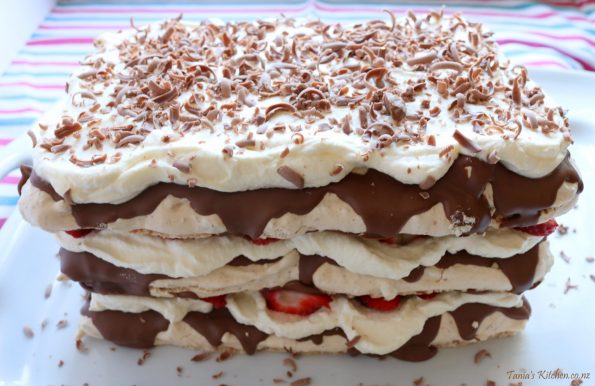
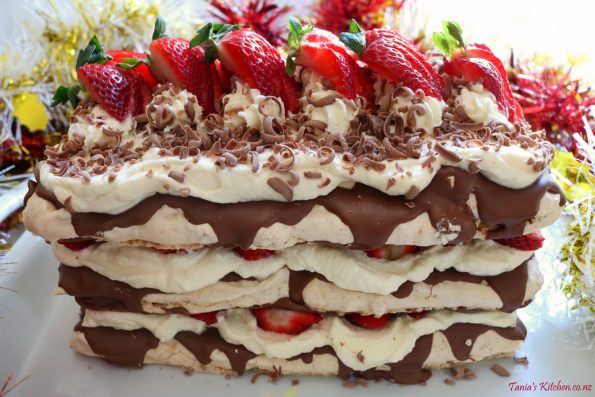
Toasted hazelnut meringue discs, coated in milk chocolate and then filled with freshly whipped cream and fresh strawberries. Great for a Christmas dessert.
Ingredients
- 4 medium-sized eggs (only the whites are needed)
- 1/2 teaspoon salt
- 1 cup castor sugar
- 1 1/4 cups icing sugar
- 1 cup toasted hazelnuts
- 600 mls full cream
- 4 tablespoons icing sugar
- 1/2 teaspoon vanilla essence


Leave a Reply