Hello again fellow Home-Bakers 🙂
Now I couldn’t just make a lolly-log and leave it at that could I…no…not me, I just couldn’t let sleeping logs lie! I had a ‘not so clever’ idea of making a Lolly Log Marshmallow Roulade and it would’ve looked amazing had it worked! I had a fair idea the biscuit crumbs would crack from the rolling (because they’re are too stiff) but I’m a sucker for punishment and tried it anyway, figuring there was a 50% chance of success, but It turned out a bit of a mess 🙁 So soldiering on and determined to use marshmallow (as you may have noticed that I’m obsesses with the fluffy stuff at the moment) I decided to press the lolly mix into a tin and set some marshmallow on top and I thought it came out really cute…..not really a lolly log of course, more of a lolly slice but I’ll leave the name alone, it will always be ‘Lolly-Log’ to me 🙂
INGREDIENTS
Base
250 g / 8 oz packet of plain malt biscuits
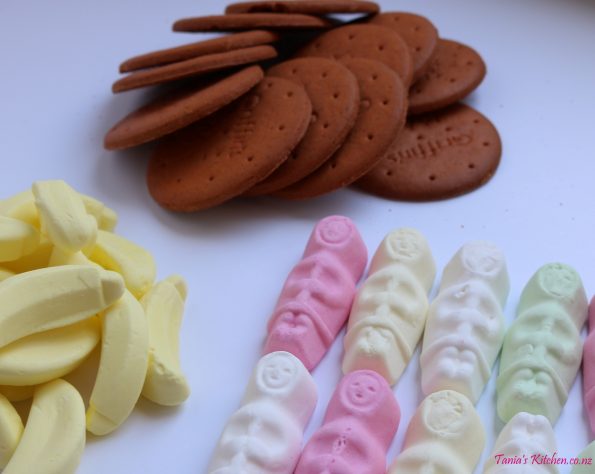
170 g / 6 oz soft lollies (I use Eskimos and bananas)
1 teaspoon cinnamon
125 g / 4 oz butter
½ cup condensed milk
Optional – ½ cup shredded coconut
Marshmallow
½ cup castor sugar
2 ½ teaspoons gelatine granules
Optional – A few drops of red, green or yellow food colouring
Note
- You can double the marshmallow if you like yours higher than mine. If so, it will be this high.
WALKTHROUGH
Base
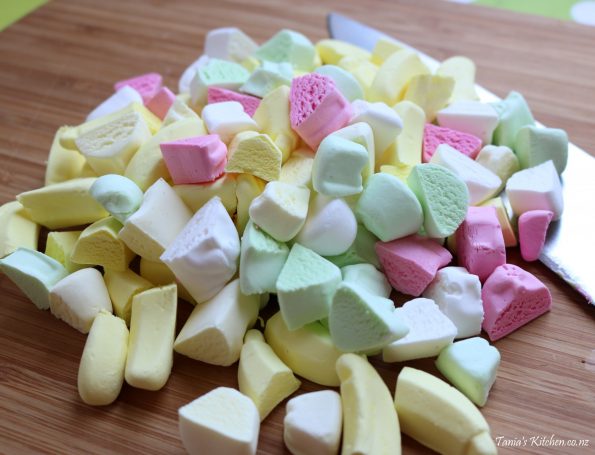
So to get started first roughly chop up the lollies and leave them aside.
Now in your food processor process the biscuits until they are fine crumbs.
Fine crumbs will give you a nice firm log, whereas big crumbs will create little gaps in your log and it may be a bit crumbly. Imagine big stones in a bucket and little stones in a bucket…..there are a lot of gaps between the big stones. So if you ever have a crumbly cheesecake base or any biscuit crumb base this is why, or if they are fine but are still crumbly it could be that there is not enough butter in the recipe to stick them together, or you simply haven’t pressed them into your tin firmly enough. Anyway, that’s enough ‘crumb’ troubleshooting for today! (I can really bleat on I know)
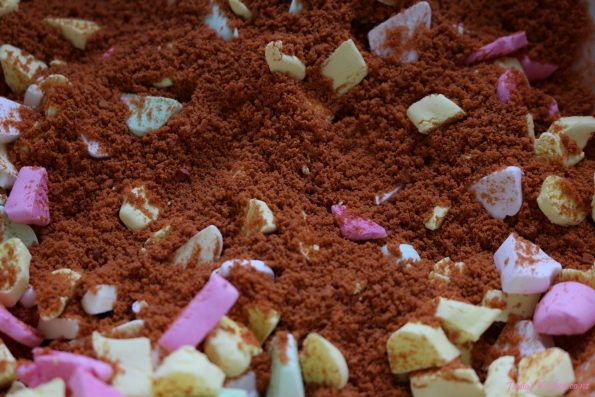
Now place the crumbs and the lollies into a medium-sized bowl.
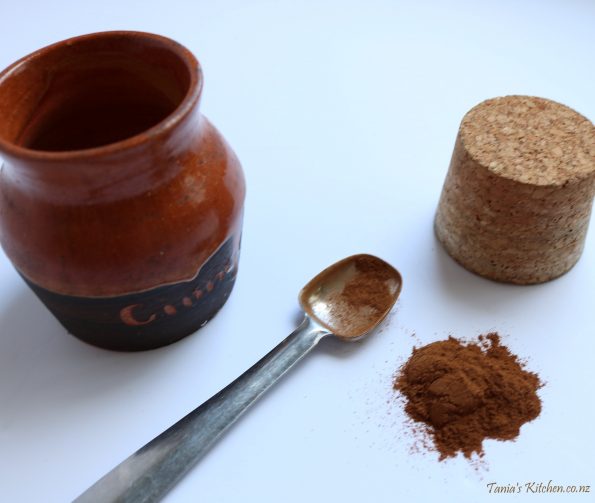
Next, add the cinnamon and shredded coconut (if you are using it) and mix it all together.
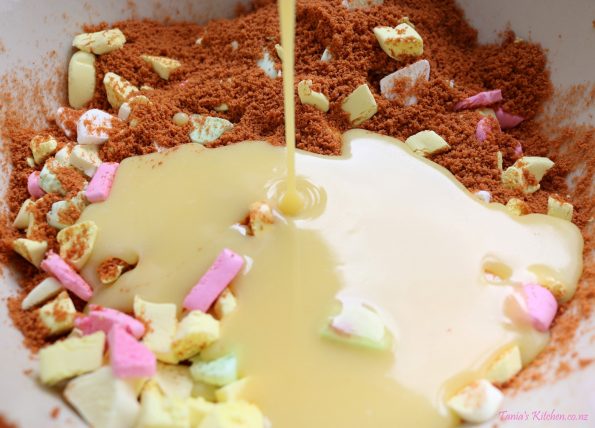
Now, cut the butter into cubes and place them in a small saucepan with the condensed milk. Stirring often, melt the two together over a low heat. Once totally combined (no more melted butter showing) pour into your bowl with the other ingredients.
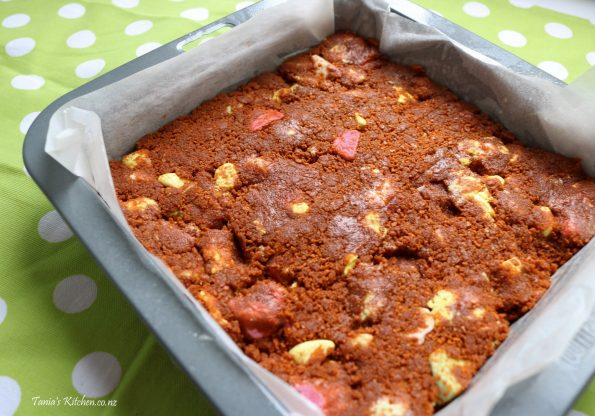
Next line a square cake tin with non-stick baking paper and then lightly spray it with non-stick cooking spray. The tin I used is 20 cm Sq x 5 cm Deep and I used a cake tin because this recipe needs slightly higher sides than a slice tin. Once it’s ready, firmly press your lolly mix into the tin and set aside while you make the marshmallow.
Marshmallow
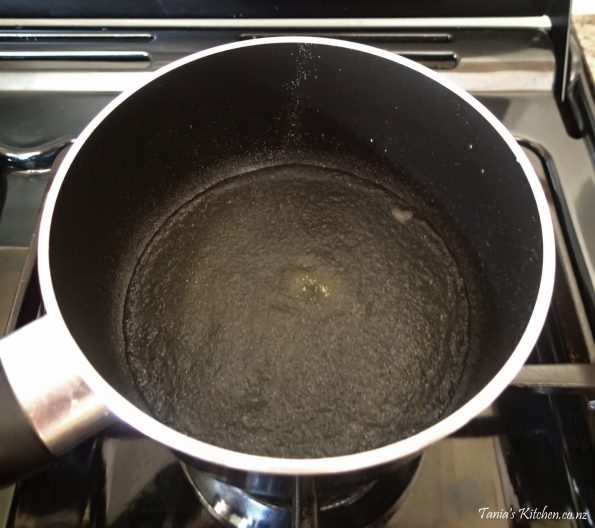
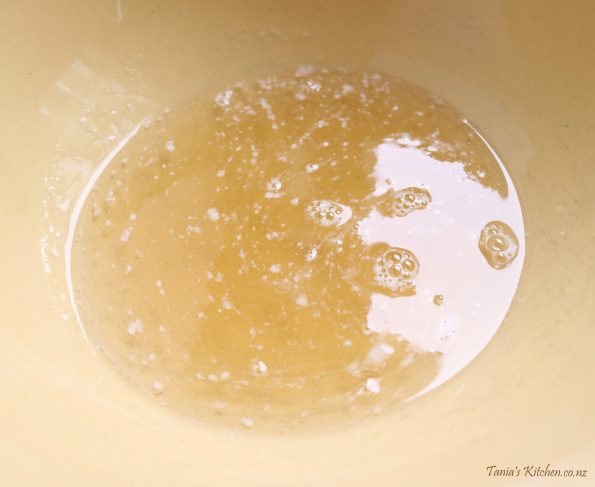
When it’s boiling turn the heat down to low. Give it a final stir and then leave it to simmer (a gentle boil) for five minutes (10 if you have doubled it). You can stir it a few times if you like, checking that not too much is sticking to the sides.
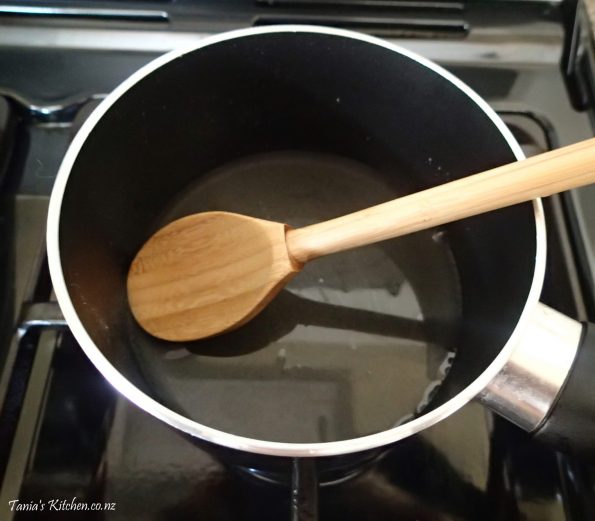
After the five minutes is up, pour the mix into a medium-sized bowl and…..
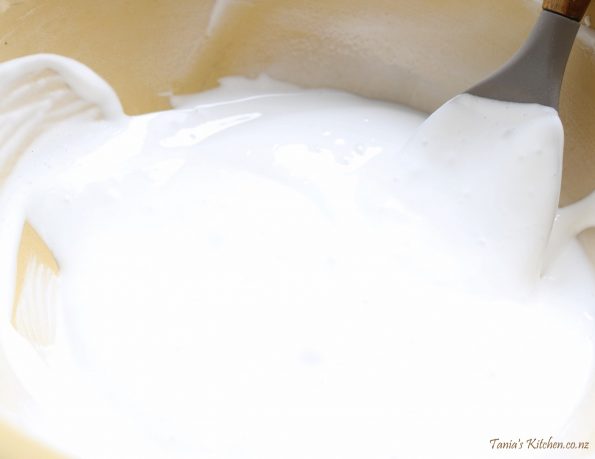
…..using an electric beater set on high, beat until the marshmallow is super thick, this will take around 5 minutes (10 minutes if you’ve doubled it). You are aiming for the consistency of fully whipped cream or a meringue at soft-peak stage.
Now you need to work quickly because when it gets to that thick stage it starts to set quite quickly, so using a scraper, get it out of your bowl and onto your lolly base. Using a metal spatula or the back of a dessertspoon spread the marshmallow over the base and then place it in the fridge to set for one hour.
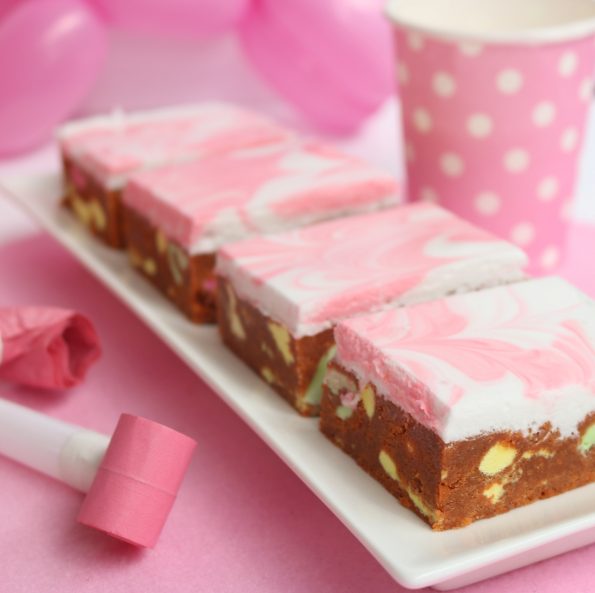
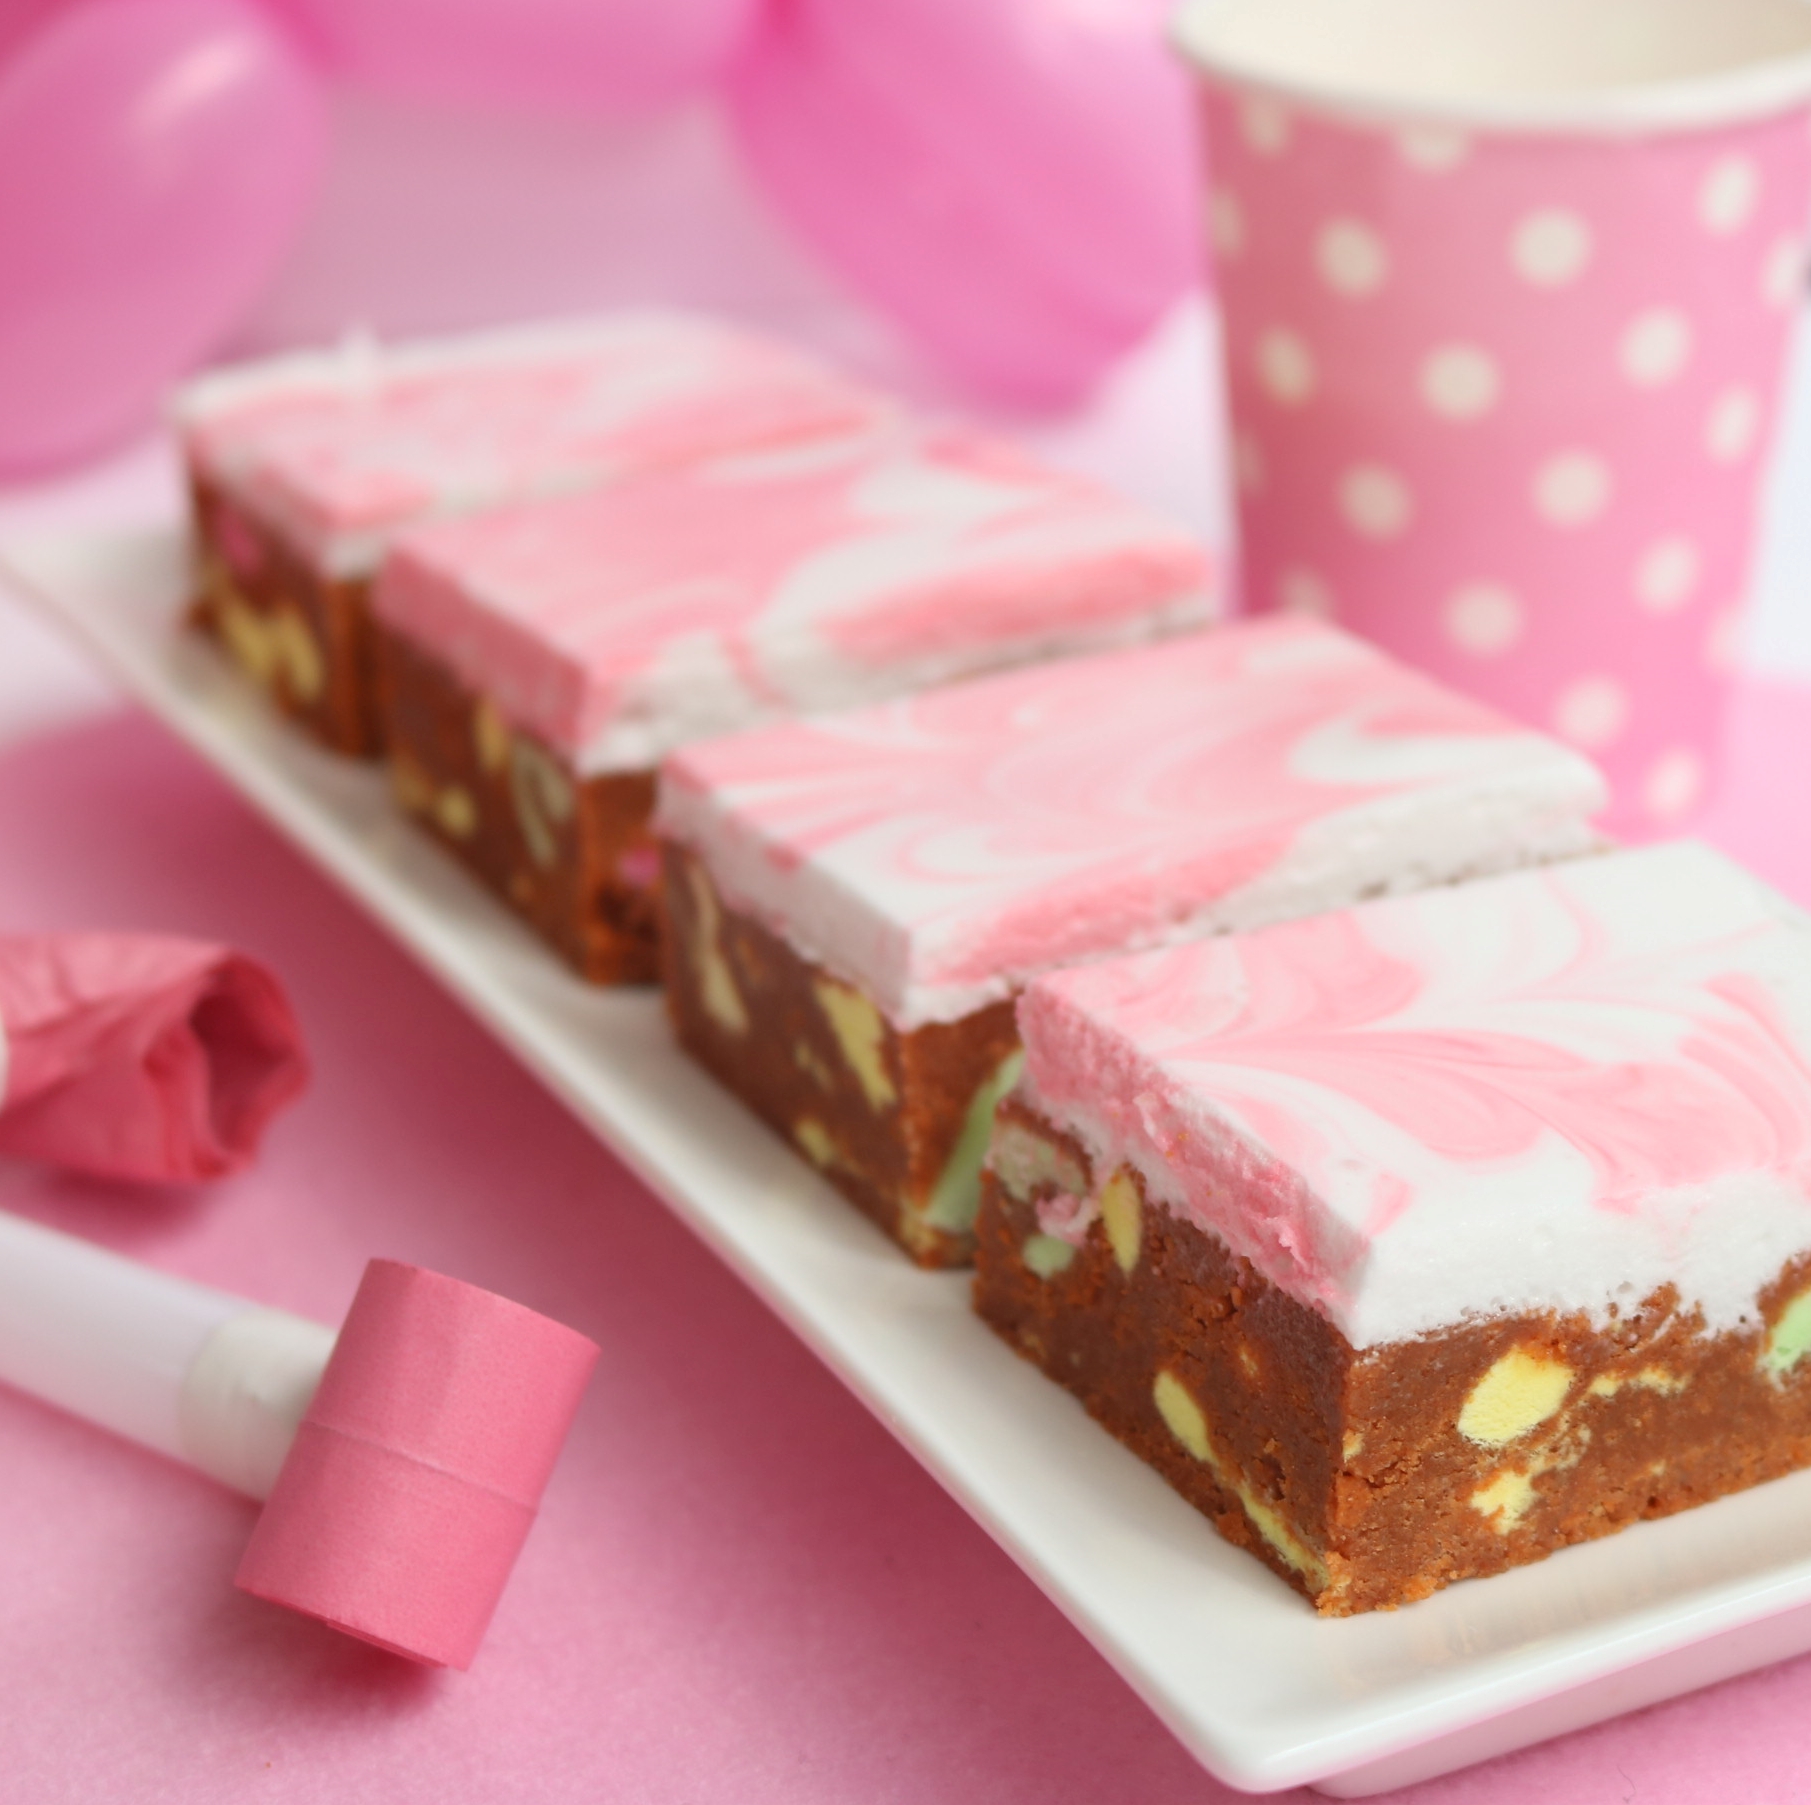
- If you want to add a colour, only spread half of the marshmallow onto the base and then add two drops of colour to the remaining marshmallow in the bowl, folding it through (work quickly here). Then put little blobs of the coloured marshmallow all over the white marshmallow in the tin. Next, use a toothpick or the tip of a knife to swirl the blobs of colour into the white marshmallow.
Once set, using a sharp knife cut it into pieces. It pays to wipe your knife with a damp cloth in between cuts or you’ll end up with crumbs on top of your marshmallow, making it look messy. I cut mine into x 12 (4 x 3).
Storage – Because this is un-baked and is made with melted butter, I would store it in the fridge and it will be good for 4 days. 🙂
If you would like to make a more traditional Lolly-Log without the marshmallow, the recipe is here. Or maybe you’d prefer a Marshmallow Slice with a biscuit base and a condensed milk filling, if so that recipe is here.
This is a fun, no-bake lolly-log base made with malt biscuits, soft lollies and condensed milk with a fluffy marshmallow top. Great for kid's parties.
Ingredients
- 250 g / 8 oz packet of plain malt biscuits
- 170 g / 6 oz soft lollies (I use Eskimos and bananas)
- 1 teaspoon cinnamon
- 125 g / 4 oz butter
- ½ cup condensed milk
- Optional - ½ cup shredded coconut
- ½ cup castor sugar
- 2 ½ teaspoons gelatine granules
- Optional - A few drops of red, green or yellow food colouring


Can you add liquid flavouring like bubblegum to the marshmallow? Also, what can you do to stop the marshmallow from being sticky once set? Thanks!
Hi Stacey.
Yes, you absolutely can add flavourings/essences, add them towards the end of the whipping. Marshmallow should dry out when left out in the air but it’s generally sticky that’s why they have a fine sugary coating. So with this slice in particular, I would slice it with a hot and dry, sharp knife and then leave the pieces out in the air until it has dried off a little. You can if you like, lightly dust the top with icing sugar. I hope this helps. 🙂