Hello busy people! So I have here an easy biscuit base that you can use for cheesecakes or flans…..all you need is some bikkies, coconut and some butter, takes ten minutes to bake in the oven and if you add a non-baked filling……whala……life just got easier! If you are pressed for time you can even make the base a whole week ahead and make your cheesecake or tart the night before you need it……gotta love that 🙂
I initially wanted to make my fruit flans without baking my biscuit bases but they were a bit too crumbly for the delicate sides of my fluted flan tins and also a bit too soft under the heavy custard filling and dare I say it a little bit ‘meh’ 🙁 So I made quite a few and decided to add coconut, as it’s a great binder and also tastes awesome. I also came to the conclusion that they just have to be cooked, this sets them hard and also toasts the biscuits and the coconut which gives the base an amazing flavour. So even though they are baked they are still very quick and easy as they are only baked for 10 minutes, no blind baking or any of that fiddly stuff either!
INGREDIENTS
250 grams of Cameo Cremes (or chocolate Oreos
OR 250 grams Vanilla Wines (or other plain biscuits like Milk Arrowroots or Malt)
50 grams desiccated coconut
125 grams butter (only 100 grams if using Cameo Cremes or Oreos, because of their soft cream filling you don’t need as much)
Note* If using plain biscuits and depending on what flavours you are using in your tart you can add spices to your base like x1 teaspoon of cinnamon, mixed spice or ginger. You could also add one tablespoon of lemon, lime or orange zest. If you are feeling really enthusiastic you can finely chop 90 grams of white, milk or dark chocolate and add it to your biscuit crumbs. If you do decide to use chocolate try to chop it fine or your base could be too crumbly, if you are just pressing them to the bottom of a tin, say for a cheesecake the chocolate can be chopped a bit bigger but for the delicate sides of a flan tin it needs to be finer. So chop it small or freeze it first and then use the grater and grate it into the crumbs.
WALKTHROUGH
So this walkthrough is for the chocolate biscuits with the cream centres but is exactly the same method as the plain biscuits, remembering though that these biscuits with a cream filling use 25 grams less butter than the plain biscuits 🙂
To get the oven ready, place one rack just below the centre of the oven and preheat it to 160 degrees/fan-bake oven or 180 degrees/conventional oven, on bake.
Next, using non-stick cooking spray lightly grease a 25cm or 26cm tart/flan tin (or roughly the same sized shallow pie tin). If making a cheesecake this will be enough for the base of a 25cm or a 26cm round cake ring-tin.
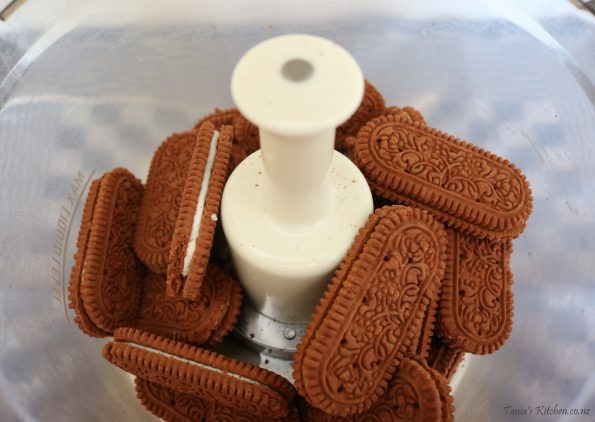
Getting started on the base, place your biscuits into the food processor and process until they are fine or………
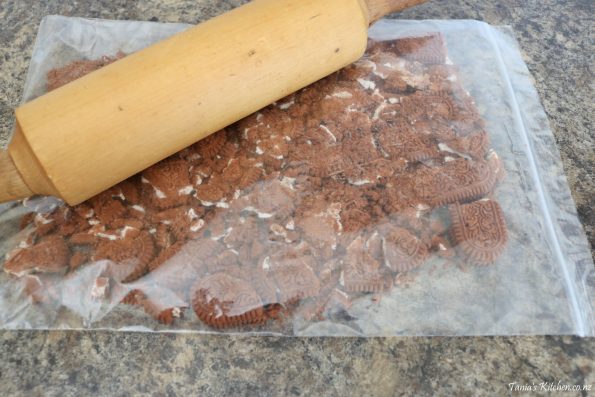
……place them into a re-sealable thick plastic bag and gently whack them with a rolling pin until they are fine.
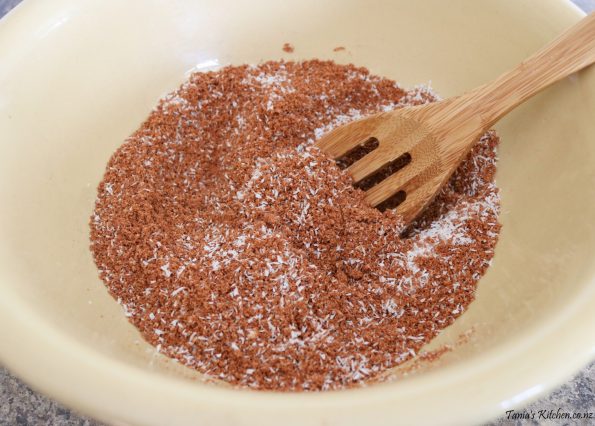
Place the crumbs and the coconut into a medium-sized bowl as well as any extra flavours you are adding (as mentioned earlier).
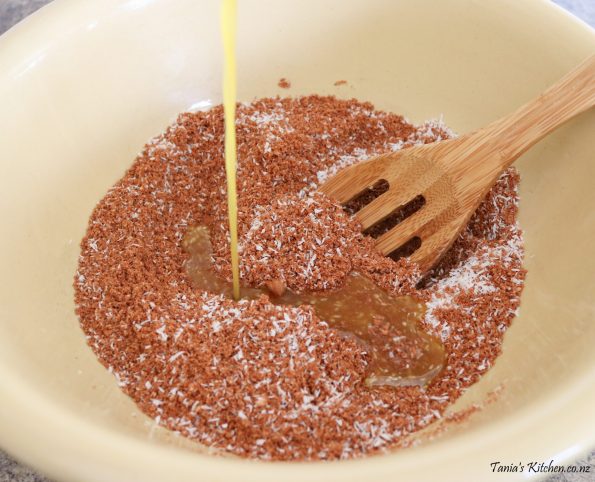
Now chop the butter into cubes then place it in a small saucepan, over a low heat until it’s melted (try not to boil it though) or alternately place it in the microwave for just over a minute.
Then pour it into the biscuit crumbs and stir in really well.
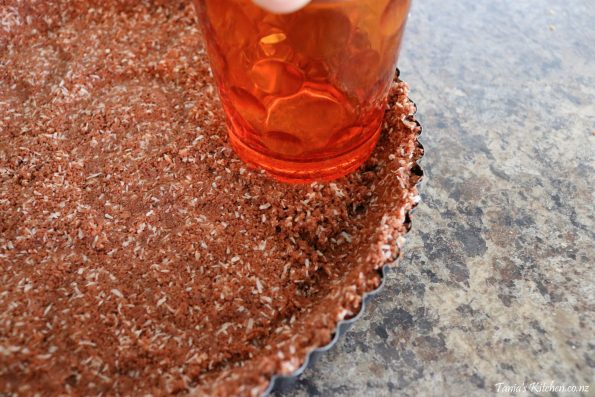
So now, if making a cheesecake press the biscuit crumbs into the base of your cake tin, using the bottom of a glass to press them down firmly.
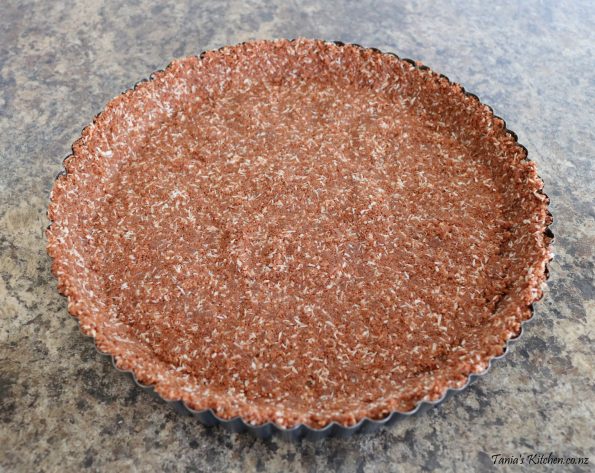
If making a tart, first, using your fingers, press the crumbs firmly into the sides of the tin so that they are around 1/2 a centimetre thick (this takes a bit of time) and then spread the remaining crumbs as evenly as possible over the base and then press them down as firmly as possible also using the bottom of a glass.
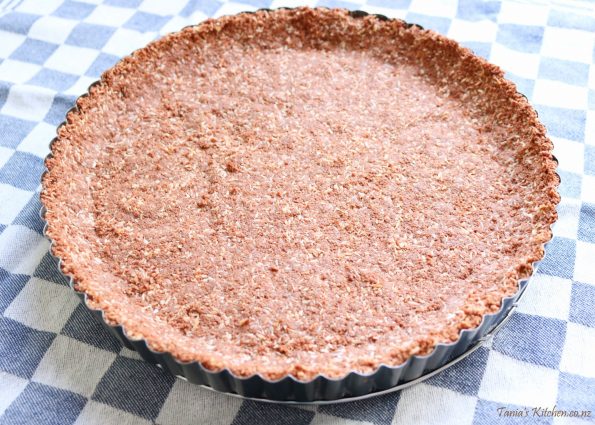
Place your biscuit base in the oven for 10 minutes and then leave to cool on a wire rack for half an hour and then pop into the fridge for at least another half an hour to harden.
Removing a cheesecake from the tin – Once your cheesecake has been made and set according to the recipe instructions, you can pop the ring off your ring-tin and then move a metal spatula (or a knife) around in between the bottom of the tin and the base to loosen it. Then gently manoeuvre your cheesecake onto a plate.
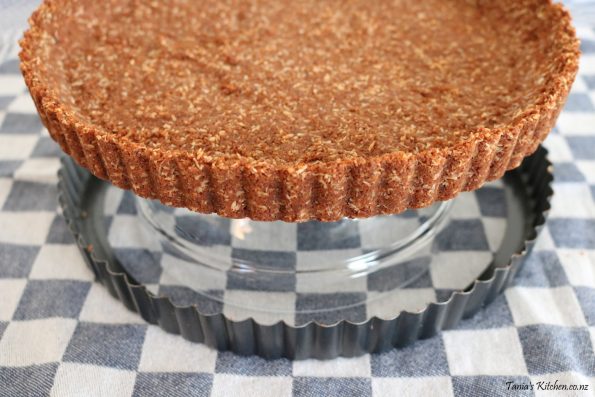
Removing a tart from the tin – I fill my tarts on the plate I am serving them on as it’s much easier getting the base out of the tin without the filling in it! So I get the base on to my desired plate and then fill it and set the filling, then decorate 🙂 So to remove the base from the tin, gently place it (in the tin) on top of an up-side down bowl. Then gently move the outer tin, slowly down towards the bench (the bowl will be in the middle). If the outer tin is not coming away easily look to where it may be stuck and gently place the tip of a sharp knife between the stuck area of crumbs and the tin to loosen that area. So the base will still be sitting on the bowl with the metal base of the tin under it, on the bench. Now take the base from on top of the bowl and place it on the bench. Then move a metal spatula (or a knife) around in between the bottom of the tin and the base to loosen it. Then gently manoeuvre your flan base onto your serving plate.
Note* When you are at the stage of separating the bottom of your flan tin from your flan base to slide it onto your serving plate and it’s your first time, and you are shaking in your boots and feeling daunted about getting it from A to B, do yourself a flavour and leave it on the base, on the plate, it will only be seen when it’s cut up, no biggie, everyone just wants to eat your delicious dessert! It may take a few bases before you get your confidence up, that’s normal. You should see how I throw things around at work, once you have made something many times you know what you can and can’t get away with! Know though that if you do leave it on the base of your tin it will get scratched when your flan gets sliced up with a knife.
That’s it a tasty, not too crumbly crunchy flan base ready to be filled 🙂
So keeping with the quick’n’easy theme visit this page for a simple custard to fill this delicious base 🙂 Now if a delicious custard filled, nutty flan base isn’t enough to impress your peeps go here and make the finest Crème Patissiere to fill your flan and then if you are the gloating type…….gloat about how you can make custard from scratch just like pastry chef lol
Visit this page to see a custard filled, biscuit-base fruit flan and here to see the same fruit flan filled with beautiful crème patissiere.
Storage – Keep covered in the fridge for up to a week. Once a filling has been added it will soften more and more each day and will only be good for another three days.



Leave a Reply