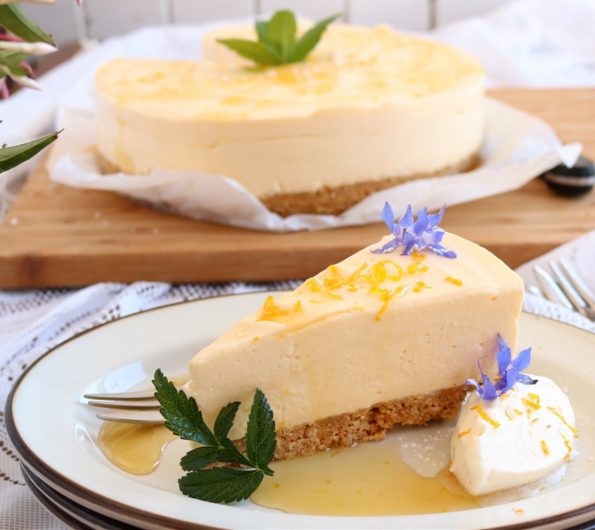
This is my fav winter cheesecake and even though all the pretty daffodils are out for spring I am sooo slooow at adding recipes to my blog that it was actually winter when I shot this but of course, it can be enjoyed during any season….I mean…..hello, it’s CHEESECAKE!…..anytime, any place! Lemon and honey together, speak winter to me like just like strawberries and cream speak summertime. Like the soothing lemon and honey drink when you have a sore throat, because you have a cold…..because it’s winter…..haha.
This cheesecake is lovely, kind of a ‘grown-ups’ one. It’s no-bake (gotta love that right) with a yummy biscuit and walnut base. The filling is sweet from the honey and tart from the lemon and has a deliciously smooth and creamy texture. 🙂
Raw egg alert! I’ve changed this recipe a little but the initial recipe was one I made often at a restaurant I worked at. The Chef had a lot of French and Italian recipes, both countries often use raw eggs in their baking and cooking so I am not sure which country likes raw egg yolks in their cheesecakes. French silk pie uses raw eggs so maybe it’s originally French?
The raw egg yolks are what give this cheesecake it’s smooth, velvety texture and I’d never make it without it! If I was making a cheesecake for children, a pregnant friend or the elderly or anyone with a compromised immune system I would make another kind. But If I made this one without the eggs for myself, I’d just be sad because I’ve only ever enjoyed this delicious version.
In saying that if you don’t want to go there…..into the raw egg territory just simply leave them out…..I mean you can’t miss what you’ve never had right?! It’s too late for me…..I’m a goner, I have for years used raw yolks and whites in dressings, baking and cooking and my poached eggs have always been runny.
I read an article the other day about the oldest living people in the world. One of them was 117-year-old Emma Morano of Italy (the last person alive who was born in the 1800’s) who sadly passed this past April. She ate 2 raw eggs a day for many years, attributing her healthy diet, a lot of sleep and loving relationships to her longevity.
Statistically, you are more likely to be killed driving to the store to buy the eggs than from eating them raw. Still just because I am little casual about consuming raw eggs doesn’t mean you need to be so you can just leave them out or be careful o not leave the cheesecake out on the bench and not serve it to the above mentioned. And if you do partake please use the freshest of free range eggs.
INGREDIENTS
Base
1 x 250 g / 8 ¾ oz packet plain biscuits (I use Griffins vanilla wines)
¾ cup walnut pieces or halves
125 g / 4 oz butter
¼ cup honey (any type)
Cheesecake filling
1 ½ cups fresh, full cream (an extra ¼ cup cream if you’re omitting the eggs)
3 large, 6 medium or 12 small lemons (you’ll need 1 tablespoon of the zest & ¾ cup of the juice)
3 x 250 g / 8 ¾ oz pottles cream cheese (at room temperature)
1 cup castor sugar
3 medium-sized, fresh, free-range eggs (you’ll only need the yolks)
¼ cup honey (any type)
3 ½ teaspoons gelatine granules
Optional – extra runny honey for drizzling
Serves 10 – 12
Notes
- So again, it will still taste great if you leave out the eggs just add another ¼ cup of cream to the recipe, making the measure 1 ¾ cups.
- Just wanted to again mention why I always use castor sugar. It’s because it has a finer texture and I think in return my baking has a better texture when I use it, but of course if you just have normal white sugar, it’s all good!
STEP BY STEP
If you haven’t already take the cream cheese from the fridge to bring it back to room temp.
Base
First lightly spray a 23 cm / 9 inch round, loose-bottomed cake tin with non-stick cooking spray.
- When securing the base inside the tin, if it has a tiny lip around it, turn it up-side-down inside the tin. So that later on when you are running a knife in between the cheesecake base and the tin base and then sliding the cheesecake onto a serving plate, there won’t be that little lip making it more difficult than it needs to be.
Now using a food processor, process the biscuits and the walnuts until they are crumbs (as big as large breadcrumbs) and then place them into a medium-sized bowl.
- If you don’t have a food processor you can use a thick, resealable plastic bag. Fill it with the biscuits and the walnuts, lay it flat on the bench, lay a tea-towel over it and use a rolling pin to bash and roll the biscuits until they are well crushed.
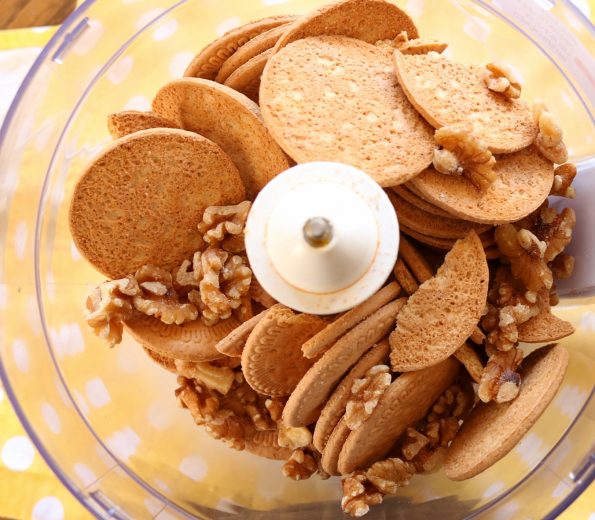
Then, cut the butter into cubes and place it into a small saucepan along with the honey. Melt the two together over a low heat.
- Alternatively, place both in a microwave jug and melt them together in the microwave.
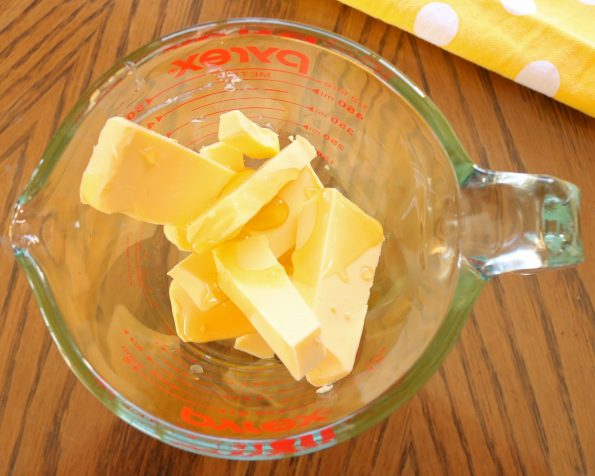
Add the melted butter and honey to the biscuit and walnut crumbs and mix it all together.
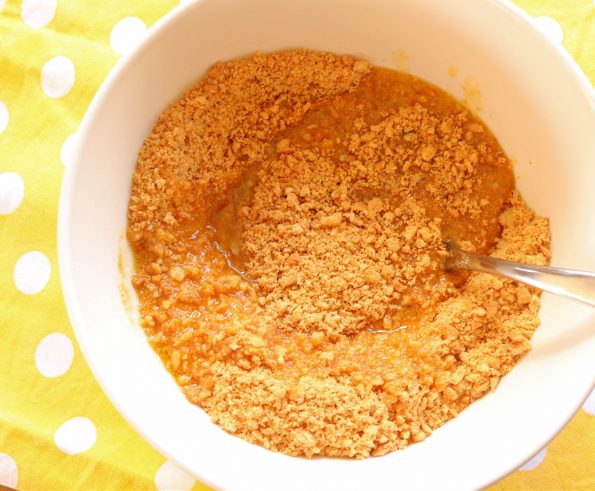
Spoon the crumbs into the cheesecake tin, spread them out as evenly as possible and then press them down firmly using a metal spatula or a flat-bottomed cup or glass.
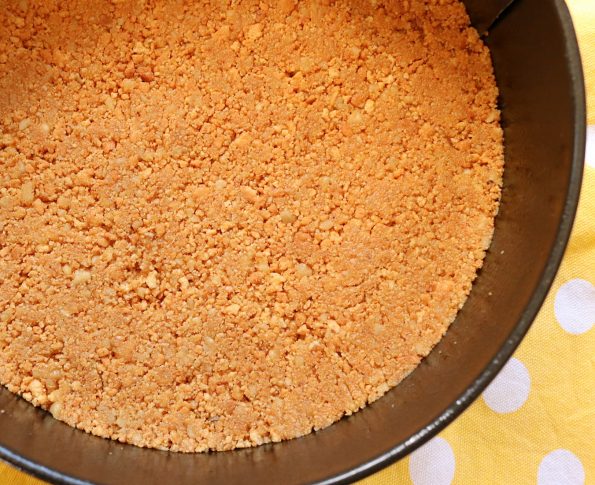
Place the base in the fridge to set whilst you make the filling.
Cheesecake Filling
Getting cracking with the actual cheesy part….
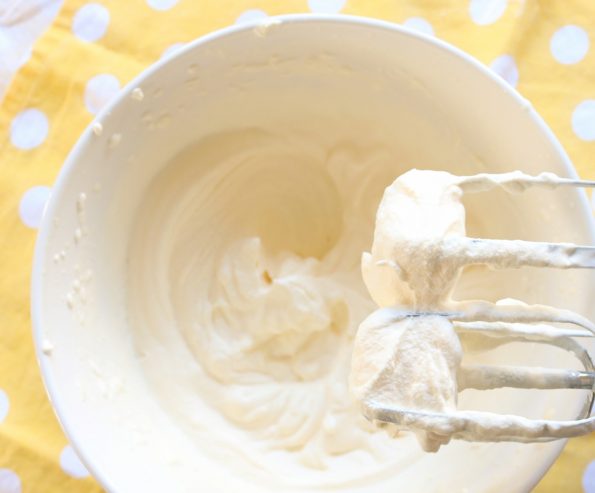
First, place the cream in a medium-sized bowl and using an electric beater, on a medium speed, beat the cream for around 3 minutes or until stiff peaks form (if you pulled some up with a spoon it should stand up stiff). Set it aside for now.
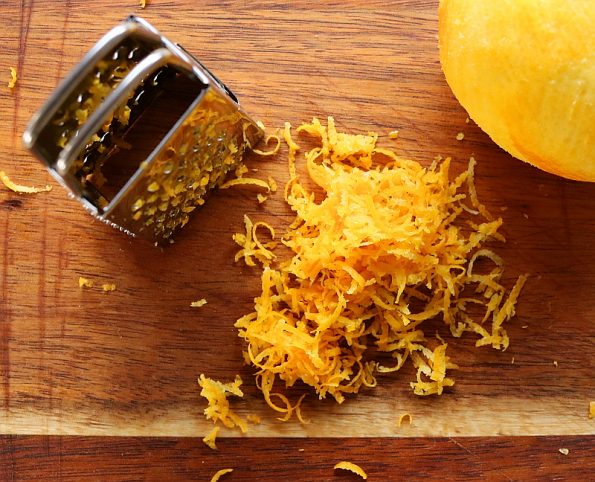
Next, zest one of the lemons…
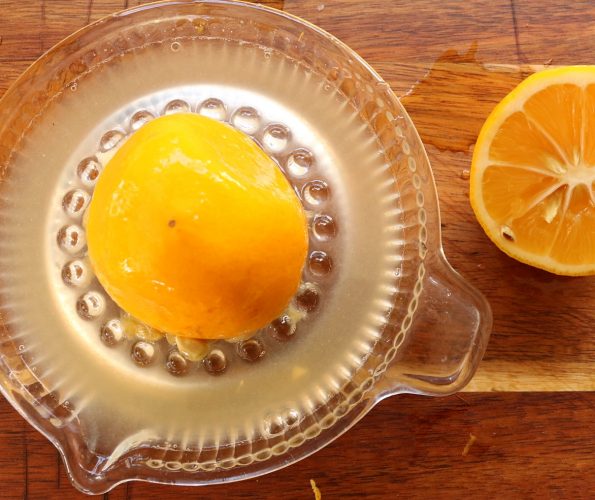
…and squeeze the rest to get the ¾ cup of juice needed. 🙂 Also set aside for now.
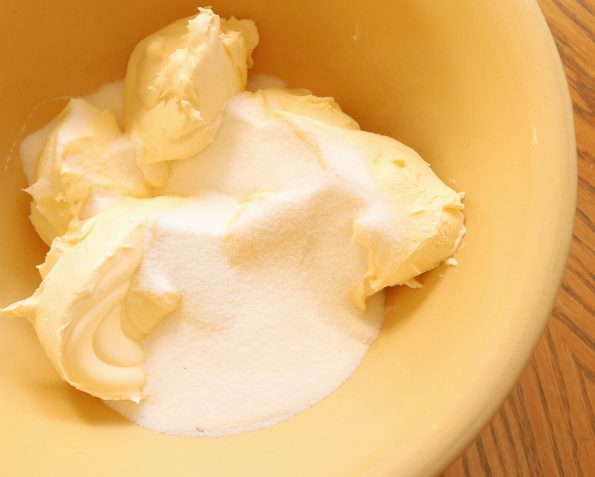
Next, place the cream cheese and the sugar in a large bowl and using the beater again, on a medium speed, beat it all together for around 3 minutes or until smooth.
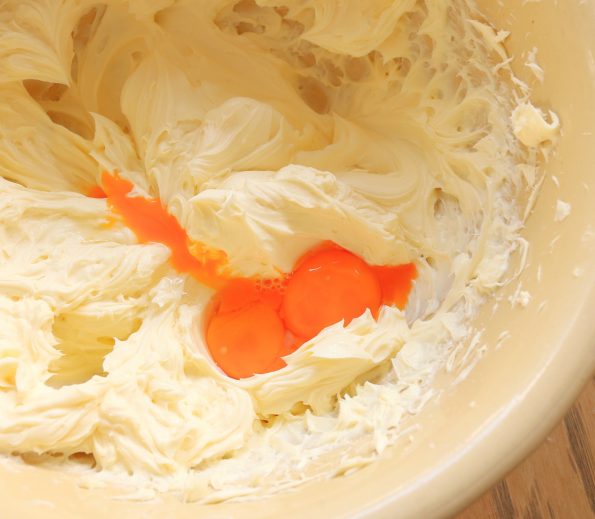
Separate the eggs and add the yolks. Continue to beat until they have blended in.
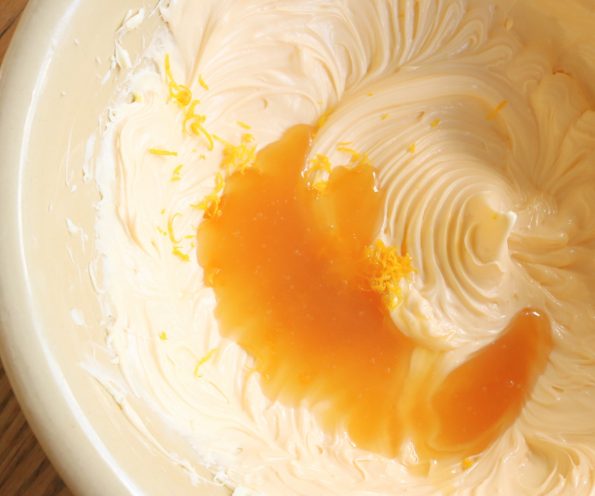
Then add the lemon zest and the honey and continue beating until it’s nicely blended in also.
- If you have only hard honey, you can measure it out and then either melt it in a wee saucepan over a low heat or pop it in the microwave for 30 seconds or so, until it’s runny.
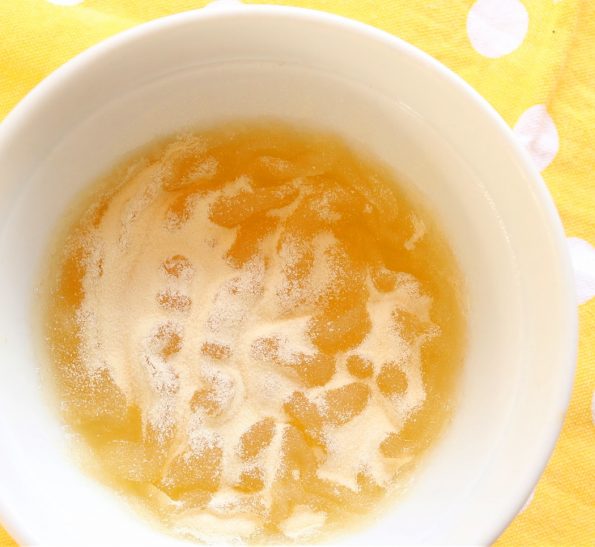
Place the lemon juice into a small heatproof bowl and sprinkle the gelatine over the surface.
Now boil the jug (kettle).
Whilst it’s boiling, find another heatproof bowl that is larger than the small bowl containing the water and gelatine and place the smaller bowl inside it.
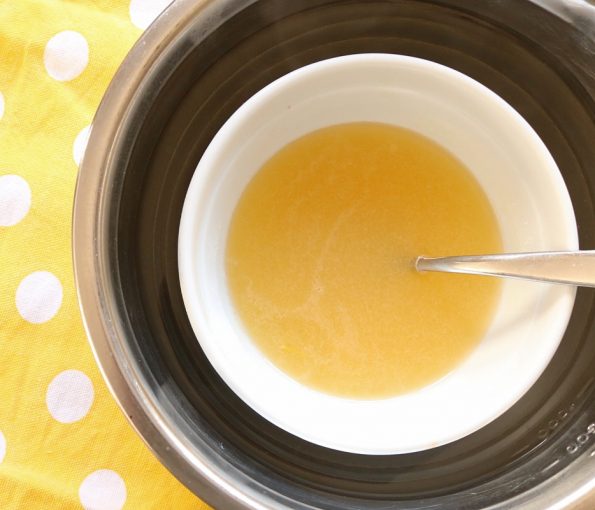
Carefully pour some boiling water into the larger bowl so that it reaches the same height as the water and the gelatine inside the smaller bowl…..being careful not to get any boiling water inside the small bowl.
With a teaspoon mix, the water and gelatine together until all of the gelatine has dissolved (this will only take a minute).
Then remove the gelatine bowl from the larger bowl and leave it sitting on the bench for a few minutes until it feels like it has cooled down to around the same temperature as the cream cheese mixture (stirring occasionally so that it doesn’t stick to the sides).
Scrape every little bit of the dissolved gelatine and water into the bowl with the cream cheese mixture and use the beaters again to mix it in well.
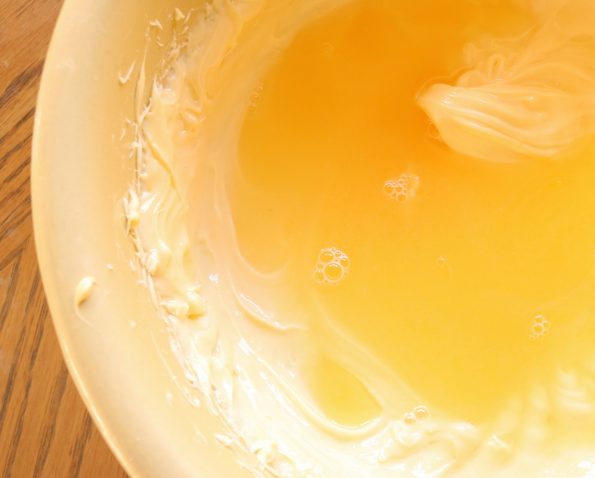
Lastly, use a large spoon or spatula to carefully fold the whipped cream into the cream cheese mixture until it’s just combined.
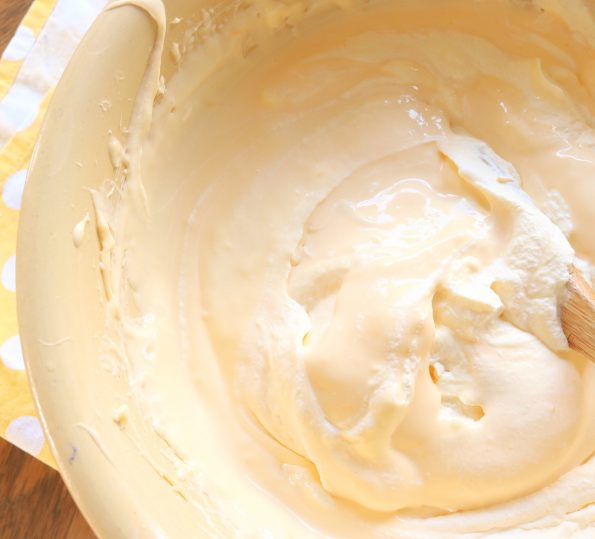
Scrape the cheesecake filling into the tin and spread it around on top of the set base.
Place it into the fridge to set for at least 2 hours.
- You can smooth the top over with a metal palette knife or you can swirl it around, whatever you think looks better. 🙂 I personally like the ‘rustic’ look.
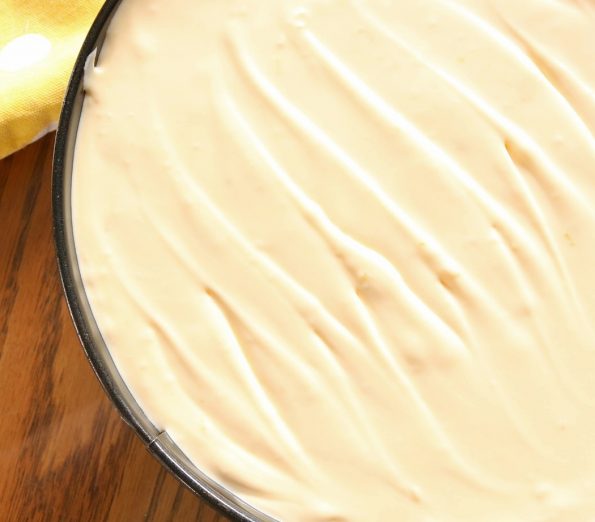
Once set, release and remove the tin ring and then run a large knife or spatula around in between the base of the cheesecake and the bottom of the tin to loosen it.
Using a large spatula (or two) carefully slide the cheesecake onto a serving plate.
- If you’ve used a ring tin that doesn’t have a latch on the side you can try this to get it out. Place the cheesecake on top of an upturned bowl or similar (smaller than the tin) and slide the ring down off the cheesecake. If it’s being stubborn run a knife around it between the cheesecake and the sides of the tin. Then place the base and cheesecake on the bench. Run a long knife around in between the base of the tin and the base of the cheesecake to loosen it and then slide the whole thing onto a flat serving plate.
Use a large sharp knife to cut it into 12 pieces (or 10 for larger portions).
- I like to wipe the knife with a damp cloth between cuts so as not to get crumbs from the knife on the top…..just me being a fussy tart probably!
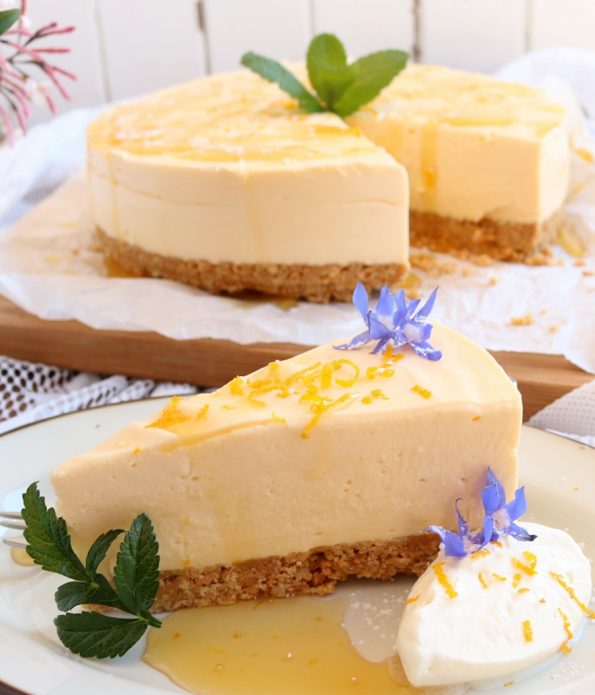
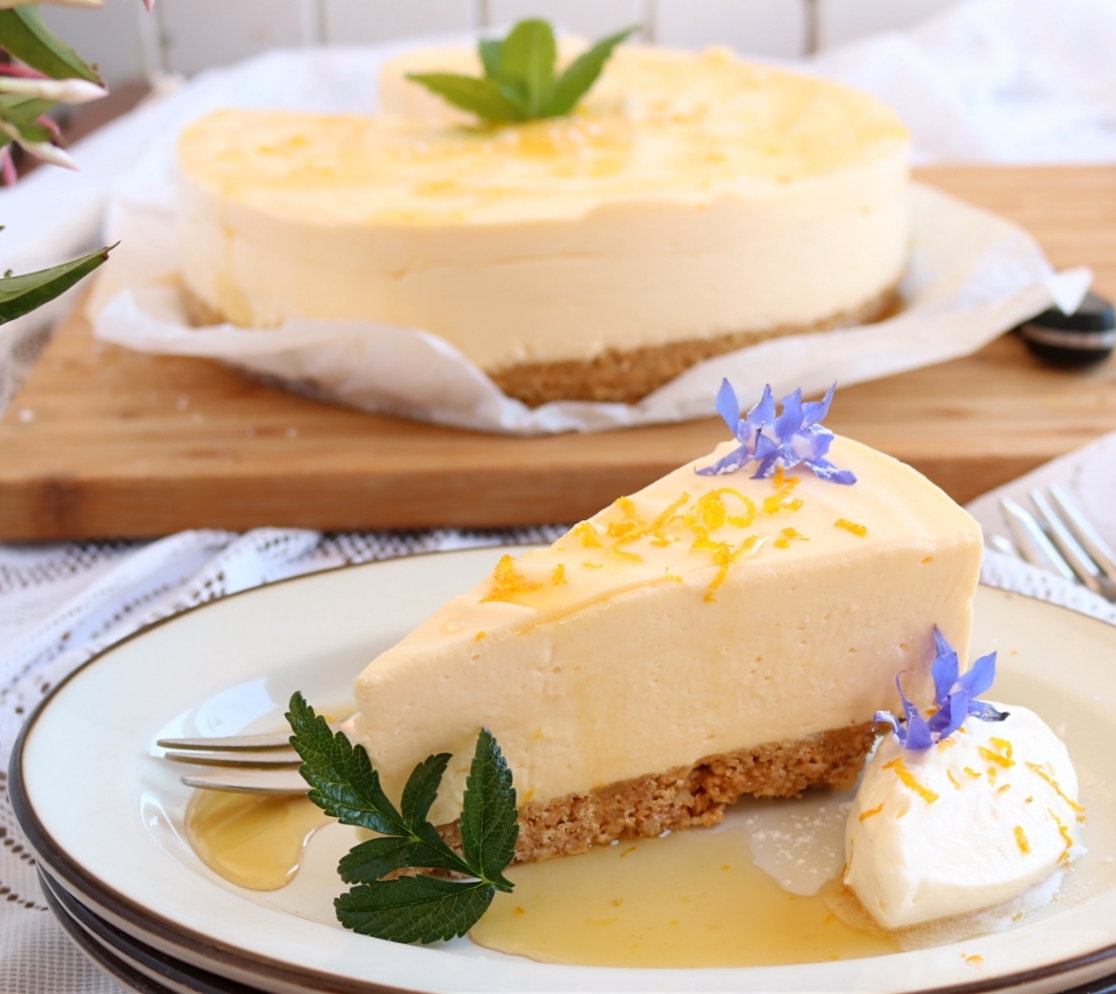
It’s really a ‘stand-alone’ cheesecake, it doesn’t need anything else added to it but if you like you can serve it with some nice curly lemon zest, a little whipped cream and/or garnish it with some mint (I’m lucky enough to have borage flowers and angelica in my garden) and if you like use some extra runny honey to drizzle over either the whole thing or each individual piece before serving.
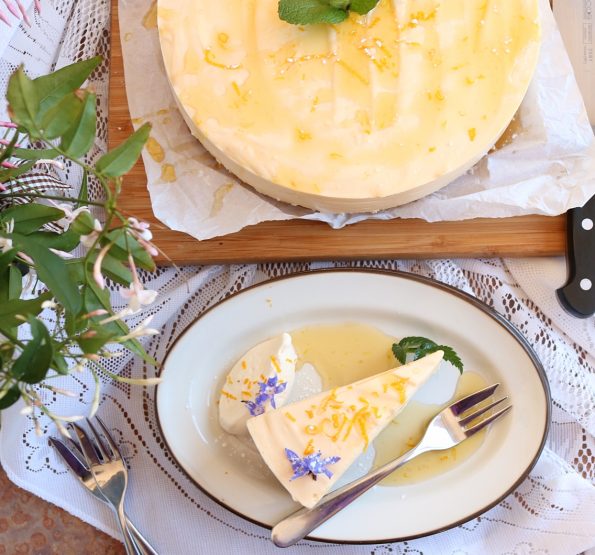
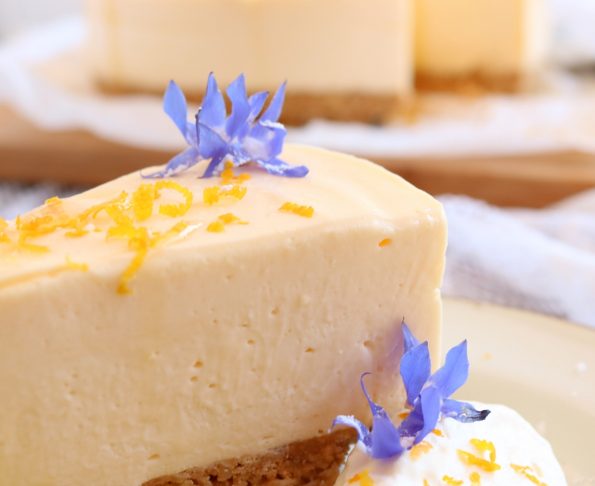
Warning…..food close up! Not to scare you at all, I haven’t lost my mind (I lost that years ago) but to show you the lovely texture of this delightful cheesecake. 🙂
- I was informed by my tutor at pastry school that if the tip of a piece of cheesecake falls over slightly that it means there is just the right amount of gelatine in it.
Keepin’ it fresh – I like to lay a long piece of cling wrap out on the bench (enough to wrap around the sides of the cheesecake) and then folded into 2 or 3 layers, so it matches the height of the cheesecake. Then I wrap it around the cheesecake quite firmly so that no air can get in and then I loosely cover the top with cling wrap. If not wrapped well cheesecakes will form a little crust and turn a little yellow. This will ensure it is kept at its best for up to 3 days (if using the eggs) and 5 days (eggless) in the fridge.
Related Posts
This delicious lemon & honey flavoured no-bake cheesecake has a yummy biscuit & walnut base & a velvety smooth texture. A gorgeous addition to any meal.
Ingredients
- 1 x 250 g / 8 ¾ oz packet plain biscuits (I use Griffins vanilla wines)
- ¾ cup walnut pieces or halves
- 125 g / 4 oz butter
- ¼ cup honey (any type)
- 1 ½ cups fresh, full cream (an extra ¼ cup cream if you're omitting the eggs)
- 3 large, 6 medium or 12 small lemons (you'll need 1 tablespoon of the zest & ¾ cup of the juice)
- 3 x 250 g / 8 ¾ oz pottles cream cheese (at room temperature)
- 1 cup castor sugar
- 3 medium-sized, fresh, free range eggs (you'll only need the yolks)
- ¼ cup honey (any type)
- 3 ½ teaspoons gelatine granules
- Optional - extra runny honey for drizzling
Instructions
- If you haven't already take the cream cheese from the fridge to bring it back to room temp.
- Lightly spray a 23 cm / 9 inch round, loose bottomed cake tin with non-stick cooking spray.
- In your food processor process the biscuits and the walnuts until they are crumbs and then place them into a medium sized bowl. *Alternatively place them into a thick, resealable plastic bag, lay a tea-towel over it and use a rolling pin to crush them.
- Cut the butter into cubes and place it into a small saucepan along with the honey. Melt the two together over a low heat (alternatively, place both in a microwave jug and melt them together in the microwave).
- Add the melted butter and honey to the biscuit and walnut crumbs and mix it all together.
- Spoon the crumbs into the cheesecake tin, spread them out as evenly as possible and then press them down firmly using the back of the spoon.
- Place the base into the fridge to set whilst you make the filling.
- In a medium sized bowl using an electric beater, on a medium speed, beat the cream for around 3 minutes or until stiff peaks form. Set aside.
- Next, zest one of the lemons and squeeze the rest to get the ¾ cup of juice needed. Also set aside.
- Place the cream cheese and the sugar into a large bowl and using your electric beater, on medium speed again, beat it all together for around 3 minutes or until smooth.
- Separate the eggs and add the yolks. Continue to beat until they have all blended in.
- Add the lemon zest and the honey and continue beating until it's nicely blended in also. *If you have only hard honey, you can measure it out and then either melt it in a wee saucepan over a low heat or pop it in the microwave for 30 seconds or so.
- Place the lemon juice into a small heatproof bowl and sprinkle the gelatine over the surface.
- Now boil the jug (kettle). Whilst it's boiling, find another heatproof bowl that is larger than the small bowl containing the water and gelatine and place the smaller bowl inside it.
- Carefully pour some boiling water into the larger bowl so that it reaches the same height as the water and the gelatine inside the smaller bowl, being careful not to get any boiling water inside the small bowl.
- With a teaspoon mix, the water and gelatine together until all of the gelatine has dissolved.
- Remove the gelatine bowl from the larger bowl and leave it sitting on the bench for a few minutes until it feels like it has cooled down to around the same temperature as the cream cheese mixture (stirring occasionally so that it doesn't stick to the sides)
- Scrape every little bit of the dissolved gelatine and water into the bowl with the cream cheese mixture and use the beaters again to mix it in well.
- Use a very large spoon or spatula to carefully fold the whipped cream into the cream cheese mixture until it's just combined.
- Scrape the cheesecake filling into the tin and spread it around on top of the set base 9you can smooth it over with a palette knife or twirl it around with the back of a spoon). Place it into the fridge to set for at least 2 hours.
- Once set, release and remove the tin ring and then run a large knife or spatula around in between the base of the cheesecake and the bottom of the tin to loosen it. Using a large spatula (or two) carefully slide the cheesecake onto a serving plate.
- Use a large sharp knife to cut it into 12 pieces (or 10 for larger portions), wiping clean between cuts.
- Is just lovely served alone or with extra honey drizzled over each piece before serving and/or with whipped cream. Garnish with mint sprigs.
- Well wrapped with cling wrap this will keep in the fridge up to 3 days (with the egg yolks) and 5 days (without).


Leave a Reply