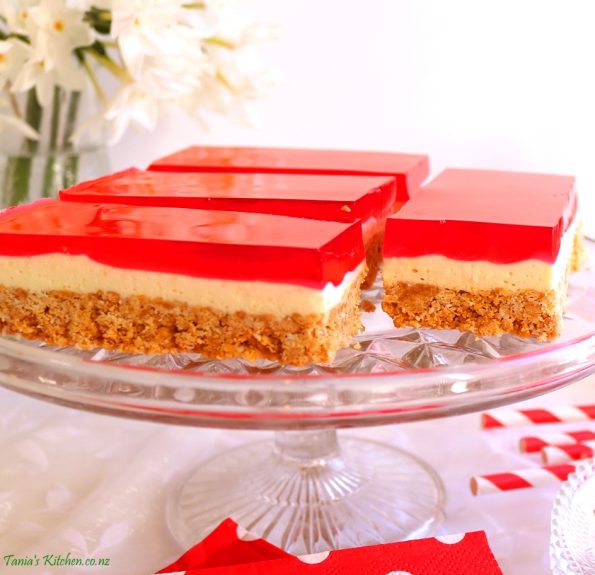
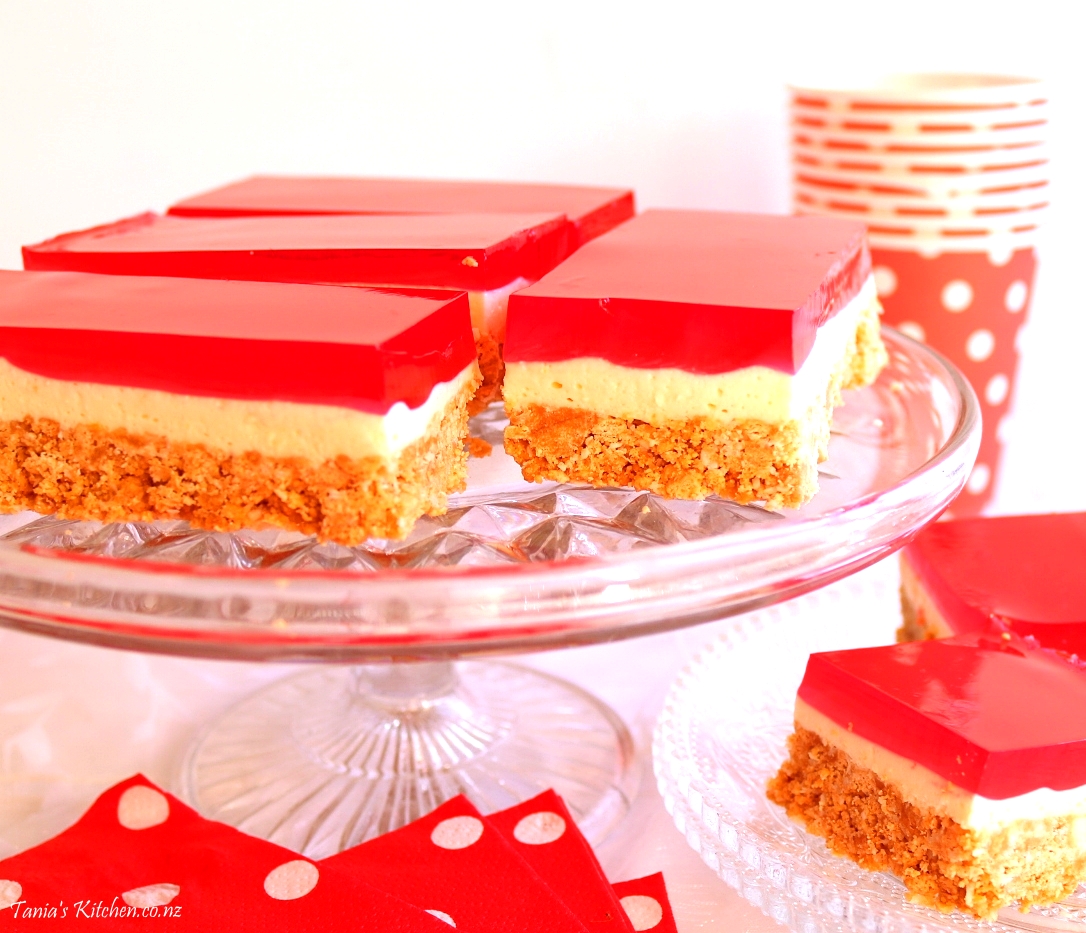
Hi there! 🙂 I just want to share this cute little no-bake cheesecake recipe. A friend of mine used to make this all the time and I think it’s a Nestle recipe as I’ve seen the basic recipe on the label of a condensed milk tin as the cheesecake part is a simple mix of cream cheese and condensed milk with lemon zest and juice added. My friend’s also had a wobbly jobbly jelly topping which makes it cute for kids birthdays or just those of you who are jelly fans and I’ve gone and added coconut and some white chocolate to the base so it’s no so ‘meh’. It’s really is not just yummy but super cute. 🙂
INGREDIENTS
1 x 85g packet jelly (jello) crystals, any flavour
Base
125 g butter
1 x 250 g packet of plain biscuits
1/2 cup desiccated coconut
Cheesecake Filling
125 g cream cheese (at room temperature)
200 g / ½ cup + 2 tablespoons condensed milk
1 large lemon (you will need 1/4 cup juice from it & also 1 tablespoon of the zest)
1 1/2 teaspoons gelatine
Optional – 50 g (approx 1/3 cup, when chopped) white chocolate
Makes x 12 pieces
Notes
- This cheesecake recipe makes exactly enough to fill a usual sized slice tin. If you add any extra on top of the existing ingredients it won’t fit (just letting you know in case you are tempted to throw in a few more bikkies or add another cup of jelly!).
- This recipe uses exactly 2 cups of jelly. Our boxes of flavoured Jelly crystals here in New Zealand makes 2 cups but I am not sure about Jelly (Jello) in other countries.
- If you would rather have the cheesecake flavoured with limes, use 3 x medium-sized limes (you will need 1/4 cup juice from them & also 1 tablespoon of the zest).
STEP BY STEP
Base
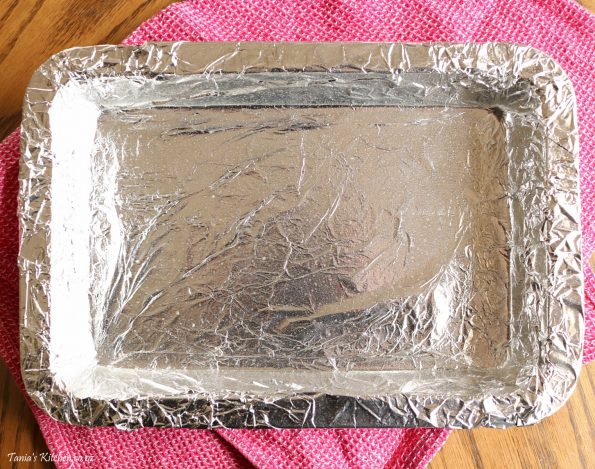
First line a standard size slice tin (27.5 cm L x 18 cm W x 4 cm D) slice tin with aluminium foil, pressing it nicely into the bottom and sides. then give it a good spray with non-stick cooking spray.
- Warning – Try not to use baking paper as the Jelly soaks into it and runs down through the sides and then along the bottom giving a soggy base. 🙁
- You can also make this in a casserole dish or pyrex dish that’s the same size.
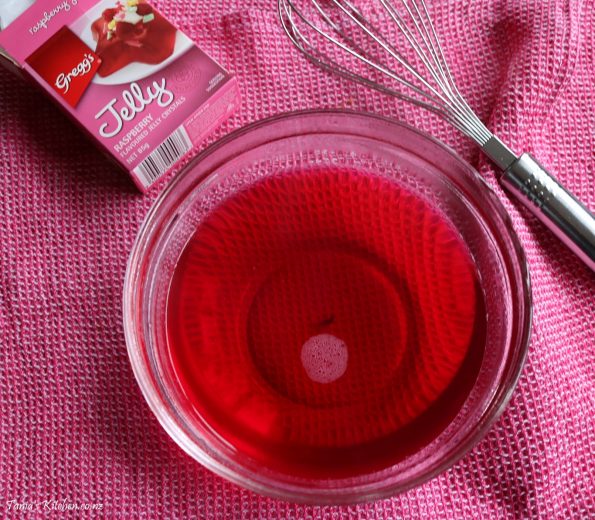
Next, following the instructions on the back of the jelly (jello) packet (it should make 2 cups of jelly) and leave it aside to cool down while you make the rest.
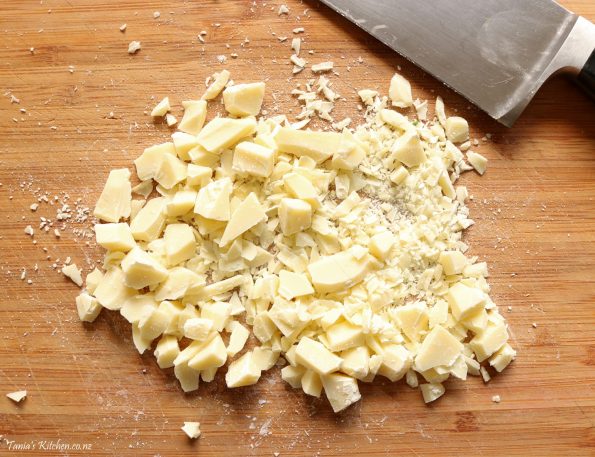
If you are adding white chocolate to the base, use a large knife to chop it up, roughly into crumb-like pieces and then leave it aside.
- If the pieces are too big when you go to cut the cheesecake from the fridge the bigger bits of large chocolate will cause the base to crumble apart, so I find that just little crumb size bits are the best.
To make the biscuit base, first, place the butter in a small saucepan and slowly melt it over a low heat…..then set it aside.
- Unless it says too, never boil the butter in a recipe it separates.
Next, in a food processor, process the biscuits until they are as fine as coarse breadcrumbs. If your biscuit crumbs are larger than crumbs the base will break up a lot when you cut it. 🙁
- If you don’t have a food processor place the biscuits into a resealable bag, cover it with a tea-towel and bash and roll them with a rolling pin.
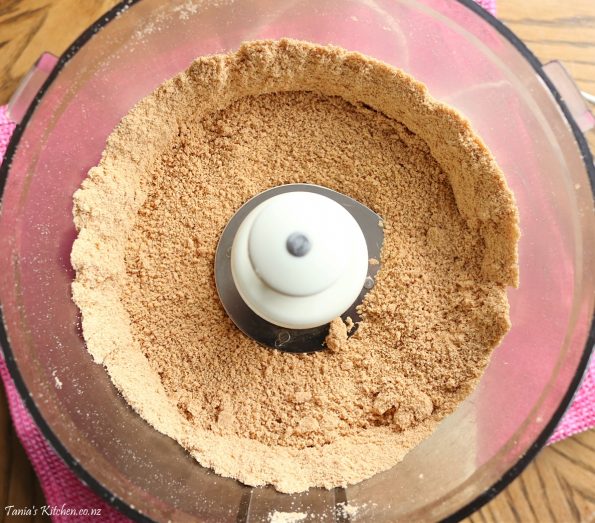
Place the biscuit crumbs into a large bowl, add the coconut and if using it, the white chocolate.
Then add the melted butter…..
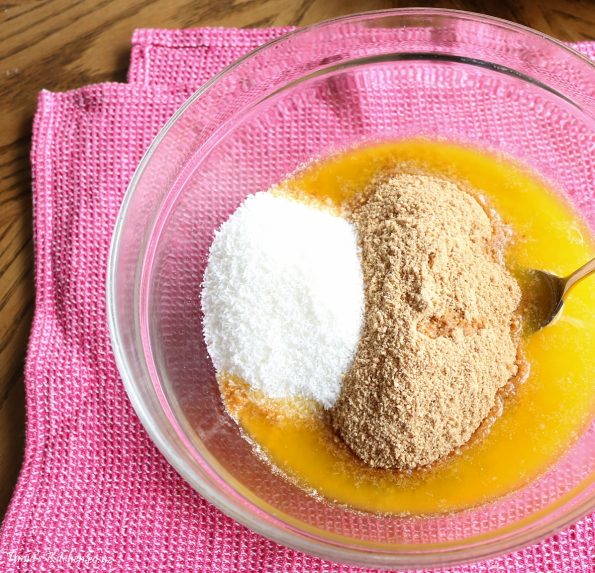
…..and mix it together until it’s all thoroughly combined.
Divide the biscuit mix evenly into the tin…..
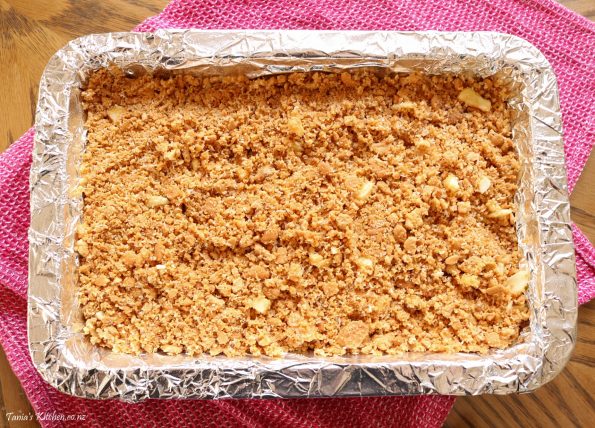
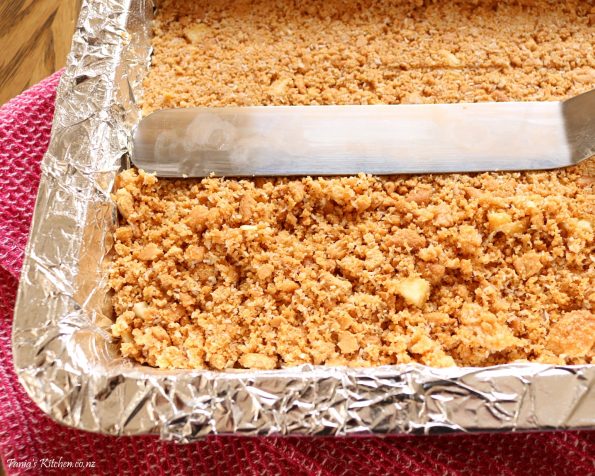
…..and then use the flat bottom of a glass or a metal spatula to press it down as evenly and as firmly as possible.
Place the base into the fridge to set whilst you make the filling.
Cheesecake Filling
Place the cream cheese and the condensed milk into a medium sized bowl.
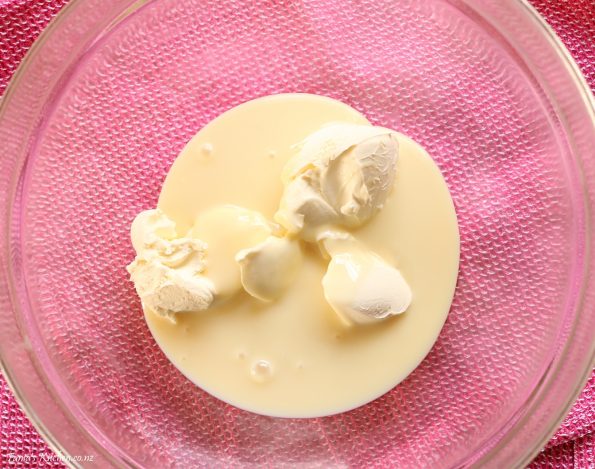
Now, using an electric beater on high, beat the cream cheese and the condensed milk together for around 3 minutes or until they are smooth and then set the bowl aside (just out on the bench).
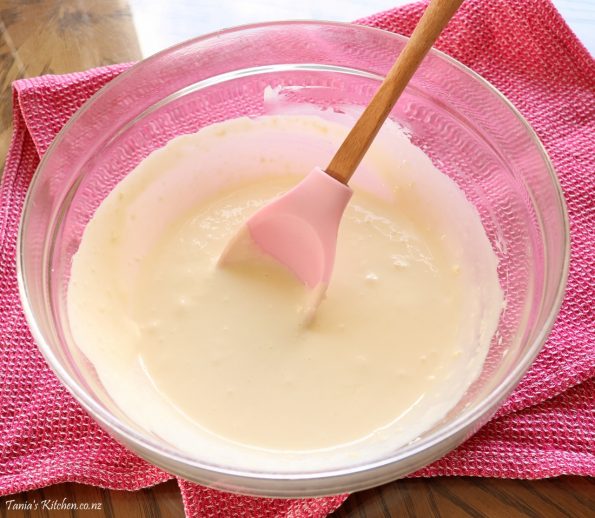
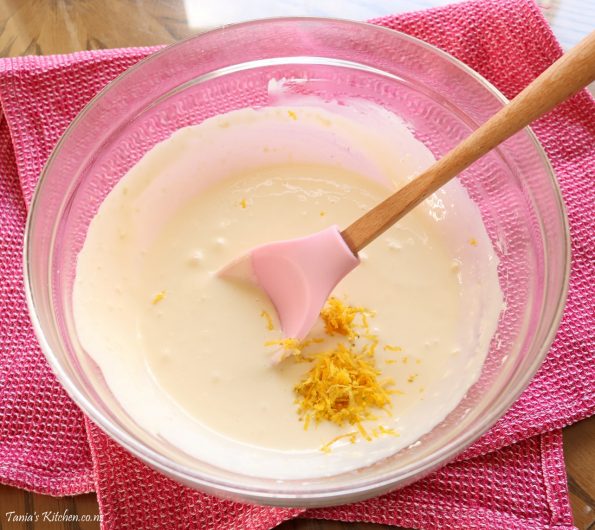
Next, zest the lemon and add it to the bowl with the cream cheese and the condensed milk.
Then squeeze the juice from the lemon and place it into a heatproof ramekin or a very small bowl. Sprinkle the gelatine over top of the juice, mix it in with a fork and leave it for 5 minutes.
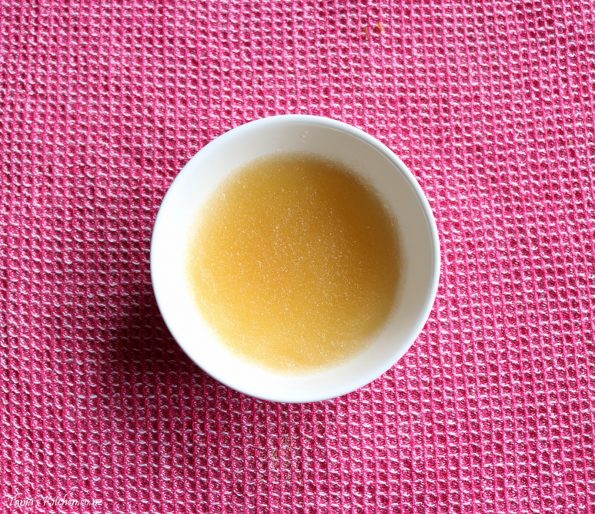
Now boil the jug (kettle).
Find another heatproof bowl that is larger than the small bowl containing the lemon juice and the gelatine and place the smaller bowl containing the juice inside it.
Carefully pour some boiling water into the larger bowl so that it reaches the same height as the lemon juice and the gelatine inside the smaller bowl…..being careful not to get any boiling water inside the small bowl.
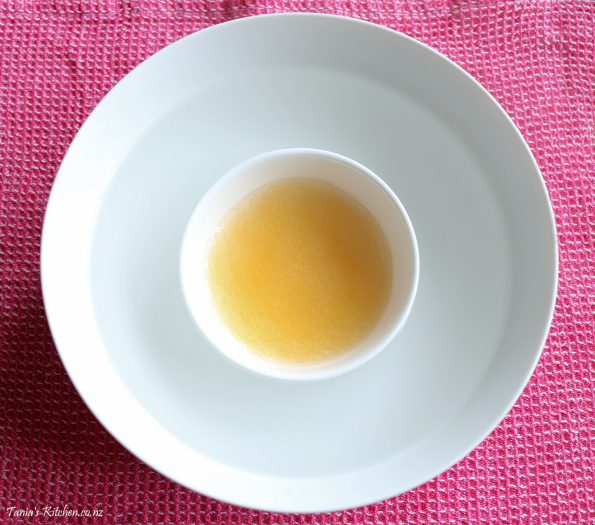
With a teaspoon mix, the juice and gelatine together until all of the gelatine has dissolved…..this will only take a minute.
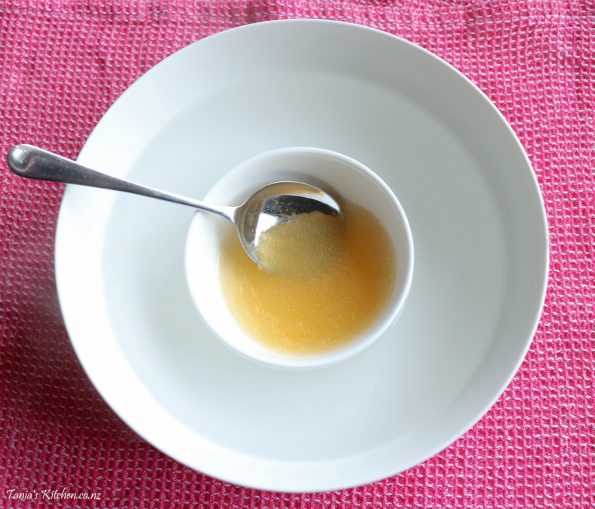
Then remove the gelatine bowl from the larger bowl and leave it sitting on the bench until it feels like it has cooled down to around the same temperature as the cream cheese and condensed milk.
Once cooled, scrape every bit of the gelatine/juice into the bowl with the cream cheese, the condensed milk and the lemon zest…..
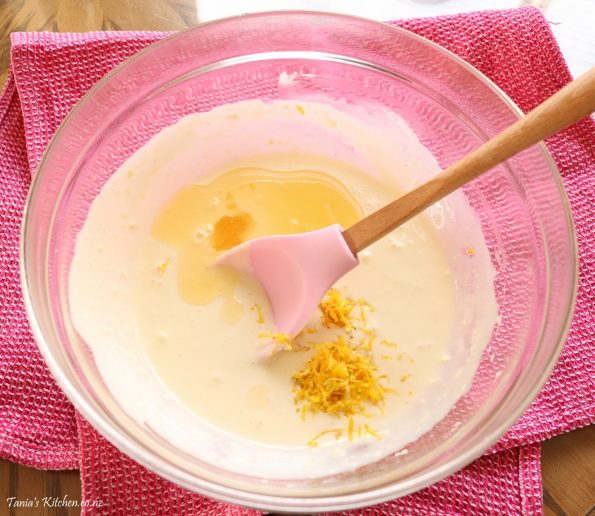
…..and using a spoon mix it all together.
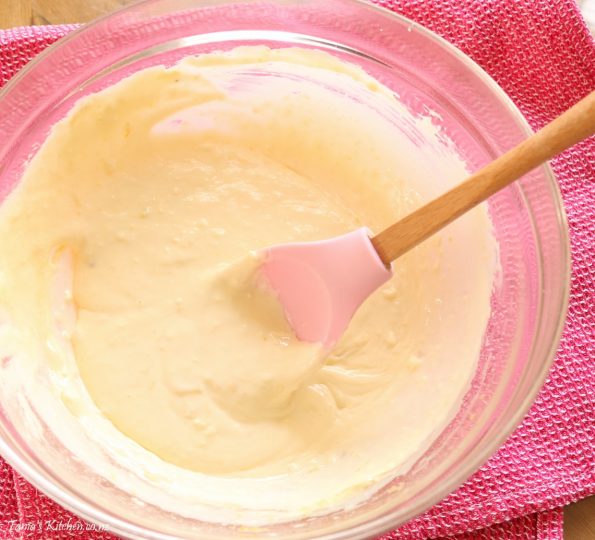
Remove the base from the fridge and pour the cream cheese mixture over it and then using a metal spatula or the back of a spoon carefully spread it out evenly as possible, making sure it meets the edges of the tin in all places so the jelly won’t seep through.
Then return it to the fridge for at least 30 minutes.
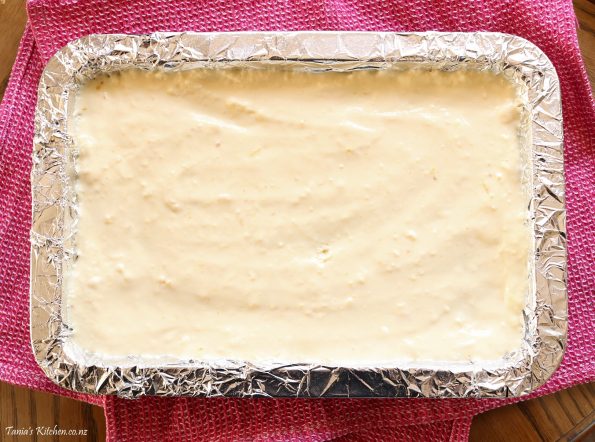
Then remove it from the fridge and place it on a larger tray (in the case of spillage).
Now it’s time to pour the cooled jelly on. I pour mine over the back of a large spoon or it will create a hole in the filling.
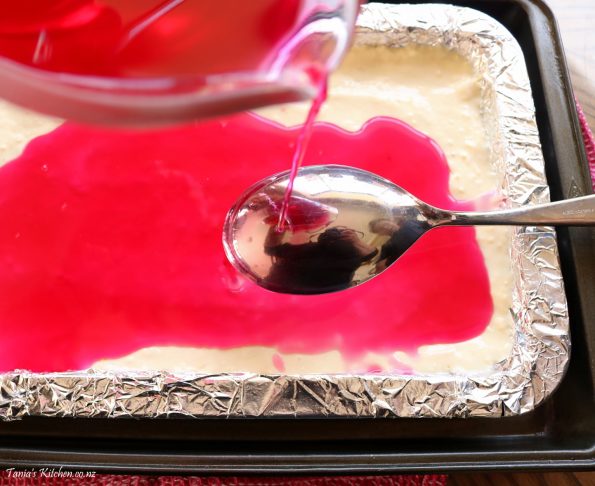
Once all poured over, carefully place it back into the fridge and leave it to set for 1 hour……it will be set ‘to the touch’.
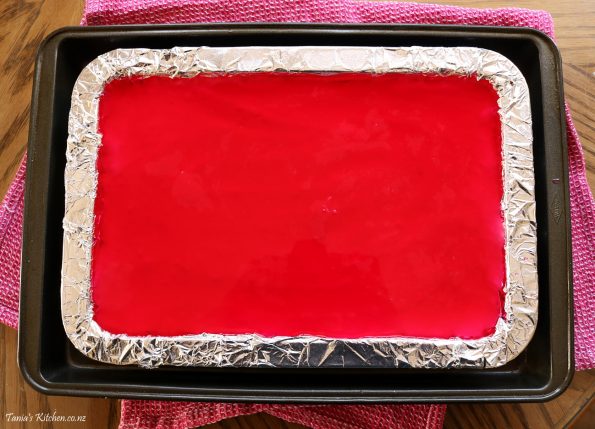
Once set, undo the outer cooking foil and gently lift it from the tin, placing it on a board for cutting.
- You can cut it in the tin if you don’t mind the knife marks.
Then carefully peel back the foil from the edges…..
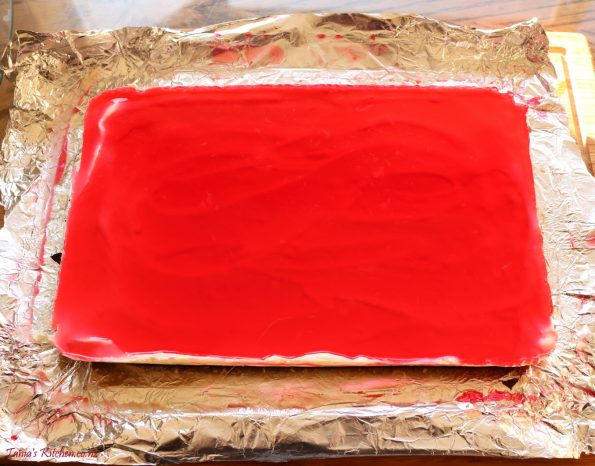
…..and use a very big, sharp knife to slice your cheesecake into pieces.
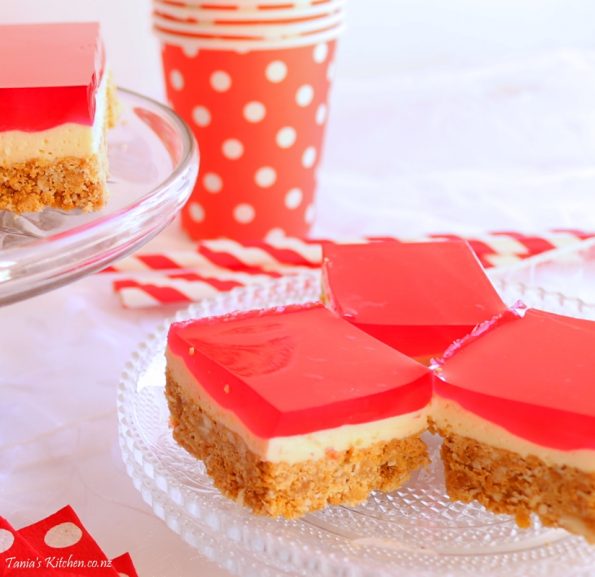
- When cutting anything with a soft centre or icing I always wipe my knife with a damp cloth in between cuts or the dirty knife will leave crumbs on top of your perfect looking baking!
Storage – Keeps well in the fridge for up to five days. I wouldn’t cling wrap it as it will stick to the jelly, I would place it on a plate and loosely cover it with cooking foil or place it in an airtight container…..it won’t be in there long anyway….wink.
Are you a wobbly, jiggly, jelly fan? What’s your favourite flavour?
Related Posts
A cute little no-bake lemon flavoured cheesecake with a coconut, white chocolate, biscuit base & a wobbly jelly top.
Ingredients
- 1 x 85 g packet jelly (jello) crystals, any flavour
- 125 g butter
- 1 x 250 g packet of plain biscuits
- 1/2 cup desiccated coconut
- 125 g cream cheese (at room temperature)
- 200 g / 1/2 cup + 2 tablespoons condensed milk
- 1 large lemon (you will need 1/4 cup juice from it & also 1 tablespoon of the zest)
- 1 1/2 teaspoons gelatine
- 50 g (approx 1/3 cup, when chopped) white chocolate


Leave a Reply