
I really enjoy making these Glass Window Biscuits, they definitely bring out the kid in me! They are so cute n pretty and fun to bake with the kids in the holidays or for birthday parties. I’ve been dying to give my ‘people cutters’ and my cute little ‘kiwi cutter’ glass hearts for so long now and finally made some time 🙂 They turned out super cute so I did a baking ‘delivery’ run. If you are an avid home-baker you know how it goes…..some to Nana simply because she loves them, some to my work-mate who has a little girl who loves pretty things and some to the lady down the street to say thanks for always bringing ‘houdini’ home (our escapee fox terrier).
I few weeks ago I made some ‘hearts of glass’ for Valentines day couldn’t put them on my blog because I wasn’t happy with the bland biscuit (ugh!) or the taste of the actual lolly once cooked. I used ‘raspberry drops’ and it may have been something I did wrong but they tasted a bit burnt so this time I tried Heards boiled lollies and they taste heaps better and they also have a packet of mixed colours which is cool. Also I made the cookie dough a bit tastier by using a softer dough made with custard powder with a bit of vanilla, similar to a yo-yo biscuit…..so here’s my best effort…..
INGREDIENTS
170 grams butter
1/2 cup icing sugar (confectioners sugar)
1/4 teaspoon vanilla essence
1 3/4 cups standard flour
1/2 cup custard powder
12 boiled lollies/candy (I used Heards)
makes x 12 biscuits
Cutters – I used Gingerbread ‘Guy & Gal’ cutters that are 10 cm W x 13.5 cm H (approx 4 inches W x 5 1/2 inches H).
WALKTHROUGH
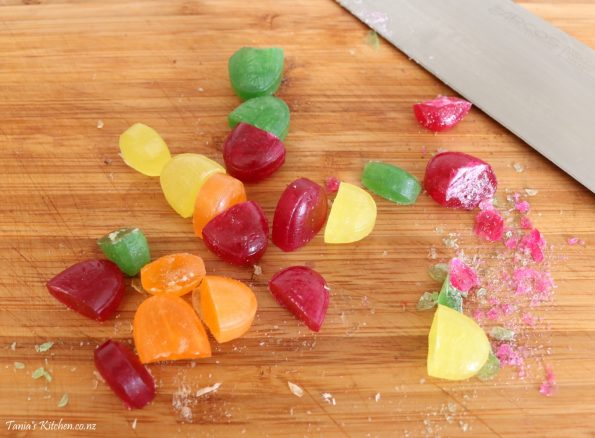
First using a heavy knife, carefully chop all of the lollies in half.
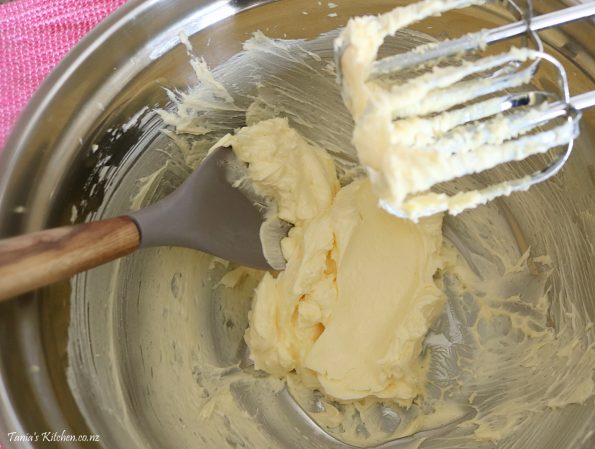
Using an electric beater on a medium speed, cream together the butter, the sugar and the vanilla essence until pale and fluffy (around 2-3 minutes). It’s only a small mix so you may need to scrape the bowl down a few times.
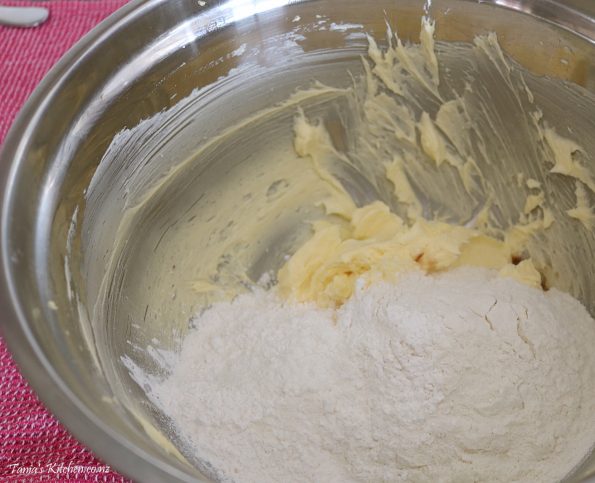
Next add the flour and the custard powder and……
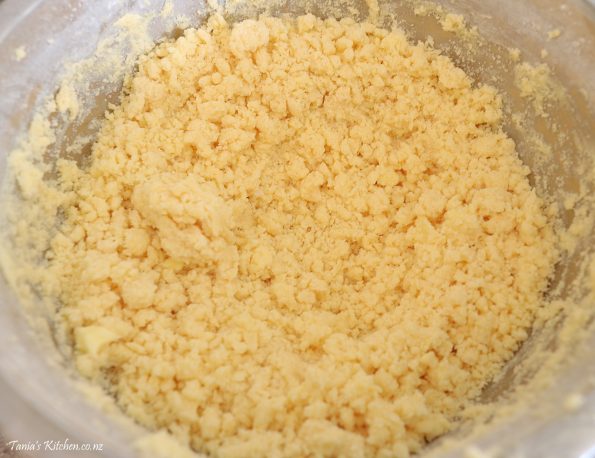
…..changing down to a lower speed continue mixing until it’s all just combined, so still a bit crumbly.
Now tip it onto a clean and dry benchtop…..
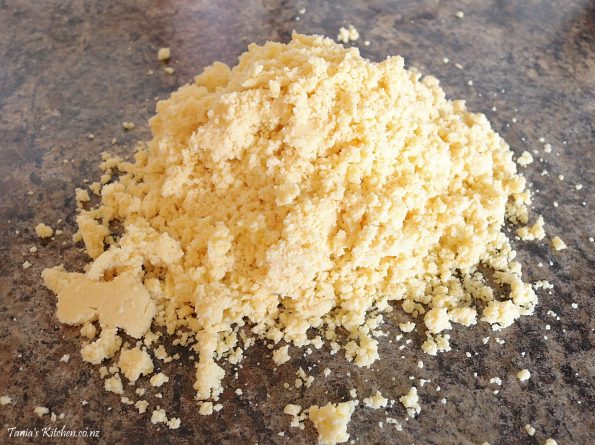
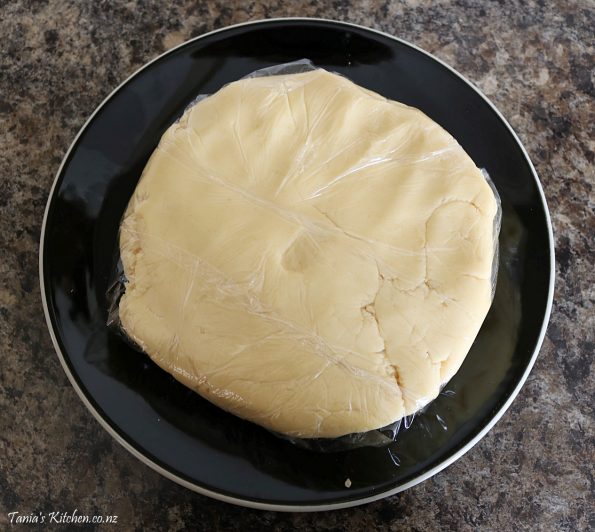
….. and knead it together with your hands until all the crumbs have incorporated and the cookie dough is smooth. Form it into a disc shape, wrap it in cling wrap and place it in the fridge for 20 minutes.
Time to turn the oven on. Preheat it to 150°C fan-bake oven or 175°C conventional oven on bake and place an oven rack in the centre of the oven.
*I like to cook one tray of these at a time and prepare my second tray while the first one is baking.
Also whilst the dough is resting in the fridge, line a tray with baking paper and spray it lightly with non-stick cooking spray.
Once out of the fridge, knead the dough until it’s smooth and pliable.
*Try not to over knead it as the warmth from our hands can soften it too much, causing it to stick to the bench when you are trying to roll it out and it can make it hard to lift the shapes up off the bench.
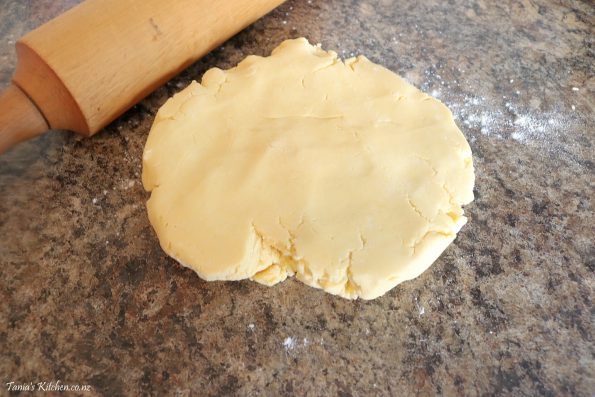
Next sprinkle some flour around on the bench. Divide the dough into roughly three parts and work with a third at a time (re-wrapping the dough you aren’t using and returning it to the fridge until you need it).
Gently roll out the dough until it’s around 3-4 mm (1/8 inch) thick. Roll up and down, and sideways, and also move the dough around so it doesn’t stick to the bench. That’s the best advice that I can give and that a bit of patience is needed, just take your time. Don’t be afraid to use more flour on the bench if it is sticking as it won’t affect the recipe too much (unless you dump heaps on there!)
So now cut out as many shapes as you can on the rolled out cookie dough and using a metal spatula carefully slide it under them (I dip the end of my metal spatula in some flour to help it slide under my cookies easier) and then carefully lift them onto the oven tray. Once you can cut no more from that piece of dough re-knead it a little bit and re-roll and repeat or if there’s not much left of that piece (then you are an expert roller) add the scraps to the next third and continue cutting out enough to fill your tray.
Once you have enough on the tray press in the centre shape…..
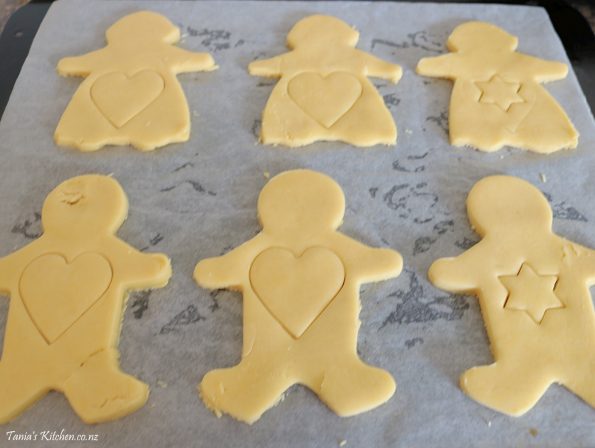
…..and use a small knife to remove the smaller shape (add it to the remaining cookie dough).
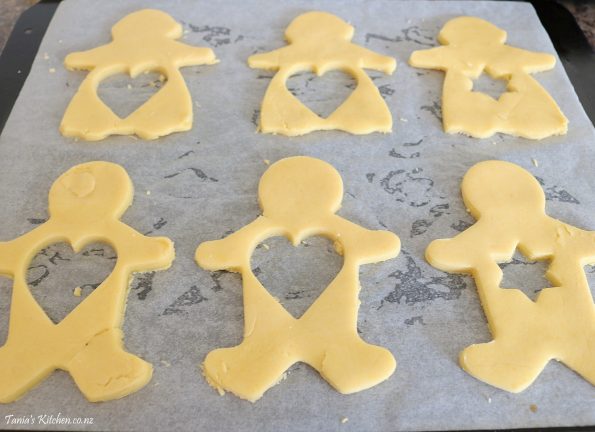
Then pop them in the oven for 5 minutes.
After the 5 minutes is up, remove them and place 1 lolly (two halves) in the centre of each biscuit.
*If your smaller cutter is tiny (like the little stars I used) you only need to use 1/2 a lolly.

Return them to the oven for another 5 minutes or until the biscuits are just starting to brown slightly around the edges.
*If these cook too long the sugar in the lolly will start to burn and not taste very nice 🙁
When they are out of the oven check the centres, if there is a small gap where the lolly hasn’t quite spread enough use the tip of a sharp knife or a toothpick to spread the melted lolly into the gap…..or you can slightly tilt the tray so the sugar runs into the gap.

I hope you have as much fun with these cuties as I did 🙂
Storage – These will keep well in an airtight container in the pantry for 3 days.
I also made these…….
And of course you can use other shaped cutters. They take the same amount of time to bake as long as they are roughly the same size as the ‘guy n gal’ cutters 🙂 Here’s my cute little kiwis…..
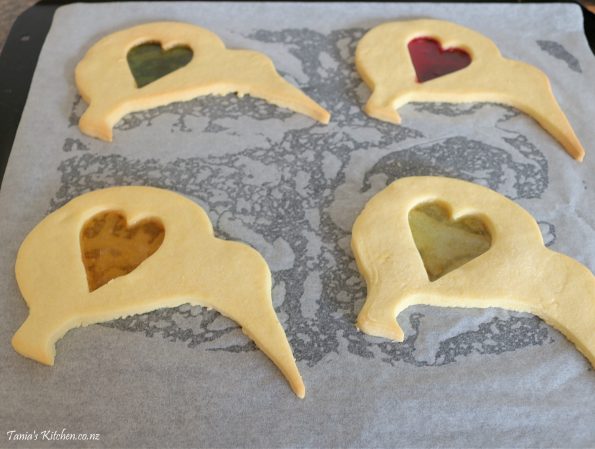
These bikkies are really gorgeous as Valentine Day hearts…..’Hearts of Glass’….visit this page to have a look 🙂
These soft custard biscuits have hearts of glass made from melted confectionary. Cute for kid's birthday parties & school holiday fun.
Ingredients
- 170 grams butter
- 1/2 cup icing sugar (confectioners sugar)
- 1/4 teaspoon vanilla essence
- 1 3/4 cups standard flour
- 1/2 cup custard powder
- 12 boiled lollies/candy



Leave a Reply