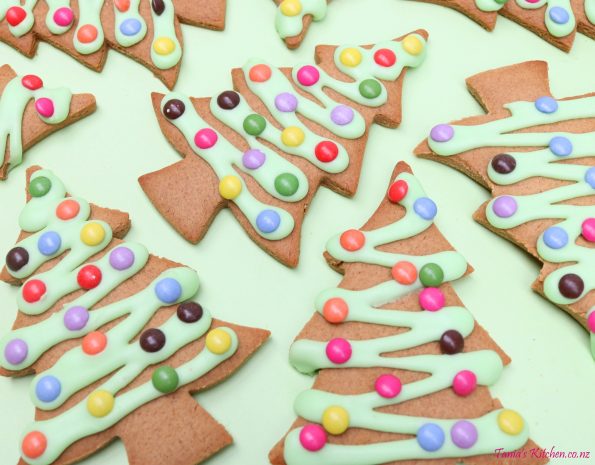
It’s nearly here…..not long now! Our tree is up and I’ve been busy shopping and organising fun games for our Christmas ‘work do’. So if you can squeeze in some spare time for a little bit of Christmas baking fun, try these Gingerbread cuties! The kids love decorating them and they taste lovely. They also make a thoughtful little gift or a colourful plate for a end-of-year shared lunch.
INGREDIENTS
GINGERBREAD
125 grams butter (room temperature)
1/2 cup brown sugar
1 egg yolk
2 1/2 cups standard flour
1 teaspoon baking soda
1 tablespoon ground ginger
1/2 teaspoon cinnamon
1/2 teaspoon mixed spice
1/3 cup golden syrup
ROYAL ICING
1 egg white
1 cup icing sugar (confectioners sugar)
1/4 tsp of lemon juice
3 drops food colouring
Little chocolates for decorating
Makes approx. x16 Christmas trees.
Cutter – I used a 13 cm H x 9 cm W (at widest point) Christmas Tree cutter and of course you could use a large Gingerbread Man cutter.
Note* You will need enough baking paper to line two baking trays and also the dough is rolled out between two sheets of it, so roughly two metres is required.
WALKTHROUGH
Gingerbread
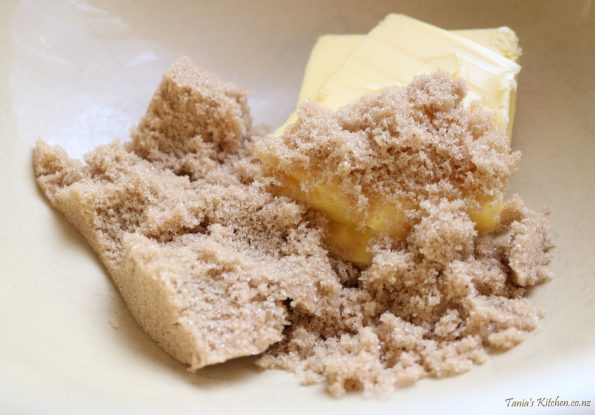
With an electric beater set on medium, cream the butter and brown sugar for around three minutes or until soft and creamy. Next add the egg yolk (remembering to keep the white for later when you make the royal icing) and then continue to beat the yolk in until totally combined.
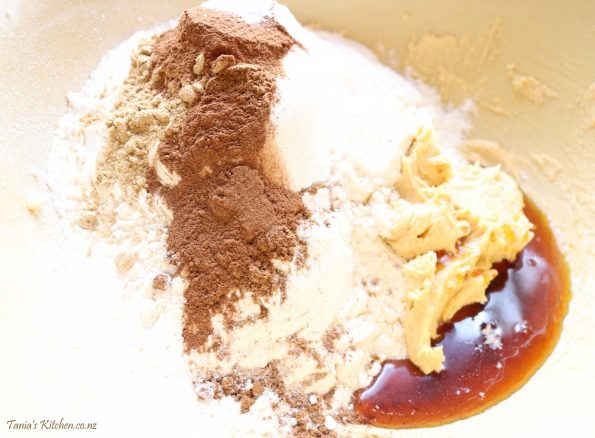
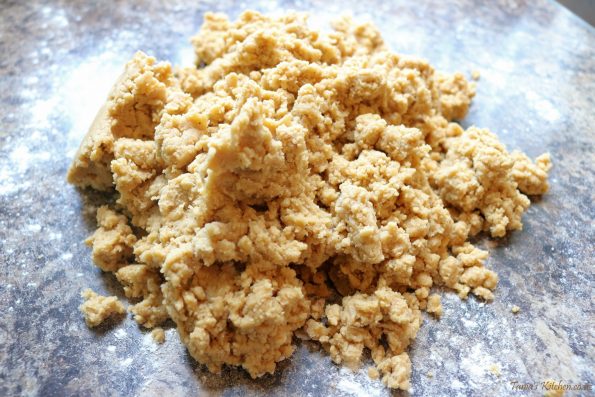
Then add the flour, baking soda, ginger, cinnamon, mixed spice and golden syrup and still on medium speed beat everything together until it’s just combined. It will be a bit crumbly like the below pic, but that’s okay. Tip the mix out onto the bench and…..
…..knead it together until a soft dough is formed. Flatten the dough into a disc shape and wrap it with plastic food wrap. Place it onto a plate and pop it into the fridge for at least one hour.
Just before it’s due to come out of the fridge arrange two oven racks, one in the middle of the top half and one in the middle of the lower half of the oven and then preheat the oven to 150 degrees/fan-bake oven or 180 degrees/conventional oven, on bake. Note* If you only have one baking tray and are cooking one batch at a time you will only use one rack that will need to be around the centre of the oven. Also get your tray(s) ready by lining them with baking paper and lightly spraying them with non-stick cooking spray.
Once the dough is out of the fridge, cut it in half (It’s easier to work with one half at a time as it can go soft reasonably quickly) and place one half on your bench ready to roll out and re-wrap the other half in the plastic food wrap and pop it back into the fridge.
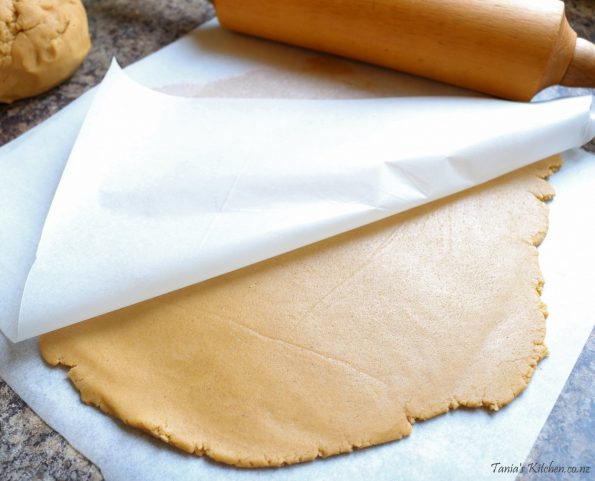
Next on a lightly floured bench knead your dough until it’s just pliable. Note* If you knead it too long the heat from your hands will soften it too much, so if that happens just re-wrap it and pop it back in the fridge for 20 minutes. Then using a rolling pin, roll out the dough between two pieces of baking paper to a 3 mm thickness. Rolling up and down and then turning the dough (still in the paper) 45 degrees and rolling up and down again will help to give you a more even thickness.
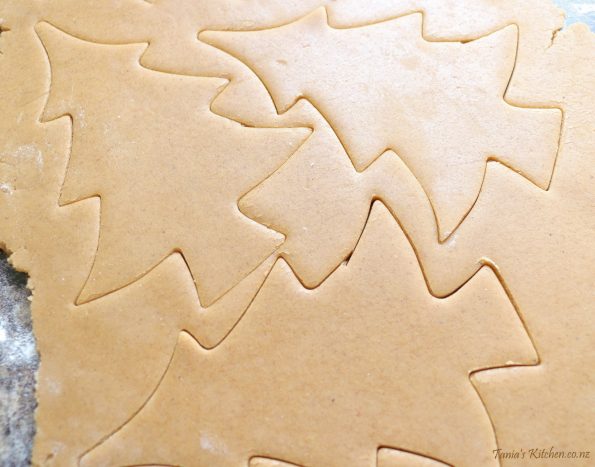
Now cut out your shapes…..exciting!
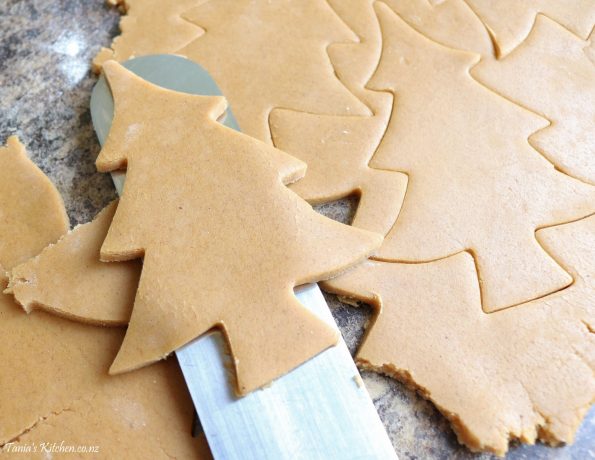
Then lift the trees with a sharp metal spatula and carefully place them on your baking (trays). I fitted x8 on each of my trays. Keep cutting out and re-rolling the left over dough until it’s all used and then start on the one you still have in the fridge.
I used the blunt end of a skewer to poke some holes near the tree-tops of some so that once they were cold I could thread ribbon through the ones I wanted to gift to people, it just looks super cute 🙂
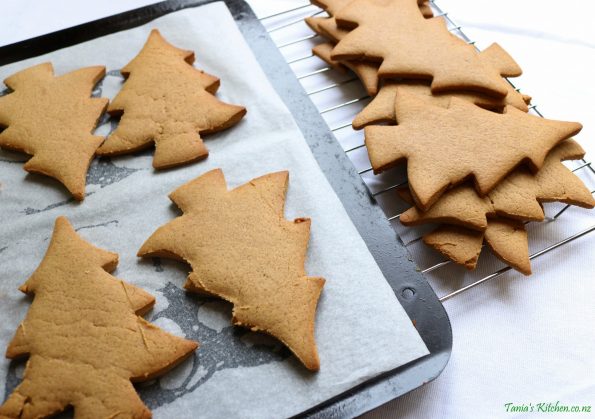
Once all the dough is used place them in the oven for 10 minutes (it could be sooner, if you can see the edges starting to go a shade darker it’s time to pull them out). Note* If you aren’t using fan-bake and are using a conventional oven (where the heat isn’t distributed evenly) I would swap the trays around after five minutes and then bake them for another five minutes.
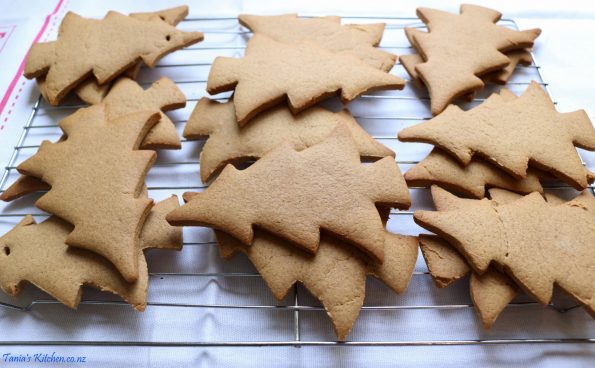
When they are done pull them out of the oven and leave them on the tray for five minutes. Then carefully lift them off the baking tray and place them on a wire rack to totally cool down.
Royal Icing
Now the best part…..Icing them! You don’t have to be a ‘master icer’ to ice these, just have fun, they tend to look cute no matter what you throw at them!
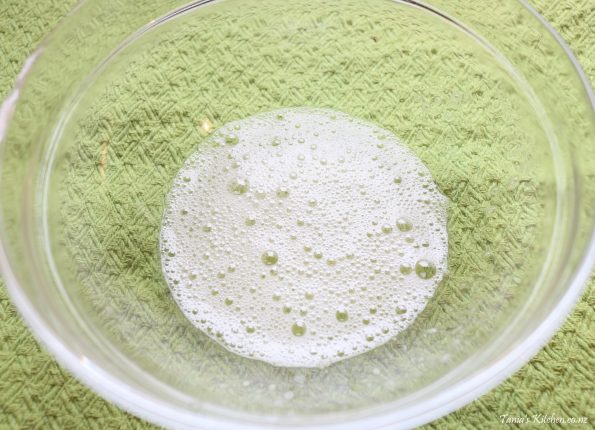
To make the icing place the saved egg-white into a small bowl and whisk it with a fork for thirty seconds to break it up or until it’s frothy.
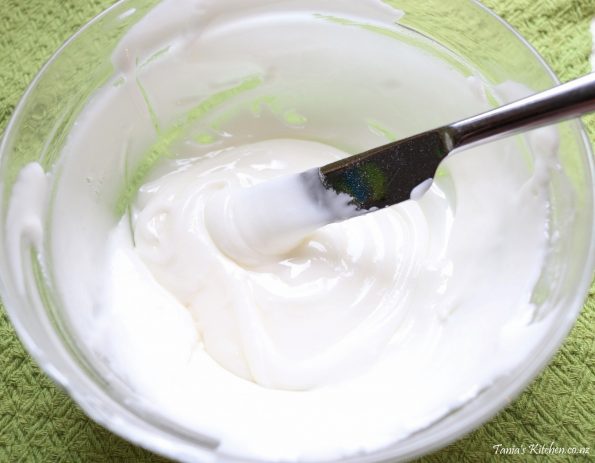
Next, add the icing sugar and lemon juice and using a dinner knife mix it together until it is absolutely lump-free because any tiny lumps may block up the end of your piping-bag when you are icing your biscuits, which can be a tad frustrating!
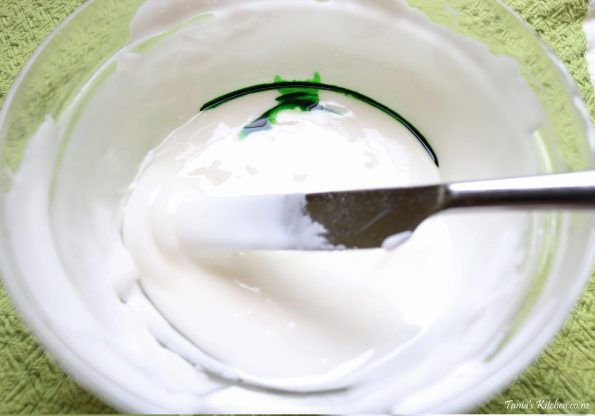
Of course you can just stop here and decorate with just the white icing if you like or even just decorate a few before you add a colour. So when ready you can go on to add the drops of food colouring, mixing it in well.
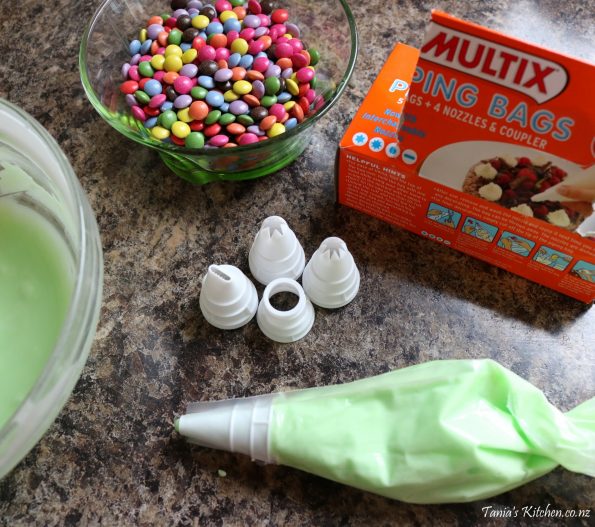
So if you know how, you can make your own piping-bag out of baking paper, if you haven’t made one before, there’s a great tutorial here, and once made, using a super sharp knife, cut a few millimetres off the point, the bigger the hole the thicker the lines. Or you can buy plastic ones. I found the ones below at the supermarket and there was even a set of little nozzles in the box and they only cost a few dollars 🙂
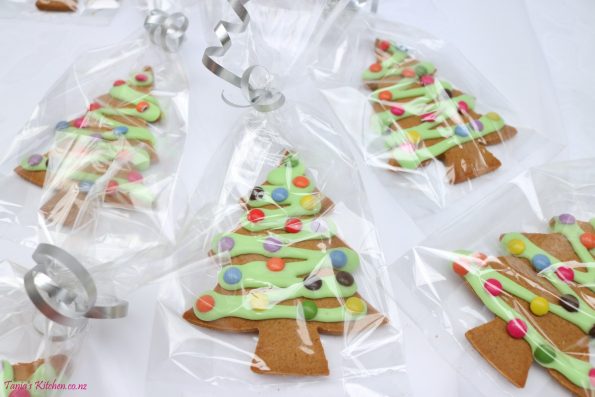
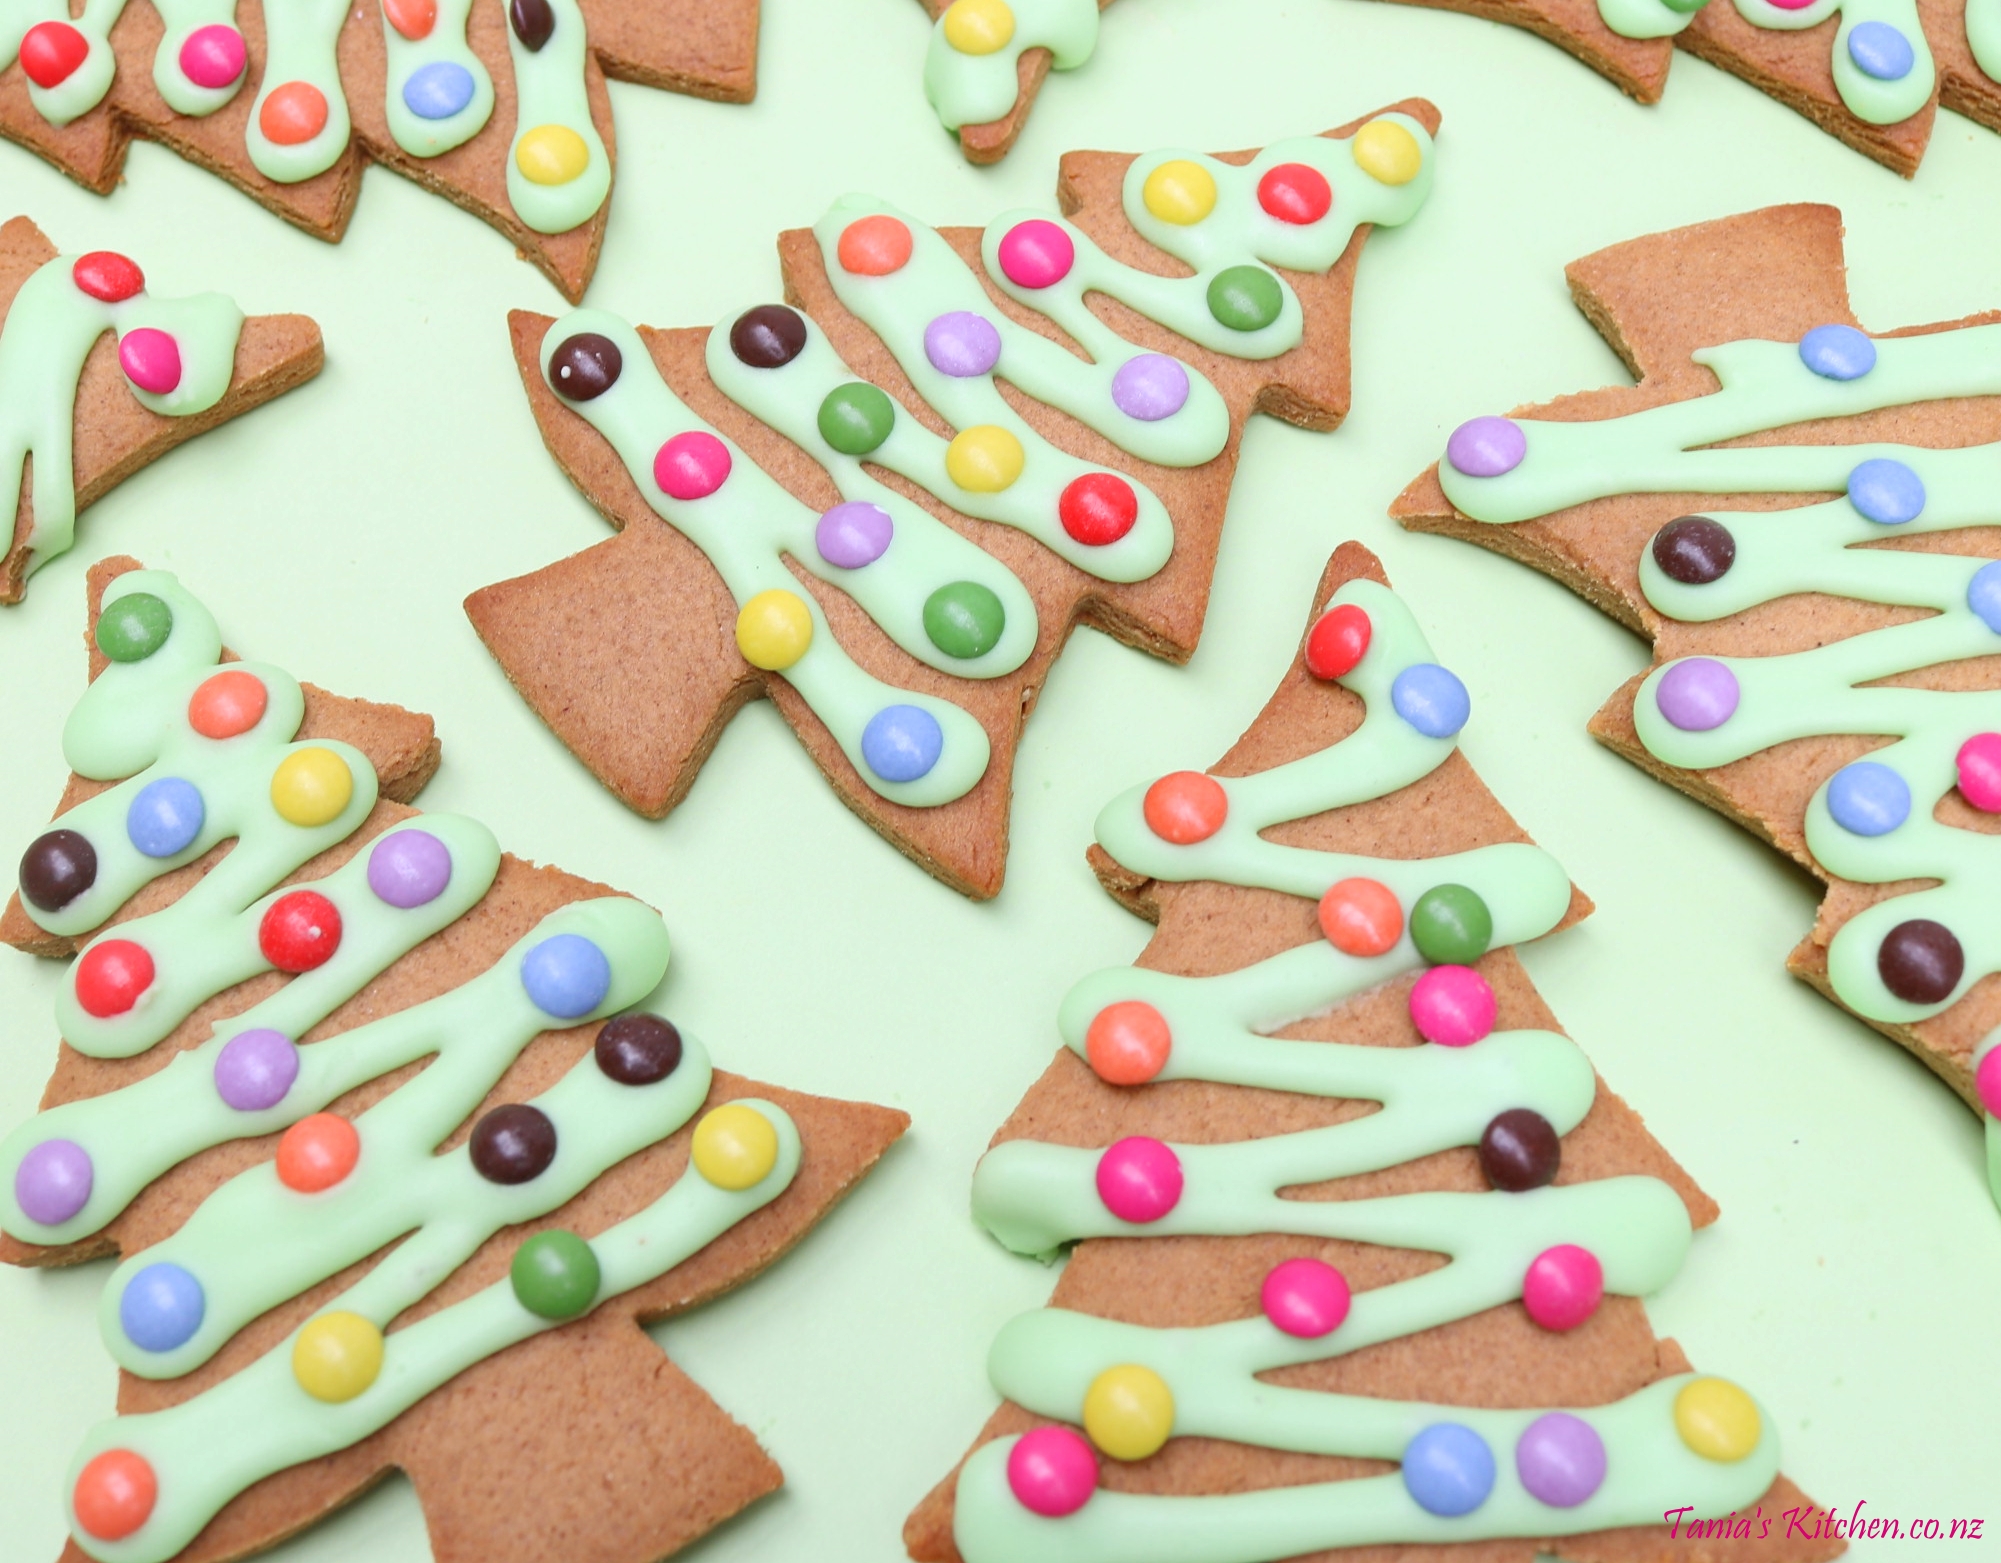
If you haven’t piped before with it! Half fill your piping-bag and just go for it! I piped tiny circles on mine to stick on the little chocolates or I placed them on the lines of icing, which you need to do pretty quickly as the icing sets fast, so it pays to just decorate a few at a time. The trees totally covered in icing I just piped a lot of lines and spread it around with a little knife.
Note* The ones I poked holes into I had to use the sharp end of a skewer to poke the hole through again as they had slightly closed over whilst baking and then I threaded curling ribbon through them. They are so cute and can be hung on the Christmas tree.
Storage – These keep really well, around 2 – 3 weeks. The harder a biscuit is the longer it keeps.
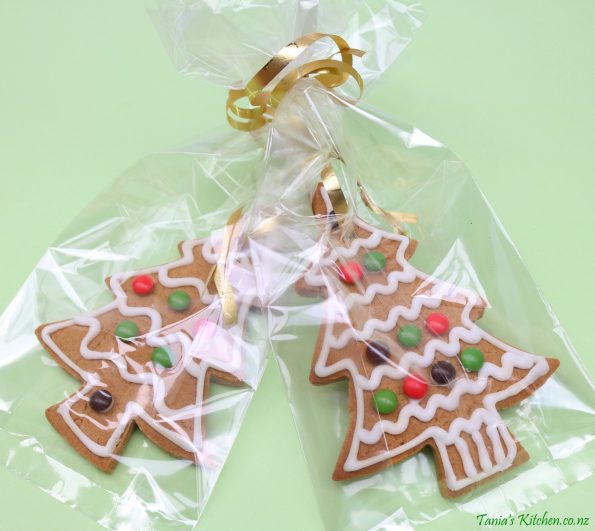
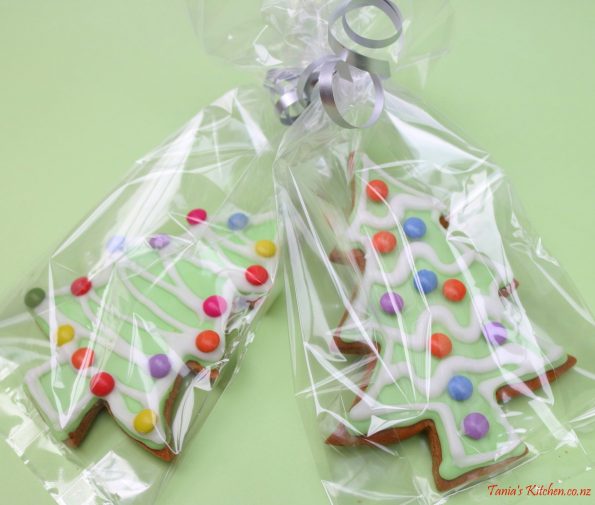
These trees make such a cute and thoughtful little gift!
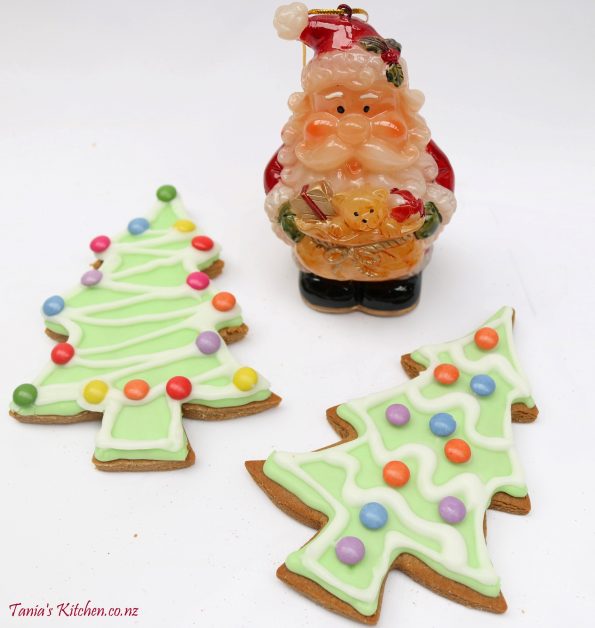
I am so in LOVE with this fat lil’ Santa, he’s sooo cute! He’s now on the tree, front and centre.
The cutest little gingerbread Christmas trees, iced with royal icing and decorated with mini chocolates. Making a cute little gift for adults and kids alike.
Ingredients
- 125 grams butter
- 1/2 cup brown sugar
- 1 egg yolk
- 2 1/2 cups standard flour
- 1 teaspoon baking soda
- 1 tablespoon ground ginger
- 1/2 teaspoon cinnamon
- 1/2 teaspoon mixed spice
- 1/3 cup golden syrup
- 1 egg white
- 1 cup icing sugar
- 3 drops food colouring
- 1/4 tsp of lemon juice


You are such an inspiration Tarn – i love your website x
aww thanks Kats, that means a lot coming from you because you’re so clever! I really appreciate your support x