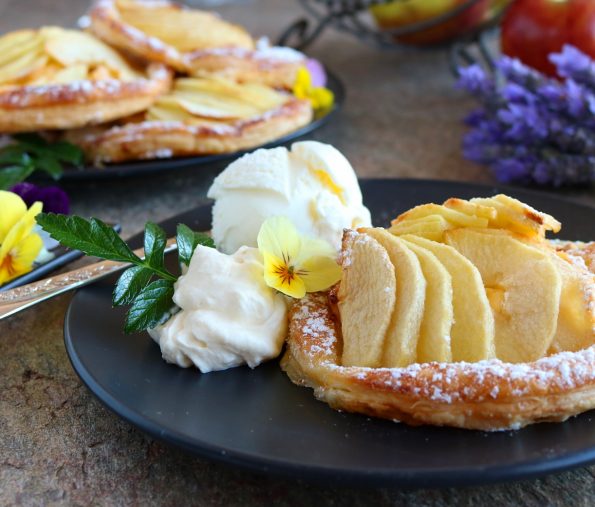
YAY! It’s apple season with fresh of the tree seconds often on sale for $1 a kilo, the perfect time to spend some time in your warm kitchen making apple pies, tarts or a lovely crumble.
I adore these, rustic little French apple tarts. I was taught to make them at a restaurant I worked at and it’s the vanilla flavoured crème pâtissière (an egg custard also known as pastry cream) filling that turns these tarts into a most delicious, autumn dessert. If you haven’t made it before, crème pâtissière (meaning custard and pastry in French) is a filling for pastries like profiteroles, eclairs and tarts and it tastes way nicer than custard made from powder. Not that I am a custard powder hater, I like it, it’s so easy and less expensive but as far as taste goes, custard made from scratch is ‘to die’….once you’ve used ‘creme pat’ you’ll never go back!
So these little tarts are fun to make. Make the filling first and whilst it’s cooling in the fridge construct the tarts by cutting out circles using ready rolled pastry sheets. These are fun for young bakers, they can cut out the circles, prick the pastry with a fork, brush the egg-wash on and fan out and place on the apple slices.
These are not the prettiest tarts to look at but they sure taste Amazing! I mean, apples, egg custard and pastry, what’s not to love? Don’t do what I did once and throw them out because you think they’re burnt and then have the Head Chef see them in the garbage and scream at me, not because they’re burnt but because they were perfect…duh! Learnt my lesson there, I have ever since baked my pastry to the deepest of golden brown.
INGREDIENTS
Crème Pâtissière
5 medium-sized eggs (I used size 7’s and only the yolks are needed)
½ cup white sugar
1/3 cup standard flour
1/3 cup cornflour
2 cups full cream milk
½ teaspoon vanilla extract, paste or the seeds scraped from a 5 cm vanilla bean (2 inches)
Tarts
3 tablespoons +1 teaspoon butter
3 ready rolled sheets of flaky puff pastry
1 small egg (size 5 or 6)
5 small to medium sized apples
2 tablespoons white sugar
Icing sugar (confectioners sugar) to dust
Makes 10
Notes
- You can freeze egg whites in a resealable bag for up to a month (remember to write on the bag how many there are). Often people place the whites into ice cube trays and then once frozen place them into a bag, with each cube being one white, that’s a great idea. You can freeze them up to a year but if you are an avid baker you’ll definitely be baking something with them before then! Remember once defrosted also bring them back to room temperature, especially if making meringues or a pavlova.
- The pastry sheets I used are 25 cm x 25 cm (10 x 10 inches) square.
STEP BY STEP
Let’s get started!
First, If you haven’t already, and it’s frozen, take the pastry out to defrost.
Crème Pâtissière
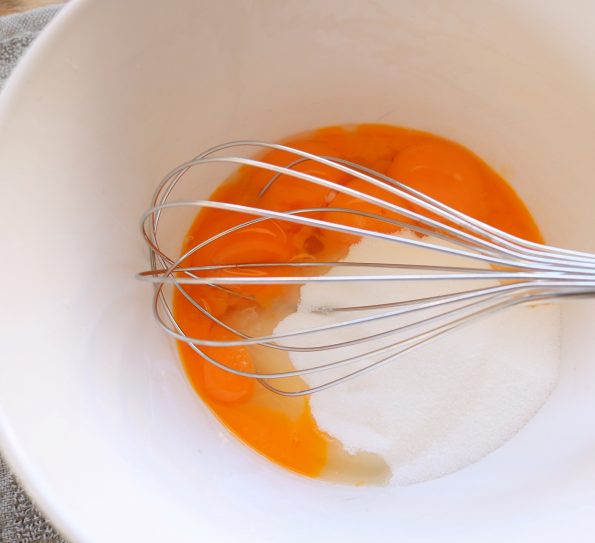
First, separate the eggs. Place the yolks and the sugar into a medium-sized bowl and whisk them together well.
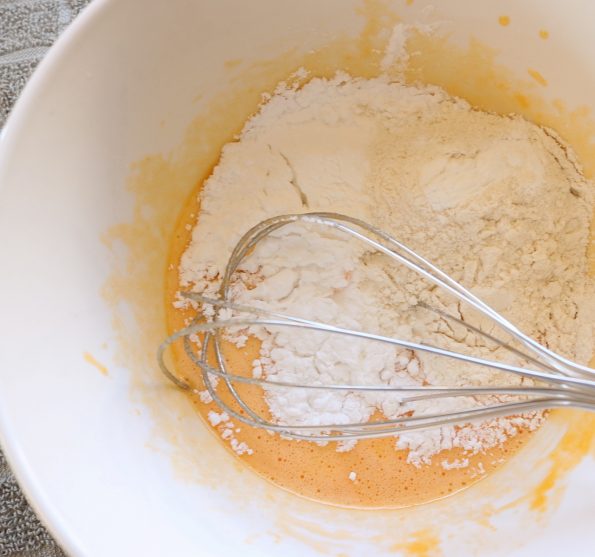
Add the flour and the cornflour and…..
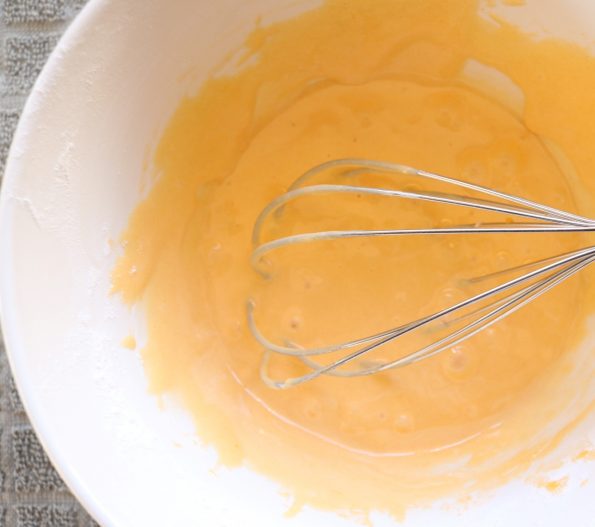
…..whisk that in too, until it’s lump free, then set it aside.
Place the milk and the vanilla into a medium sized saucepan and…..
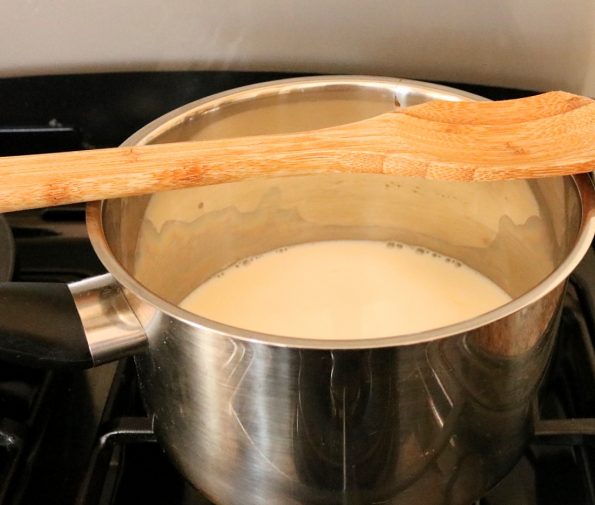
…..over a medium/high heat bring it to the boil. As soon as it starts boiling remove it from the heat.
- Keep an eye on it, as you know boiling milk rises fast, as soon as it starts rising, take it off the heat (I lay my wooden spoon on top which will help stop it, just in case I wandered off)!
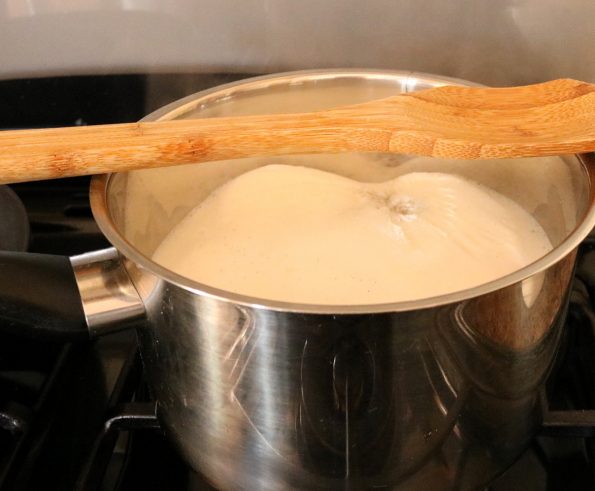
Now pour around half a cup of the hot milk into the egg mixture and…..
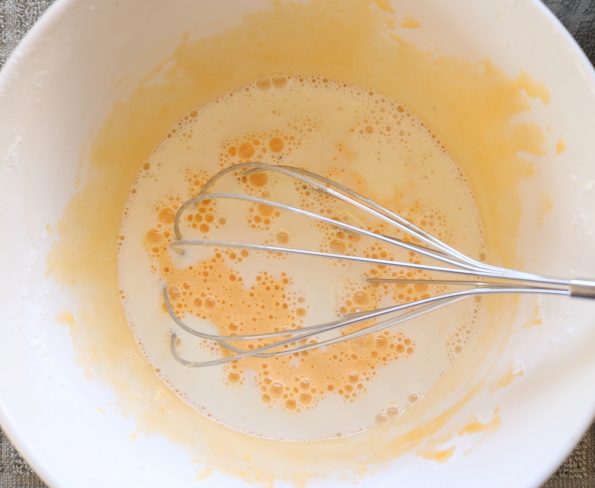
…..whisk it in.
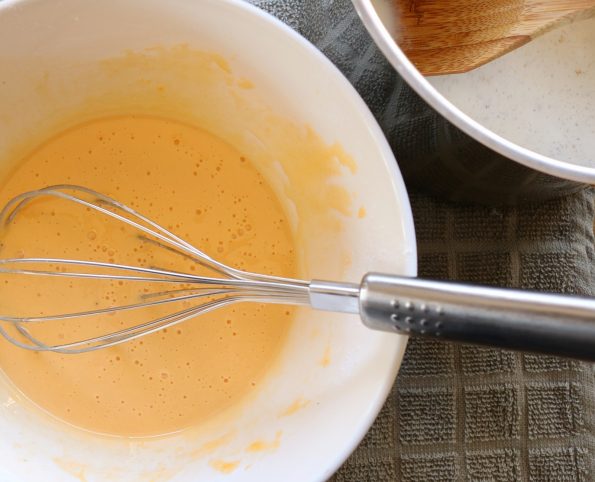
Put all of the mixture in the bowl into the saucepan with the remaining milk and whisk it in well. You’ll notice it’ll thicken a little, that’s good.
Return the saucepan to the stove and over a medium/low heat whisk it slowly, making sure there’s no chance it’ll stick to the bottom or sides of the saucepan. Keep on whisking and increasing speed as it starts to thicken…..it won’t take long!
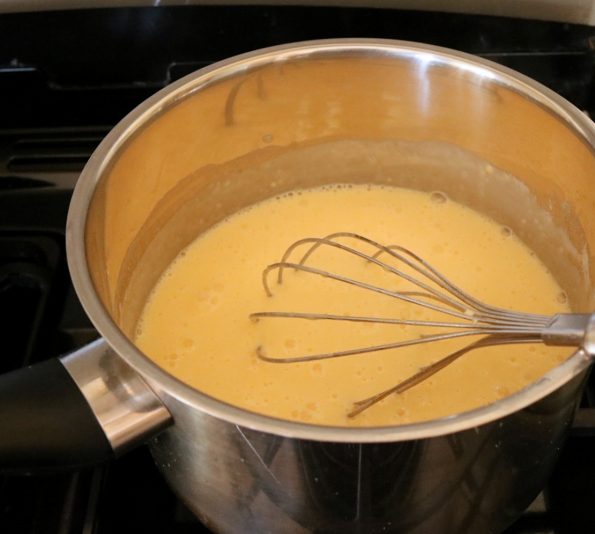
As soon as it’s thick, smooth and lump-free (mine took around a minute) remove it from the heat.
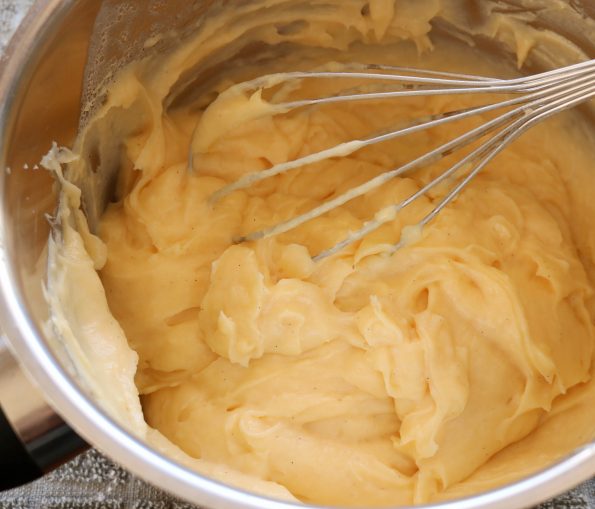
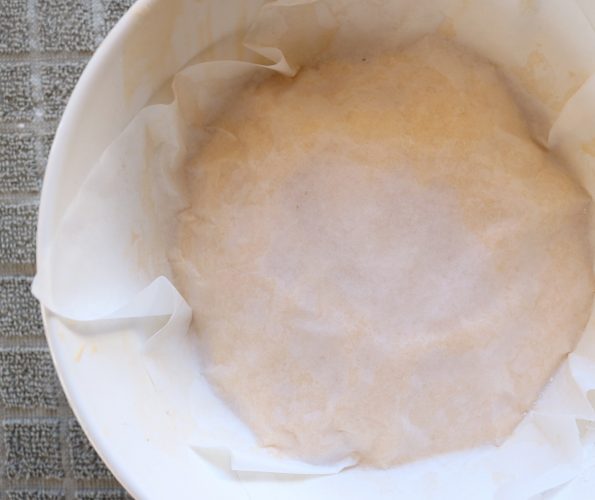
Scrap it into a bowl and lay some cling wrap or baking paper over the custard, making sure it is not only totally covering it but sitting right on the custard so that it doesn’t form a crust. Place it in the fridge.
Tarts
Now line two baking trays with baking paper and grease the sheets of paper with ½ teaspoon of butter each.
Next, find a bowl or large mug, or a small cake tin and turning it upside down, use it to cut out two circles from a sheet of the pastry.
- I used a 13 cm / 5″ latte bowl. I couldn’t have gone any bigger and wouldn’t want to go much smaller.
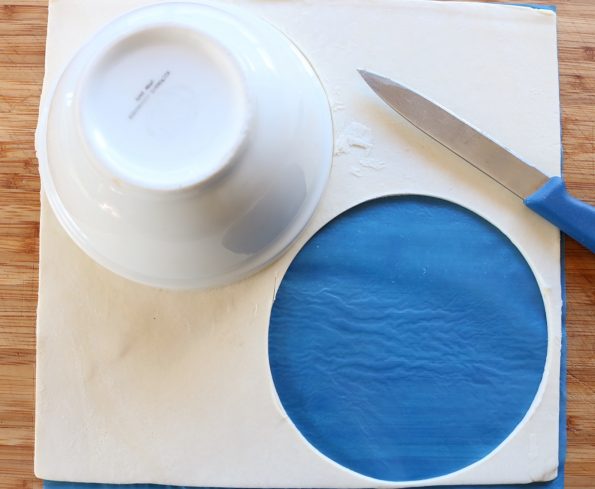
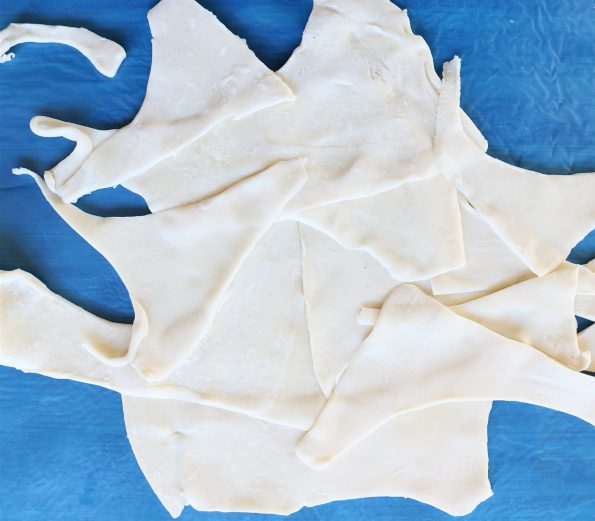
With the spare pastry, overlap and press the edges together to make enough area to cut another circle. So you will get 3 circles from each sheet (giving you 9 circles in total).
- I keep the pastry in the fridge and just work with one sheet at a time otherwise if it’s hot in the kitchen it can go quite soft quickly and be trickier to work with.
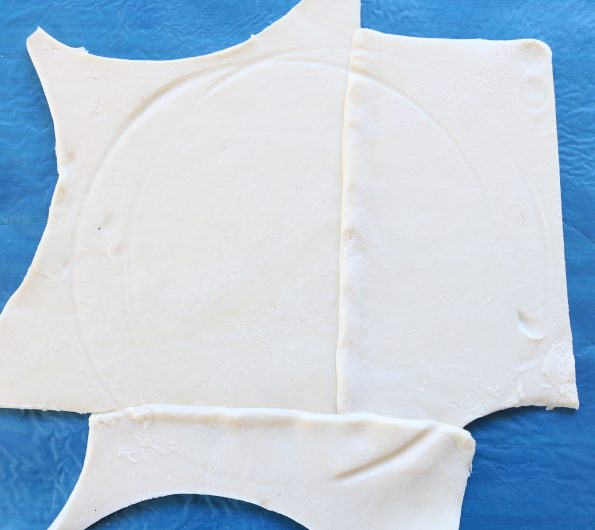
For the 10th circle, you will need to join a lot of scraps together, but that’s okay, it may not end up the prettiest but I bet it’s the nicest one!
Place all of the circles on the baking trays.
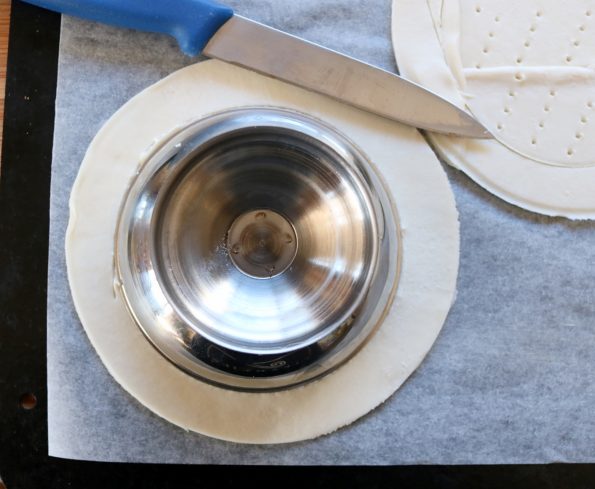
Now place a smaller bowl, glass or cup upside down in the centre and use your knife to create an inner circle, but this time not cutting right through, just halfway through the pastry.
- I used a 9 cm / 3 ” bowl, so around that size.
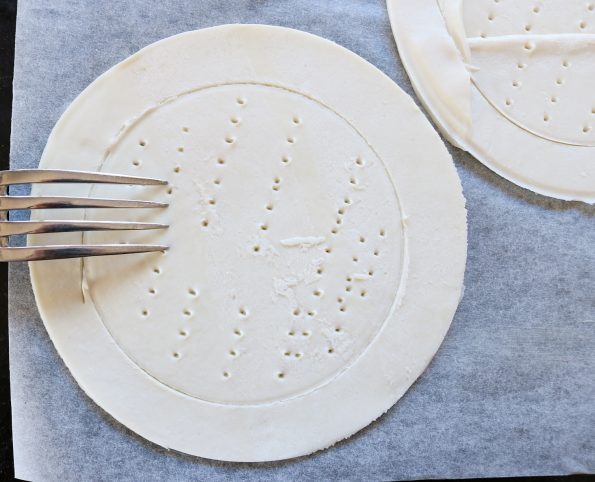
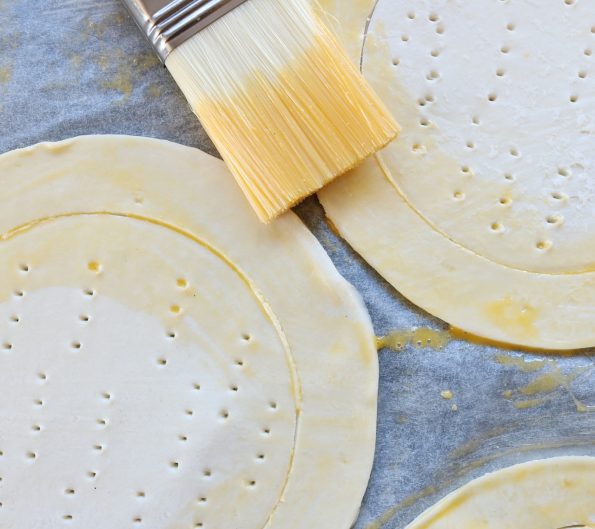
Next, using a fork, gently stab a lot of holes in the inner circle. This and the line you marked will make sure that the outer rim will rise and the centre circle that holds the custard and the apple slices will remain flat (stopping it from rising up when baking and the filling sliding right off!).
Next, separate the small egg and lightly whisk the white with a fork. Discard roughly half of it and then add the yolk to the remaining white and mix the two together. Using a pastry brush, egg-wash the outer rims.
- When making a small egg-wash I always remove some of the white otherwise it won’t give the pastry enough colour and on the flip side if there’s too much yolk it will burn a little.
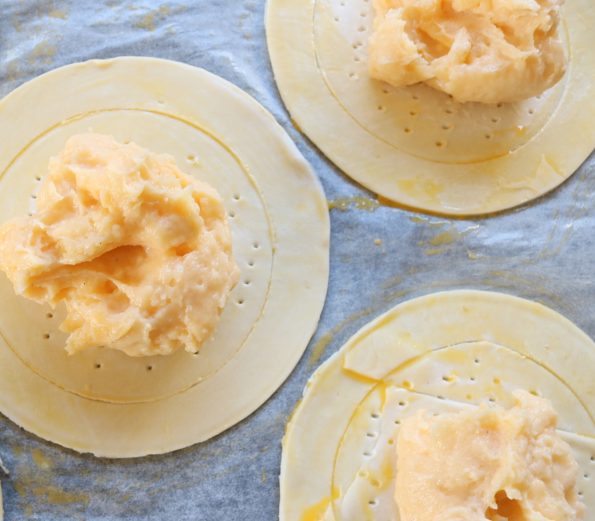
Place just under 1/3 cup of the crème pâtissière into the centre of each pastry circle.
- If you like, you could give the custard a whisking first to make it smooth again.
Wash and peel the apples or leave the peel on if you like.
- When I leave the peel on I think they look better but it can ‘catch’ a bit in the oven and look a wee bit burnt, but I like that look especially with a ‘rustic’ looking tart like these. I personally think they taste better without the peel however that’s my personal preference and it’s totally up to you.
So, peel (or not) the apples and cut them in half through the core (if you have an apple corer, core them first).
If you don’t have a corer, then slice out a V from the centre of each half or…..
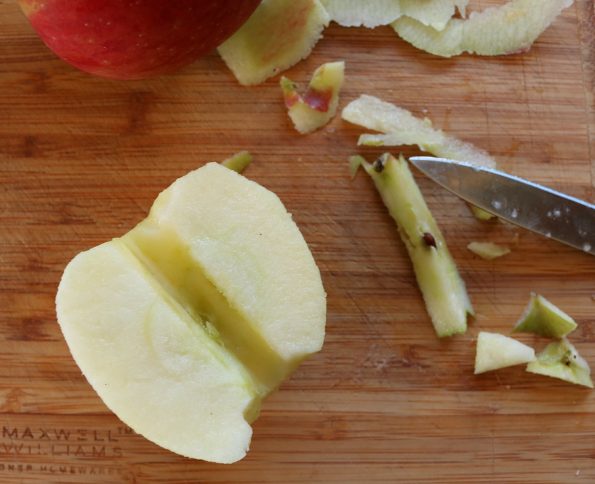
……I use a melon baller or one of my metal measuring spoons to scoop out the pips and then I cut little triangles from each end, removing the stalk and the calyx.
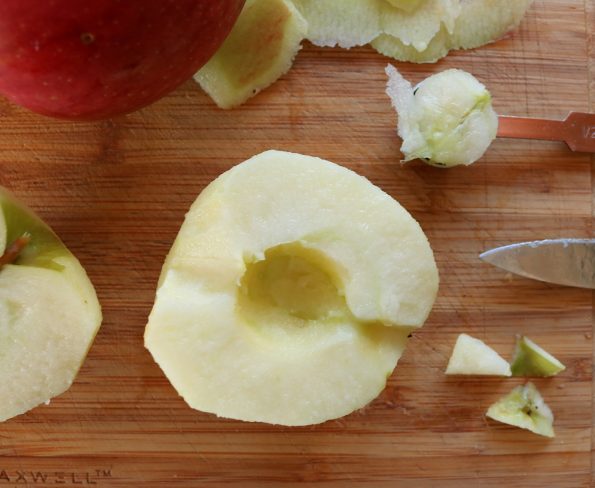
Then whichever way you prefer to, slice the halves as thinly as possible.
- I don’t use the little ends, they make my fans less pretty, we eat those bits!
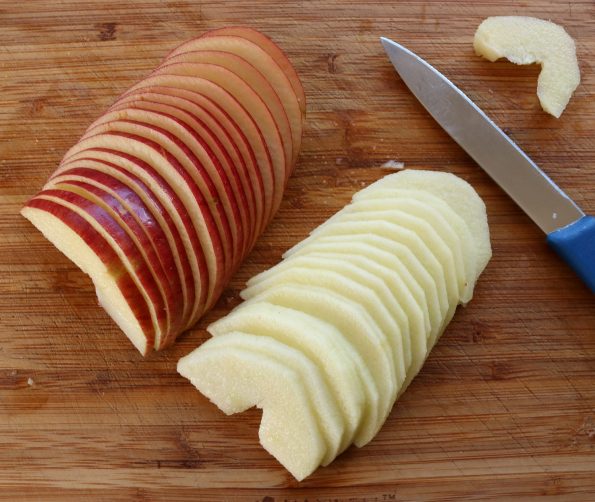
Time to turn the oven on. Place a rack just below the centre of the oven and preheat your oven to 170°C fan bake oven or 190°C conventional oven, on bake.
I used ½ an apple on each tart. So fan out and rearrange ½ of those slices on half of the tart…..inside the inner circle and on one side of the custard.
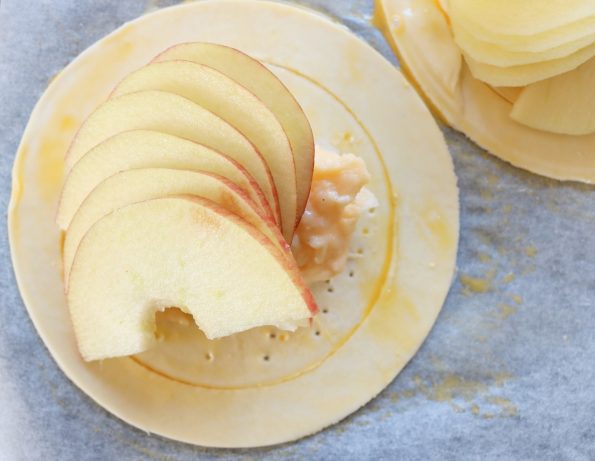
Then the rest of the slices from that half, overlapping the second fan over the first one. They will be a bit wonky but they will settle when the tarts are baking.
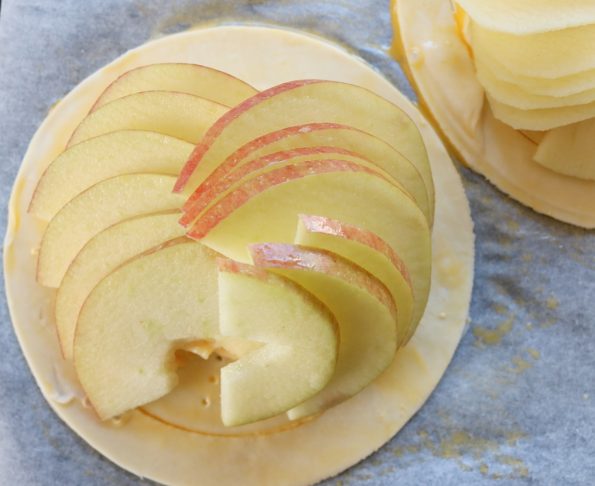
Check them over and rearrange or add some slices if you like.
Sprinkle all of your tarts with the white sugar (1 tablespoon per tray/5 tarts).
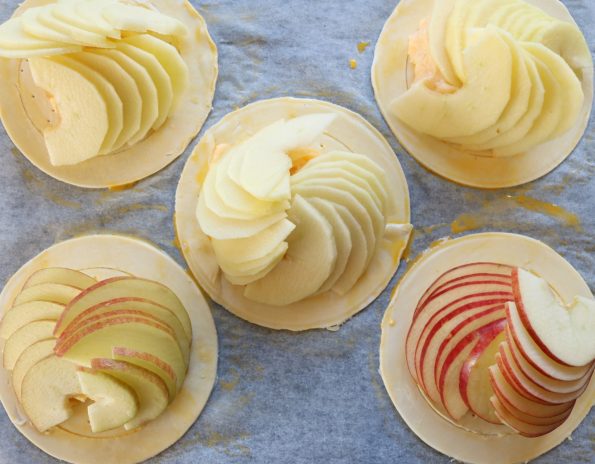
Divide the 3 tablespoons of butter between all of the tarts placing a wee knob on top of each one (just under a teaspoon each).
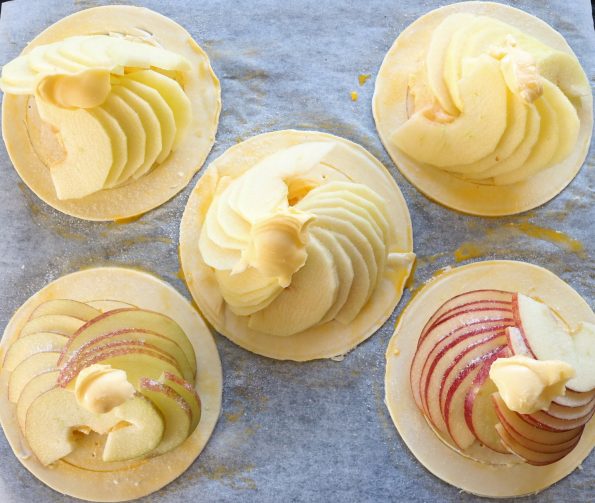
Place them in the oven to bake for 25 minutes. Check that the bottoms have nicely browned and if not return them to oven for another 5 minutes or until they are golden brown underneath and around the edges.
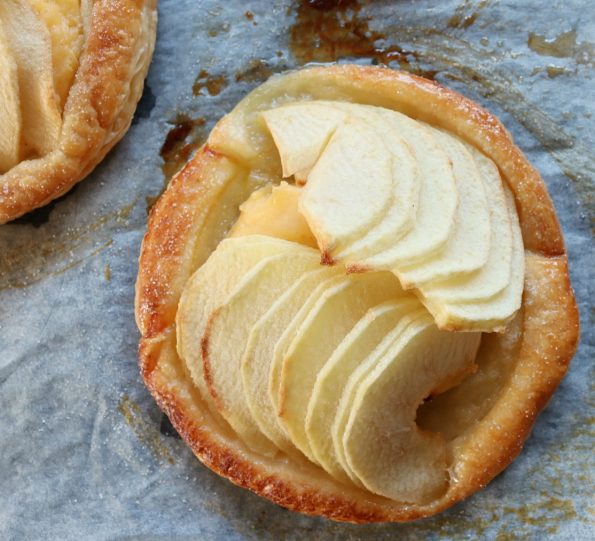
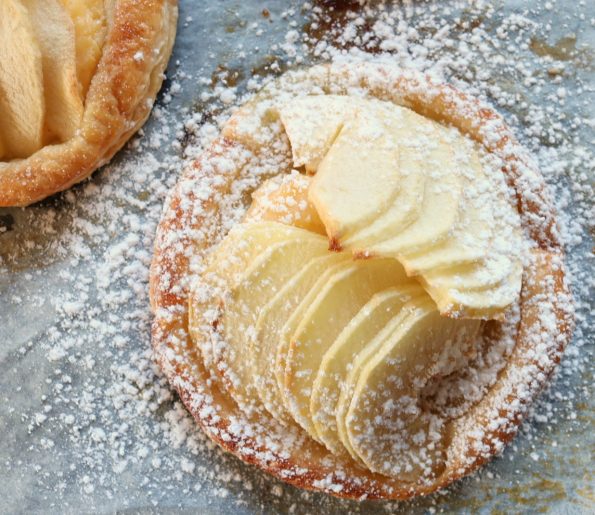
If you like to, dust them with icing sugar (aka, confectioner’s sugar or powdered sugar).
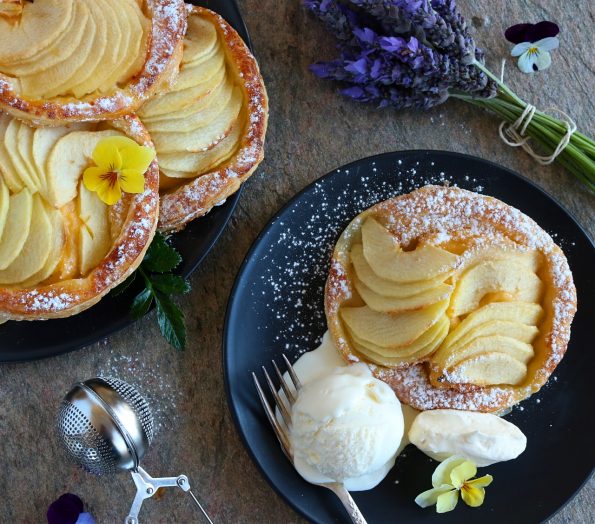
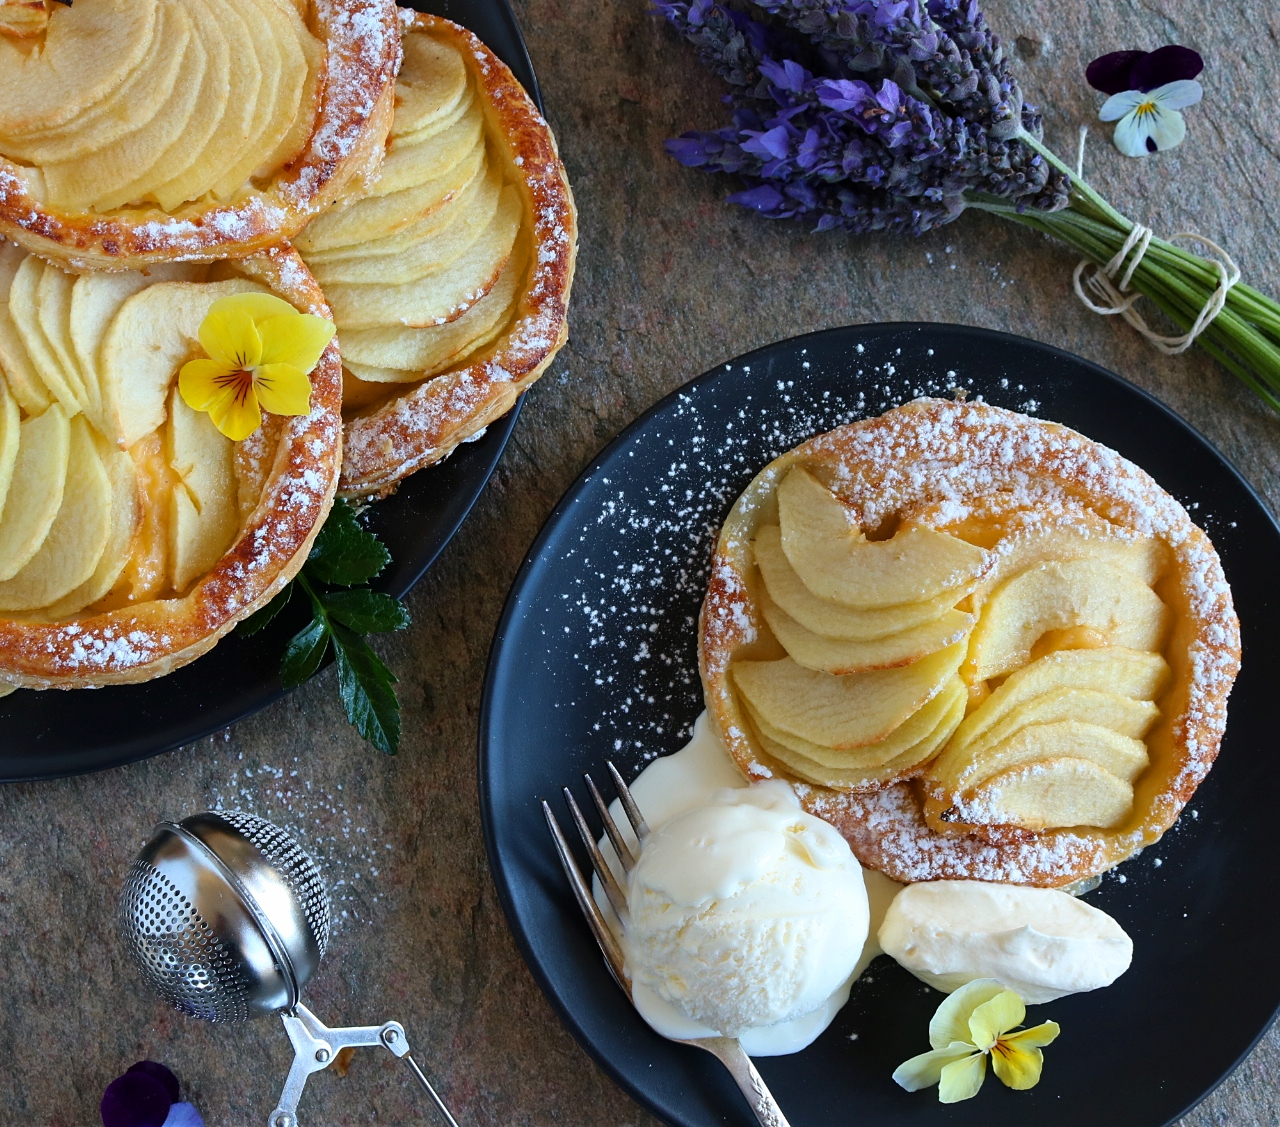
A lovely pastry to enjoy with a cup of coffee or for dessert served with ice-cream (I like, French vanilla) and/or whipped cream.
Enjoy!
Keepin’ em fresh – Any left for the next day should be cling wrapped and kept in the fridge for up to 3 days. To reheat please don’t use the microwave which softens the pastry, just pop them on a tray, then into the oven at the same temperature they were cooked on until they are warm.
Little puff pastry, vanilla creme patissiere filled French rustic apple tarts. A delicious, autumn dessert or lovely with an afternoon tea or coffee.
Ingredients
- 5 medium sized eggs (only the yolks are needed)
- ½ cup white sugar
- 1/3 cup standard flour
- 1/3 cup cornflour
- 2 cups full cream milk
- ½ teaspoon vanilla extract, paste or the seeds scraped from a 5 cm vanilla bean (2 inches)
- 3 tablespoons +1 teaspoon butter
- 3 ready rolled sheets of flaky puff pastry
- 1 small egg
- 5 small to medium sized apples
- 2 tablespoons white sugar
- Icing sugar (confectioners sugar) to dust
Instructions
- Separate the eggs. Place the yolks and the sugar into a medium sized bowl and whisk them together well.
- Add the flour and the cornflour and whisk that in too, until its lump free. Set aside.
- Place the milk and the vanilla into a medium sized saucepan and over a medium/high bring it to the boil. Then remove it from the heat.
- Pour around half a cup of the hot milk into the egg mixture and whisk it in. Put all of the mix in the bowl into the saucepan with the remaining milk and whisk it in well.
- Return the saucepan to the stove and over a medium/low heat whisk it slowly, increasing speed as it starts to thicken. After a minute or when it's thick, smooth and lump free remove it from the heat.
- Scrap it into a bowl and lay some cling wrap or baking paper over the custard, making sure it is not only totally covering it but sitting right on the custard so that it doesn't form a crust. Place it in the fridge.
- Line two baking trays with baking paper and grease them with ½ teaspoon of butter each.
- Cut out two 13 cm / 5" circles from a sheet of the pastry and lay them onto the trays. Join the remaining pastry together by slightly overlapping it and pressing the edges together, allowing you to cut out a third. Repeat with the other two sheets. Join any remaining pieces together so you can cut out the last one, making 10. Place them onto the baking trays.
- With a small knife, mark a smaller 9 cm / 3.½" circle inside the bigger circles but this time not cutting right the way through.
- Using a fork, gently pierce a lot of holes into the centre circle.
- Separate the small egg and lightly whisk the white with a fork. Discard roughly half of it and then add the yolk to the remaining white and mix the two together. Use a pastry brush to egg-wash the outer pastry rims.
- Place just under 1/3 cup of the crème pâtissière into the centre of each pastry circle.
- Wash and peel the apples, or leave the peel on if you like. Core them and slice them through the centre or alternately slice them down the centre and remove the pips, stem and calyx.
- Slice the halves as thinly as possible, discarding the ends.
- Place a rack just below the centre of the oven and preheat your oven to 170°C fan bake oven or 190°C conventional oven, on bake.
- Use the slices from ½ an apple on each tart. Fan out ½ the slices and place them inside the inner circle, on one side of the custard and overlap the other ½ on top.
- Sprinkle them all with the white sugar.
- Divide the 3 tablespoons of butter between all of the tarts placing a wee knob on top of each one (just under a teaspoon each).
- Place them into the oven for 25 minutes. Check that the bottoms have nicely browned and if not return them to oven for another 5 minutes or until they are golden brown underneath and around the edges.
- Dust with icing sugar.
- Serve with vanilla ice-cream and/or whipped cream.
- Will keep covered in the fridge for up to 3 days. To reheat place back into the oven on the same temperature they were cooked on until they are warm.


Pastry cream is SO delicious. I could easily eat it by itself. But these tarts are so gorgeous I think I’d have to resist so there’s some left for the assembly :). Have a great week, Tania!
Haha, thanks Kelsie, isn’t it delish, so silky smooth 🙂
Beautifully done and they look so delicious. I love that you chose to make them in single sizes.
Thank you Shirley, you’re so kind! I also often make these pastry circles or squares with savoury toppings because they are just so easy peasy. 🙂