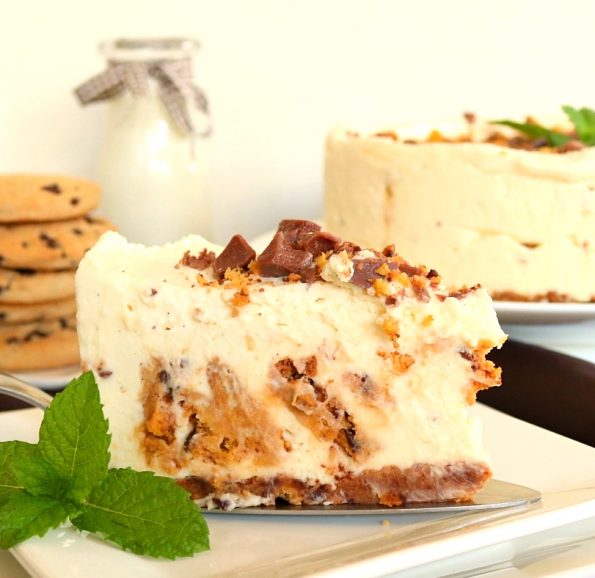
We have these fantastic tasting cookies here in NZ called Cookie Bear Chocolate Chippies, made by The Griffin’s Food Company who have been making Kiwi’s favourite ‘bikkies’ for over a century. They were often in my lunchbox as a child and I still enjoy them as an adult (especially dunked in my coffee, lol). I even remember the Cookie Bear in the TV ads…..”Dum-de-doo” was his catchphrase. 🙂
, To be honest, I’ve never been a fan of ‘cookies & cream’ anything, not cheesecake, chocolate or ice-cream. However a few months ago I was asked to make a ‘cookies & cream’ cheesecake for a friend so went I went ahead and made one with the usual ‘go to’ cookie Oreos. I piped cream around the top and placed mini Oreos around and it looked awesome, I even got a piece and it was really, really good. After making it I had some extra ingredients and a few packets of chocolate chippees so I made a Cookie Bear version and OOH it tasted way better than the Oreo one! Don’t get me wrong I’m no Oreo hater but these cookies…..the cream cheese…..the cream…..just delicious, I could “dum-de-doo” about it all day and night…..honestly just make it and especially if you’re a Kiwi you’ll agree I’m sure.
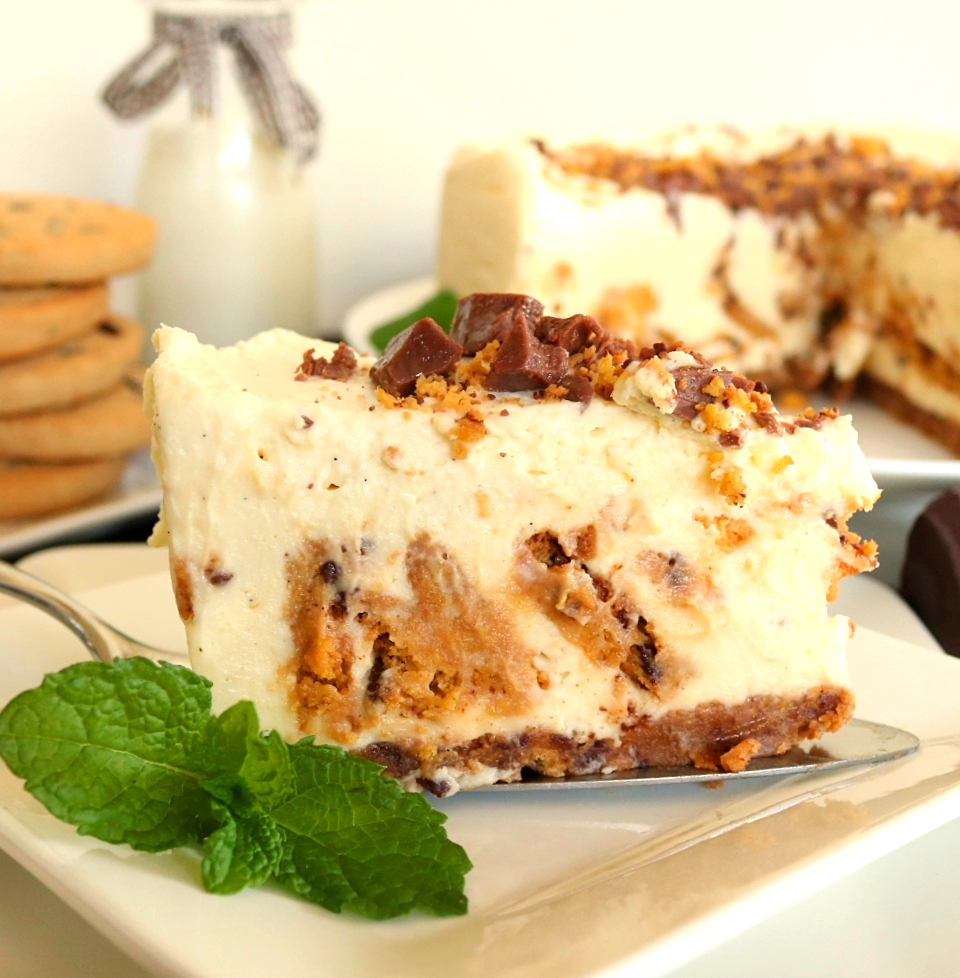
I wanted to make the recipe easy and it is. It’s a no-bake cheesecake and I even refrained from piping on the cream, just sprinkling more cookie crumbs and chopped up milk chocolate over the top…..well not really a sprinkling (who sprinkles on chocolate anyway), more like a pile!
There’s not a lot of butter in the base as these cookies really soak it up, which is exactly why they are just the best dipped into your cup of tea! It doesn’t just contain tiny cookie crumbs either, but large morsels of chocolately cookie that have softened to that ‘melt in your mouth’ stage…..so good!! I hope you like it as much as we do. 🙂
INGREDIENTS
Base
1 x 200 g / 7 oz packet Griffin’s Cookie Bear Chocolate Chippies
75 g / 2 ¾ oz butter
Filling
1 x 200 g / 7 oz packet Griffin’s Cookie Bear Chocolate Chippies
1 cup full cream
2 x 250 g / 8 ¾ oz pottles cream cheese
½ cup castor sugar
1 teaspoon vanilla extract or paste
2 teaspoons gelatine granules
To Finish
1 cup full cream
1 ½ tablespoons icing sugar
¼ teaspoon vanilla extract or paste
50 g / 1 ¾ oz milk chocolate
Serves 8 –10 (unless you’re not much of a sharer….then it serves 1)
Notes
- You can make this a whole day ahead and as long as it’s wrapped well it’ll be as good as gold!
- The unique taste of Cookie Bear Chocolate Chippies is what makes this cheesecake delish but of course, you can switch them for other chocky chip cookies.
- I just about always use castor sugar n my baking because I like its fine texture, if you haven’t tried it, give it a go. 🙂
STEP BY STEP
First lightly spray a 20 cm round / 8 in, loose-bottomed cake tin with non-stick cooking spray.
Base
Place the first packet of cookies into a food processor and process them until they are as fine as coarse ‘breadcrumbs’.
- If you don’t have a processor you can place them into a resealable plastic bag, place a tea towel over it and roll/bash them with a rolling pin, turning the bag over until they are all fine. Be careful if using this method because if the ‘crumbs’ are too large the base will not bind together well and will crumble when you go to cut it.
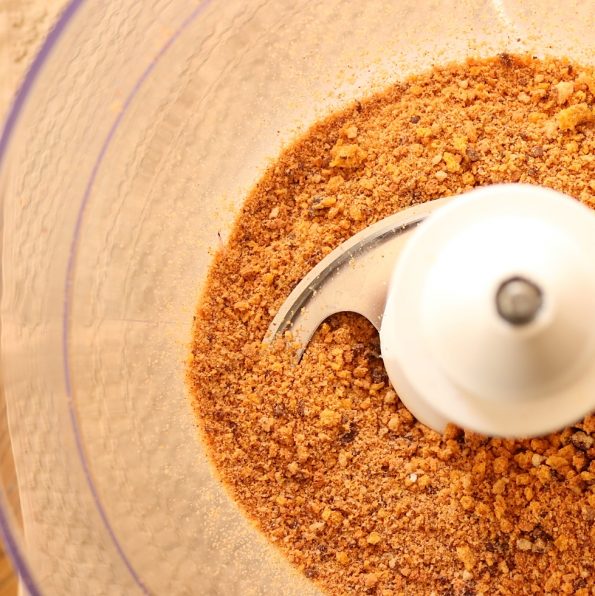
Then place the butter into a small saucepan and slowly melt it over a low heat…..then set it aside (of course you can use the microwave if you like).
Add the melted butter and the cookie crumbs to a bowl and thoroughly mix the two together.
- If using a different cookie or if your crumbs are smaller and bigger than mine your butter measure may be slightly different. To test it place a small amount in your hand and press it into a ball. If it falls apart easily you may like to add another 25 grams of melted butter to the mix or later on, it will crumble when you cut it. If it just holds together it will be fine (it will set more in the fridge). If it is very wet and feels really greasy you could try cutting down on the butter or your base could turn out greasy and/or quite hard.
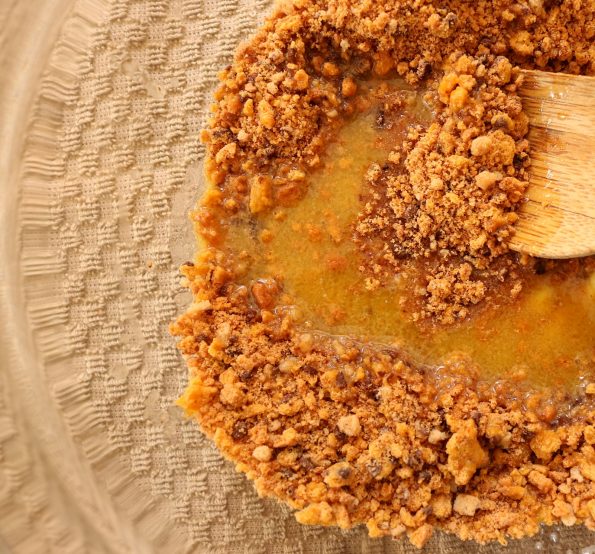
Spoon the buttery biscuit crumbs into the bottom of the tin and loosely spread them out as evenly as possible (no need to push them down yet).
Use a metal spatula or a flat-bottomed cup or glass to press them down as firmly as possible.
Place the base in the fridge to set whilst you make the filling.
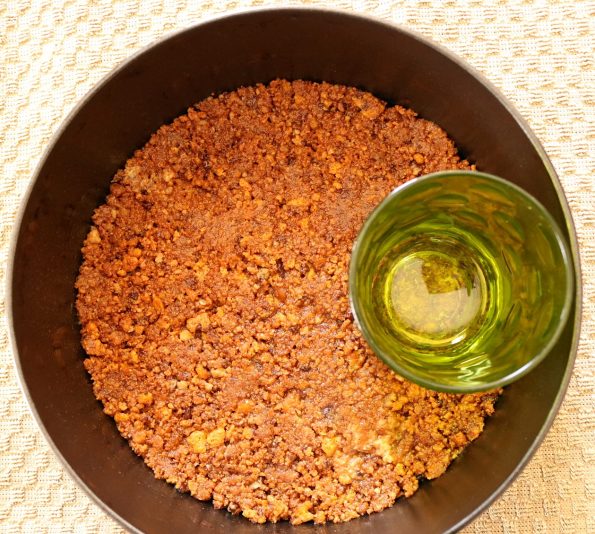
Filling
Just before you embark on making the filling it’s helpful to get the cookies ready and to get the cream whipped.
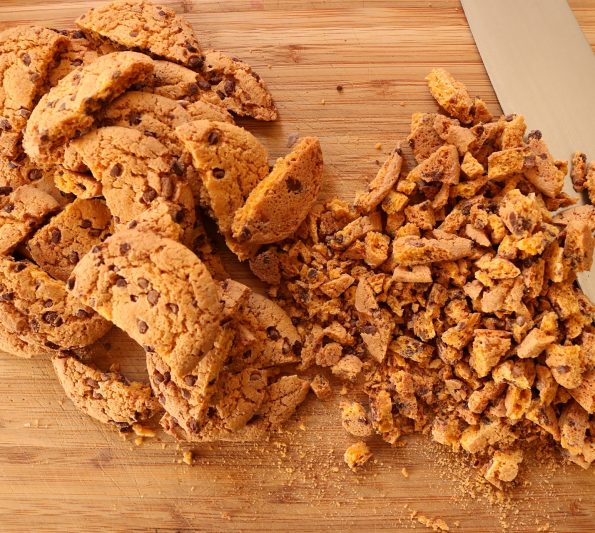
So snap half of the cookies in half and then using a large knife, roughly chop up the rest, leaving them aside for later.
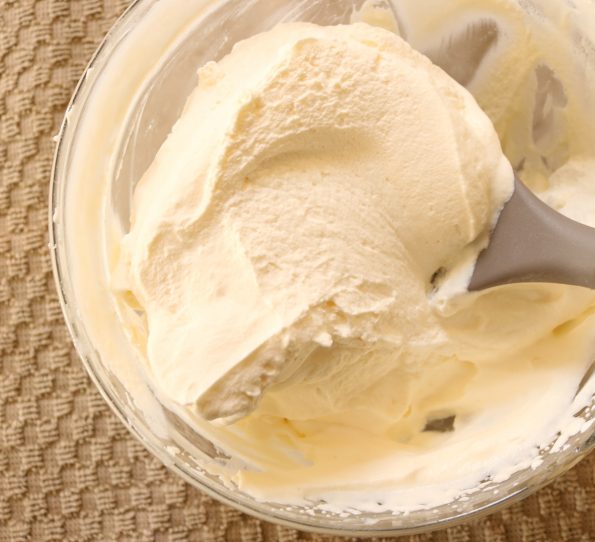
Now in a medium-sized bowl using an electric beater, on a medium speed, beat the cream for around 2 ½ minutes or until stiff peaks form (if you pulled some up with a spoon it should stand up stiff). Set it aside.
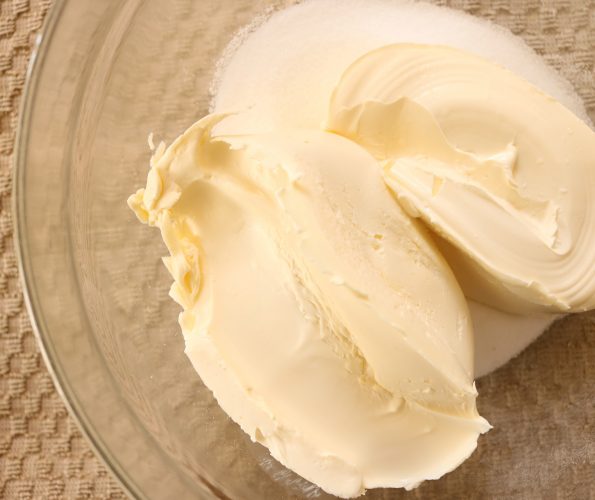
Next place the cream cheese, the sugar and the vanilla extract into a large bowl and…..
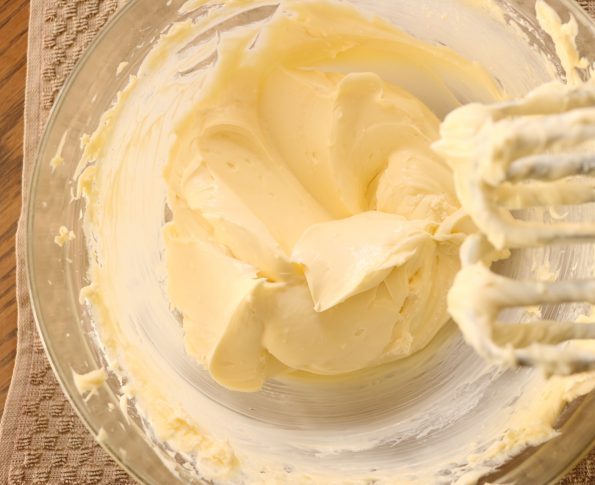
…..using the electric beater again, still on medium speed, beat it all together for around 3 minutes or until it’s well combined and light ‘n’ creamy.
Next, place 1/3 cup of cold water into a small heatproof bowl and sprinkle the gelatine over the surface.
Now boil the jug (kettle).
Find another heatproof bowl that is larger than the small bowl containing the water and gelatine and place the smaller bowl inside it.
Carefully pour some boiling water into the larger bowl so that it reaches the same height as the water and the gelatine inside the smaller bowl…..being careful not to get any boiling water inside the small bowl.
With a teaspoon mix, the water and gelatine together until all of the gelatine has dissolved…..this will only take a minute.
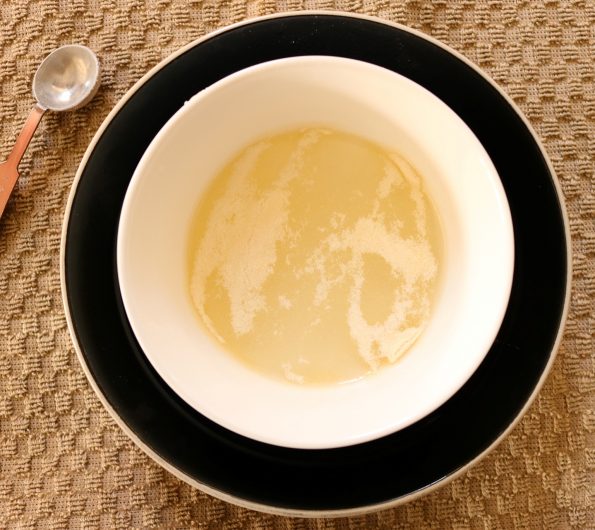
Then remove the gelatine bowl from the larger bowl and leave it sitting on the bench for a few minutes (stir occasionally so that it doesn’t stick to the sides) until it feels like it has cooled down to around the same temperature as the cream cheese mixture.
Scrape every little bit of the dissolved gelatine and water into the bowl with the cream cheese mixture.
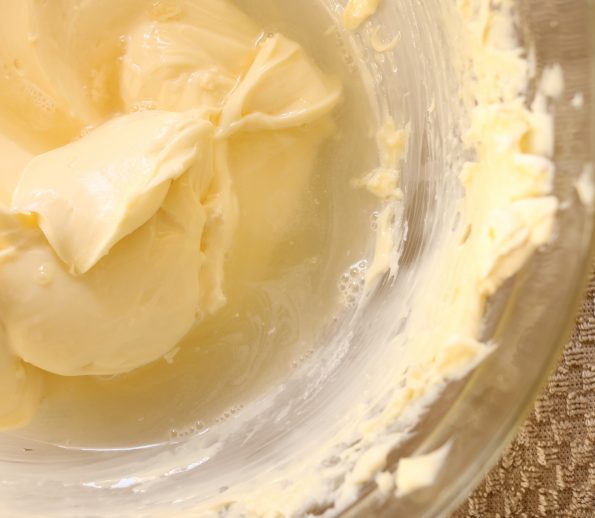
Using the beaters again, just at a low speed, beat it into the cream cheese mixture for around 1 minute or until it’s nicely blended in.
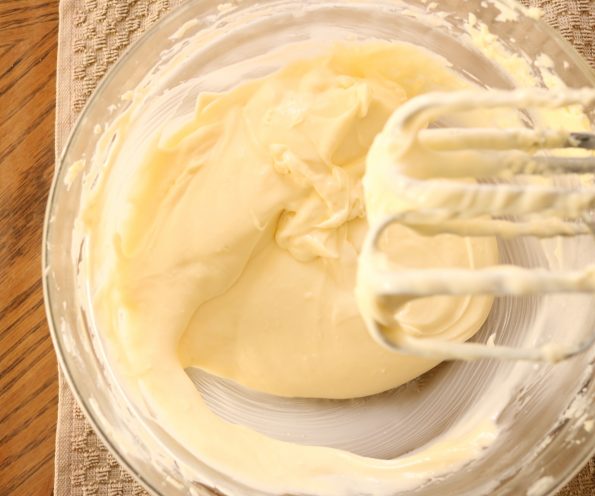
Using a large spoon or spatula fold the whipped cream through the cream cheese mixture until it’s all combined.
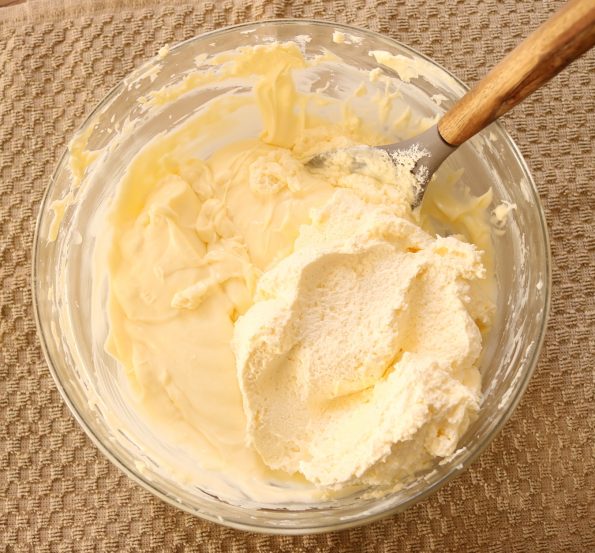
Place around ¼ of the mixture into the tin and spread it around on top of the set base.
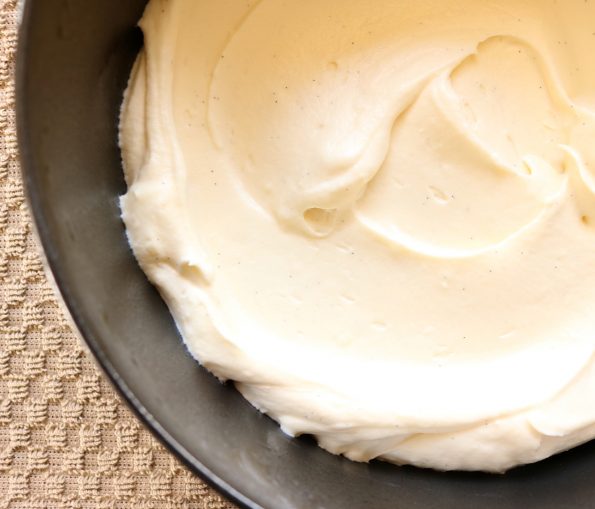
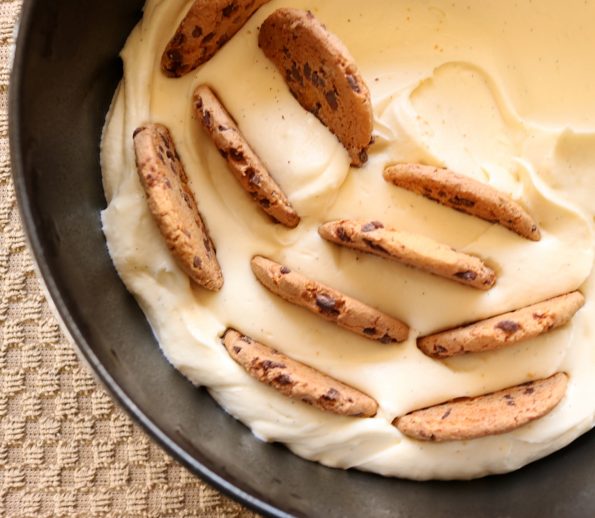
Remember you snapped those cookies in half? Just stand them all up in the mixture.
Set a ¼ cup of the cookie crumbs aside for decorating and then add the rest to the remaining mix and…..
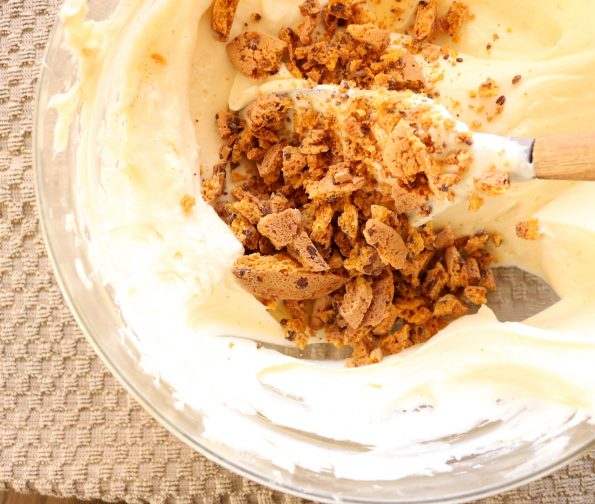
…..fold them in.
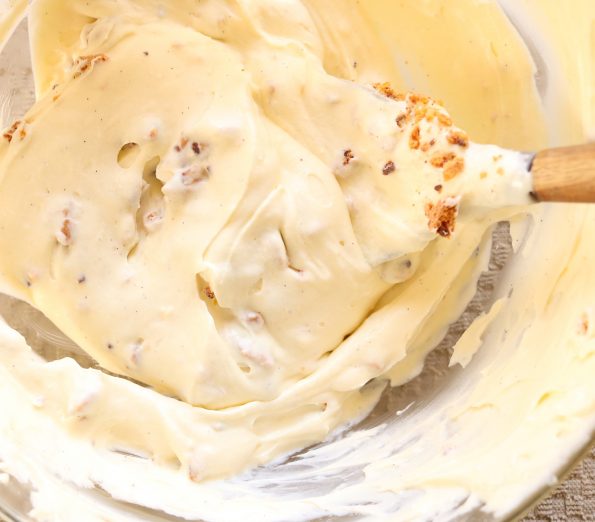
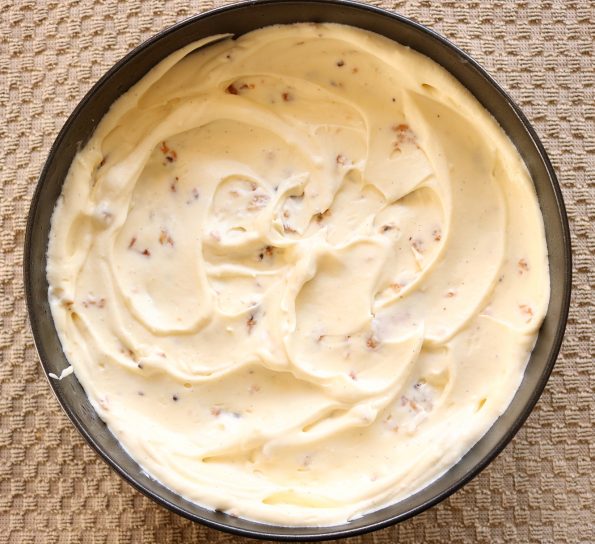
Spoon the remaining mix into the tin and roughly smooth the top over with a metal spatula or the back of a dessert spoon.
Pop the whole thing in the fridge.
To Finish
Place the second cup of cream into a medium-sized bowl with the icing sugar and the vanilla extract and…..
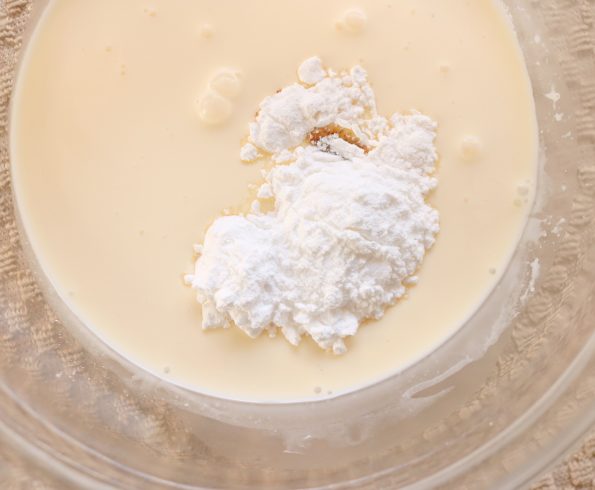
…..using your beaters again, on medium speed, whip it for around 2 ½ minutes or until stiff peaks form (if you pulled some up with a spoon it should stand up stiff) being careful not to over whip it though, so it doesn’t go too grainy.
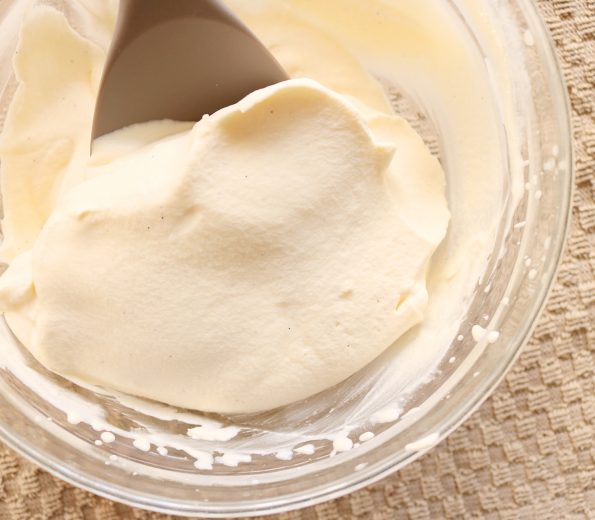
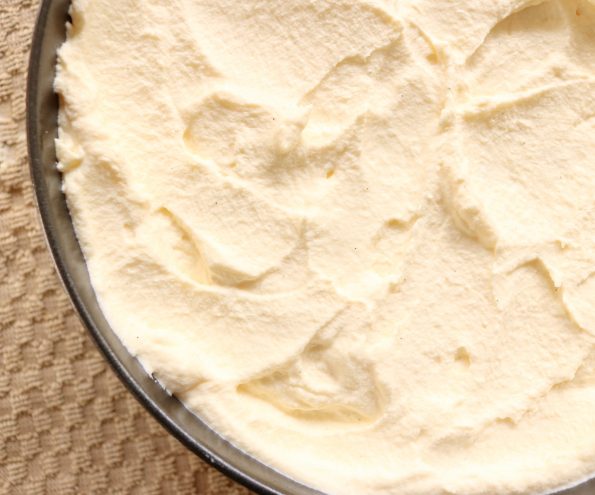
Retrieve the cheesecake from the fridge and again, using a metal spatula or the back of a dessert spoon spread it over the top of the cheesecake.
Next using your big knife again roughly chop up the milk chocolate.
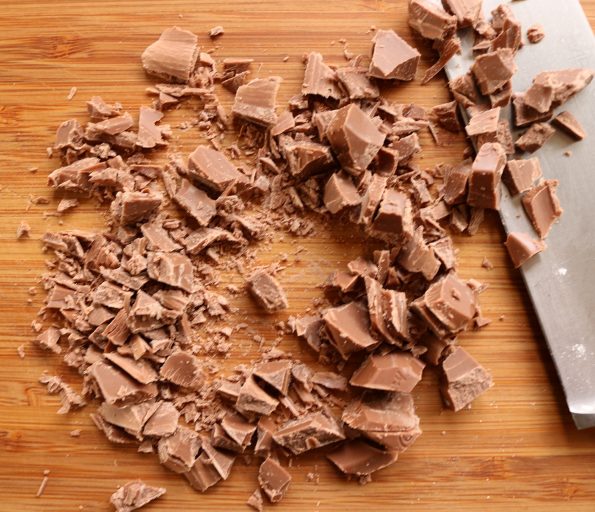
Sprinkle….Ahem…..I mean throw it on!
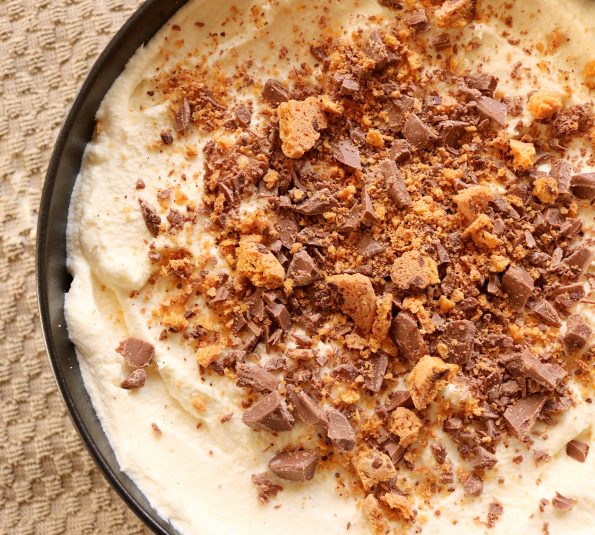
- I’m a fan of putting the majority of the topping around the centre and less on the outer edges because I like to see the top of the cheesecake and I also like the added height……but do what you will. 🙂
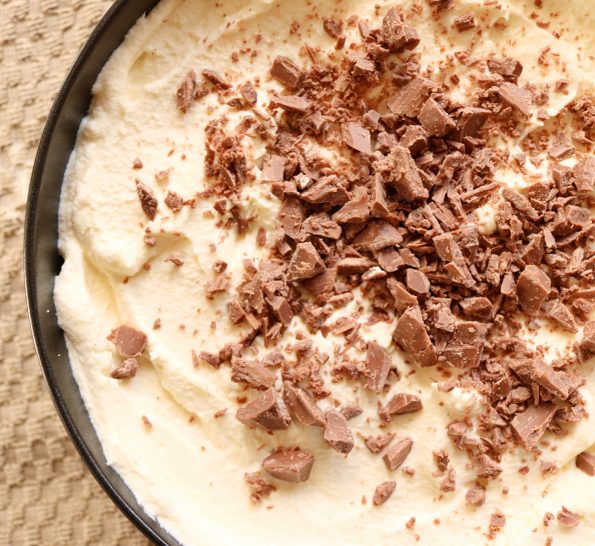
Also, scatter over the cookie crumbs that you set aside earlier.
Pop it back into the fridge again for at least 2 hours (or overnight) before slicing it up.
Sit the cheesecake on top of an upturned bowl or similar (smaller than the tin), loosen the tin if it has a latch and slide it down off the cheesecake. If it’s being stubborn run a knife around it between the cheesecake and the tin. Then place the base and cheesecake on the bench. Run a long knife around in between the base of the tin and the base of the cheesecake to loosen it and then slide the whole thing onto a flat serving plate.
Use a large sharp knife to cut it into 10 pieces (or 8 for larger portions).
- I like to wipe the knife with a clean damp cloth between cuts to keep the top nice.
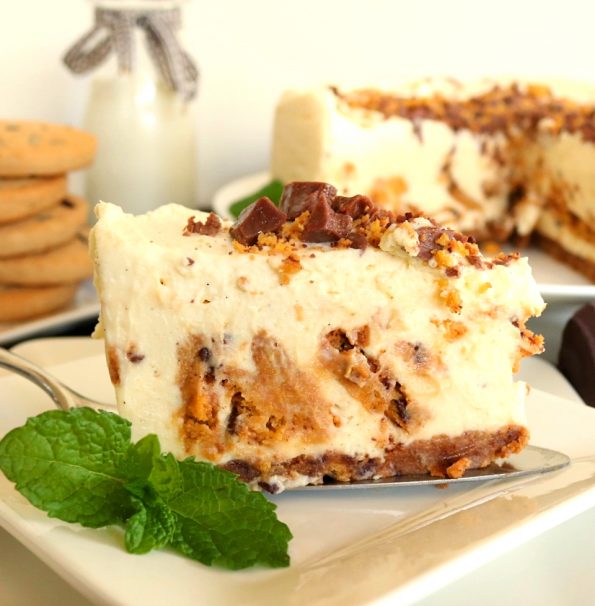
Garnish with fresh mint sprigs and…..
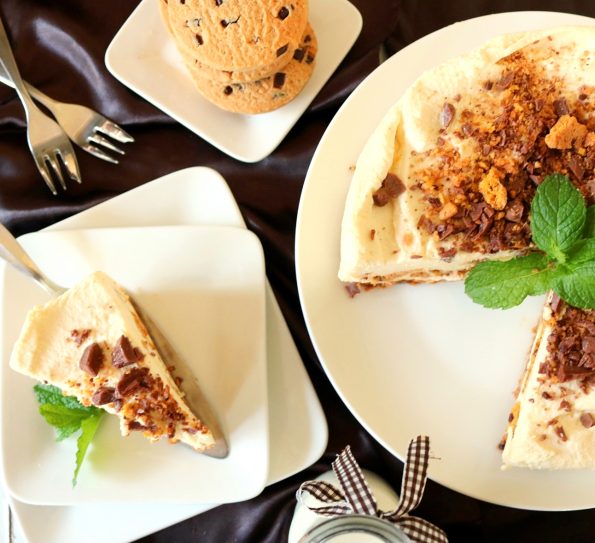
…..serve with a smile. 🙂
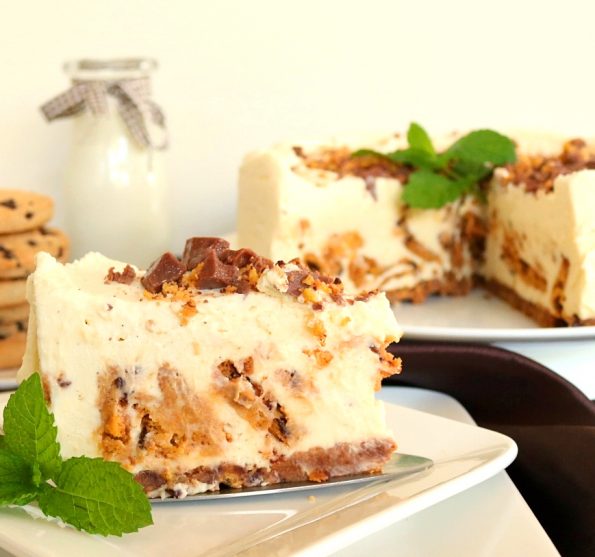
Keeping it fresh – I like to lay a long piece of cling wrap out on the bench (enough to wrap around the sides of the cheesecake (the circumference if we want to get all mathematical about it!) and carefully fold it into 2 or 3 layers, so it matches the height of the cheesecake. Then I wrap it around the cheesecake quite firmly so that no air can get in and then I loosely cover the top with cling wrap. If not wrapped well cheesecakes will form a little crust and turn a little yellow. This will ensure it is kept at its best for up to 5 days in the fridge.
Are you a dunking fan? Cookie Bear Chocolate Chippies are my favourite dunking biscuit, which biscuit do you like to plunge into your coffee or tea?
Related Posts
Usually made with Oreos, cookies & cream cheesecake is a cookie & cheesecake lovers dream. This one's made with NZ's fav chocolate chip cookies!
Ingredients
- 1 x 200 g / 7 oz packet Griffin's Cookie Bear Chocolate Chippies
- 75 g / 2 ¾ oz butter
- 1 x 200 g / 7 oz packet Griffin's Cookie Bear Chocolate Chippies
- 1 cup full cream
- 2 x 250 g / 8 ¾ oz pottles cream cheese
- ½ cup castor sugar
- 1 teaspoon vanilla extract or paste
- 2 teaspoons gelatine granules
- 1 cup full cream
- 1 ½ tablespoons icing sugar
- ¼ teaspoon vanilla extract or paste
- 50 g / 1 ¾ oz milk chocolate
Instructions
- Lightly spray a 20 cm / 8 in round, loose bottomed cake tin with non-stick cooking spray.
- Place the first packet of cookies into a food processor and process them until they are as fine as coarse 'breadcrumbs'. Alternatively place them into a resealable plastic bag, place a tea towel over it and bash them with a rolling pin.
- Place the butter in a small saucepan and slowly melt it over a low heat.....then set it aside (of course you can use the microwave if you like).
- Add the melted butter and the cookie crumbs to a bowl and thoroughly mix the two together.
- Spoon the buttery biscuit crumbs into the bottom of the tin and loosely spread them out as evenly as possible (no need to push them down yet). Then use a metal spatula or a flat bottomed cup or glass to press them down as firmly as possible and place it in the fridge to set,
- Open the second packet of cookies and snap half of them in half and then using a large knife, roughly chop up the rest. Set aside.
- In a medium sized bowl, using an electric beater on a medium speed, beat the fresh cream for around 2 ½ minutes or until stiff peaks form (if you pulled some up with a spoon it should stand up stiff). Set aside.
- Place the cream cheese, the sugar and the vanilla extract into a large bowl and using the beater again, on medium speed, beat it all together for around 3 minutes or until it's well combined and light 'n' creamy.
- Place 1/3 cup of cold water into a small heatproof bowl and sprinkle the gelatine over the surface.
- Boil the jug (kettle). Find another heatproof bowl that is larger than the small bowl containing the water and gelatine and place the smaller bowl inside it.
- Carefully pour some boiling water into the larger bowl so that is reaches the same height as the water and the gelatine inside the smaller bowl, being careful not to get any boiling water inside the small bowl.
- With a teaspoon mix the water and gelatine together until all of the gelatine has dissolved (this will only take a minute).
- Then remove the gelatine bowl from the larger bowl and leave it sitting on the bench until it feels like it has cooled down to around the same temperature as the cream cheese mix.
- Scrape every little bit of the dissolved gelatine and water into the bowl with the cream cheese mix and using the beaters again, on a low speed, beat it together for around 1 minute or until it's nicely blended in.
- Using a large spoon or spatula fold the whipped cream through the cream cheese mixture until it's all combined.
- Place around ¼ of the mixture into the tin and spread it around on top of the set base. Stand the ‘snapped in half’ cookies into the mixture.
- Set ¼ cup of the cookie crumbs aside for decorating and then add the rest to the remaining cream cheese mix and fold them in.
- Spoon the remaining mix into the tin, roughly smooth the top over with a metal spatula or the back of a dessert spoon and place the whole thing into the fridge.
- Place the second cup of cream into a medium sized bowl with the icing sugar and the vanilla extract and using your beaters again, on a medium speed, whip it for around 2 ½ minutes or again, until stiff peaks form. Using a metal spatula or the back of a dessert spoon spread the whipped cream over the top of the cheesecake.
- Using your big knife again, roughly chop up the milk chocolate and scatter it over the top of the cheesecake.
- Scatter over the cookie crumbs that you set aside earlier and pop it back into the fridge again for at least 2 hours (or overnight).
- Sit the cheesecake on top of an upturned bowl or similar (smaller than the tin), loosen the tin if it has a latch and slide it down off the cheesecake (if it's being stubborn run a knife around it between the cheesecake and the tin). Place the base and cheesecake on the bench. Run a long knife around in between the base of the tin and the base of the cheesecake to loosen it and then slide the whole thing onto a flat serving plate.
- Use a large sharp knife to cut it into 8 - 10 pieces.
- Keep well wrapped with cling wrap in the fridge for up to 5 days.


Leave a Reply