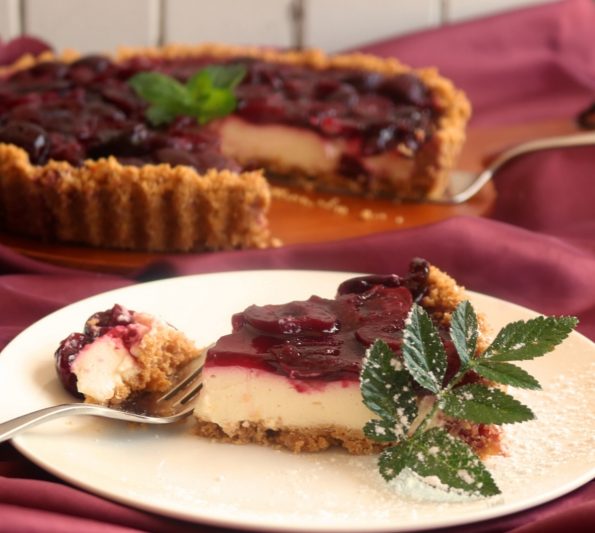
(Originally published, Feb-2018, then updated by Tania, Nov-2018)
Finally, the end of the summer, cherries are here and they are a lot cheaper!
If you know my style of cooking and baking you know I’m fond of the term ‘rustic’. I think in my past life I lived in the country, probably in Ireland or Scotland in a cute little farmhouse on land covered in blackberries and a garden with rich, black soil filled with herbs and veggies (I was a fantastic gardener in my past life…also slimmer and better looking) with a couple of barefoot, wild-haired children who run home with purple faces and scratched arms and legs because I made them pick blackberries all the time so I could bake pies. I had 8 cats (2 lived inside and the rest lived in the barn) and I whipped up all sorts of delicious things, sweet and savoury, in my coal-range oven whilst the hunter-gatherer (who was stronger than any man alive…..a lot like Thor) was out cutting down trees for firewood…..hmm, starting to sound like a ‘Mills & Boon’!
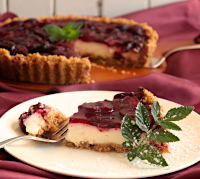
So, now that you all know how old fashioned I am, back to my favourite term, ‘rustic’, which is how I would describe this Cherry tart which certainly has that farmhouse, ‘baked in the country’ look about it. If anything I cook or bake tastes really good but doesn’t look perfect because of the way it’s made, basically, I call it rustic! Like this tart…..the cherries aren’t perfectly placed on top and the crumb base will never have a perfect edge and some crumbs will always come away when you cut it and some will even fall onto the pretty cherry top. When you cut it, unless your knife is as sharp as Lagertha’s sword, the cherries will be pushed into the creamy white filling and more perfection lost. So this tart may not look like it just stepped out of ‘Food Vogue’ but it’s damn delicious and a wonderful dessert to end any dinner party. 🙂
The base is made from plain biscuits and sliced almonds and baked in the oven for a bit (it pays to bake it when it has sides, just to give it some added strength). The cheesecake filling is deliciously creamy and slightly tangy as it’s a mix of mascarpone and sour cream (both go beautifully with cherries!) and it’s slightly flavoured with lemon juice and vanilla extract and lightened with a little whipped cream. The topping is made with fresh cherries and has gelatine added so it sets nicely on top of the tart.
Here goes…
INGREDIENTS
Cherry Topping
400 g fresh cherries
¼ cup / 55 g white sugar
¼ cup + 2 tablespoons / 90 ml lemon juice (from 1 ½ medium-sized lemons)
¼ cup / 60 ml water
1 ½ teaspoons gelatine granules
Base
1 x 250 g packet plain biscuits (I use Griffins vanilla wines)
¼ cup / 25 g sliced almonds
125 g butter
Cheesecake Filling
½ cup / 125 ml full cream
¾ cup / 200 g mascarpone
1 cup / 225 g sour cream
¼ cup / 55 g castor sugar
½ teaspoon vanilla extract
1 ½ teaspoons gelatine granules
2 tablespoons / 30 ml lemon juice (½ a medium-sized lemon)
Serves 8
Notes
- You can replace the sliced almonds with desiccated coconut if you like: ¼ cup / 20 g.
- If you don’t feel like going through the bother of making the tart shell you can use a 23 cm round, loose-bottomed cake tin instead. The bonus with this is that you also don’t need to cook the base! However, it will look like a cheesecake, a rather flat cheesecake. If you do decide to do this, before starting turn the loose base upside down as it makes it easier to slide the cheesecake off when moving it to a serving plate.
- If you like you can replace the mascarpone with regular cream cheese.
STEP BY STEP
Cherry Topping
First, squeeze the lemons (½ cup in total, from 2 juicy, medium-sized lemons) and set the juice aside for now.
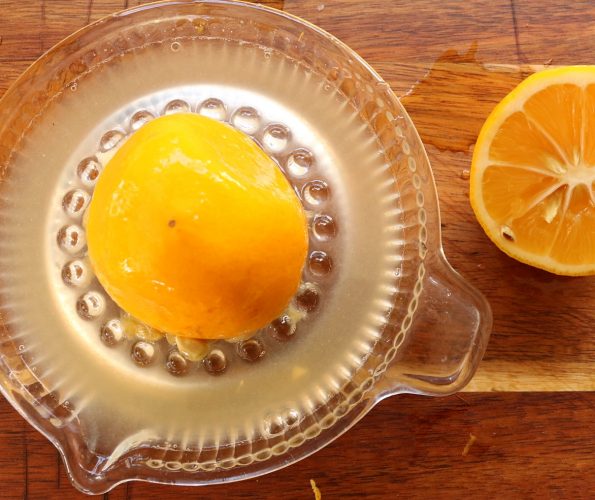
It’s best to make the topping first so it can cool down whilst you are making the tart.
So, stem and stone the plump cherries and slice them in half.
- I use a cherry stoner but if you don’t have one you can pull the stem out and then using a sharp little knife, cut them in half around the pip. Then twist the two sides in opposite directions so that they separate and then flick the pip out.
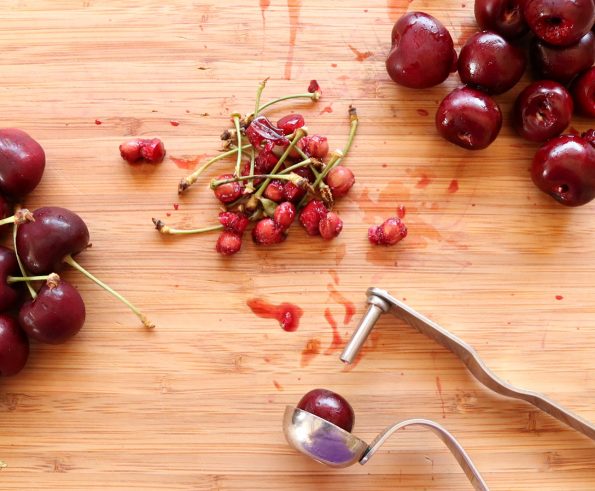
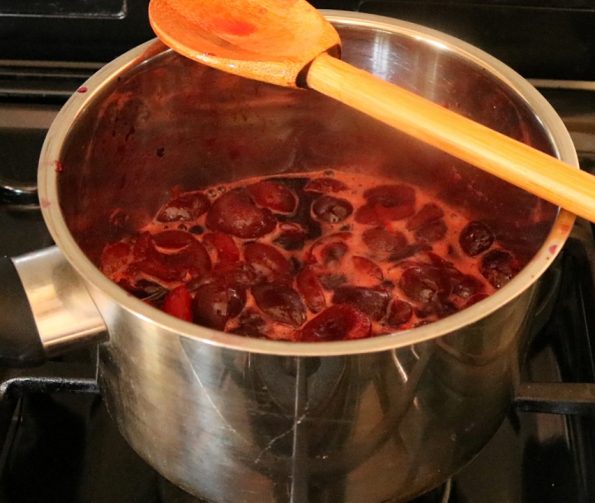
Next, place them in a saucepan with the sugar, ¼ cup of the lemon juice and the water.
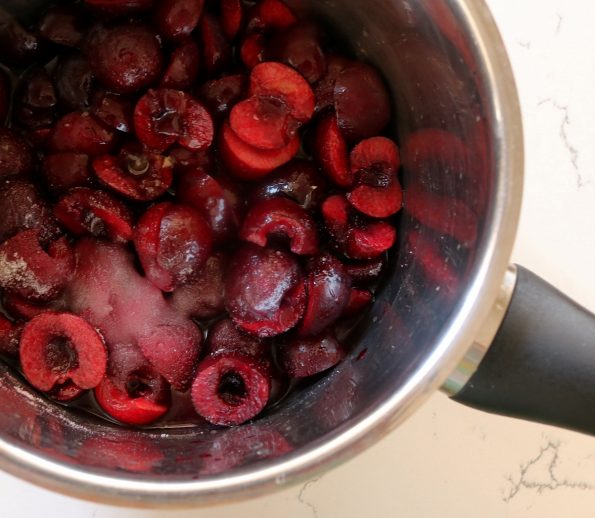
Place them over a medium-high heat and stirring often, bring them to a boil and then turn the heat down to low (or to where they’re just boiling/simmering) and leave them to simmer, stirring often, for 8 – 10 minutes or until the cherries have softened.
When done, remove them from the heat, leaving them in the saucepan.
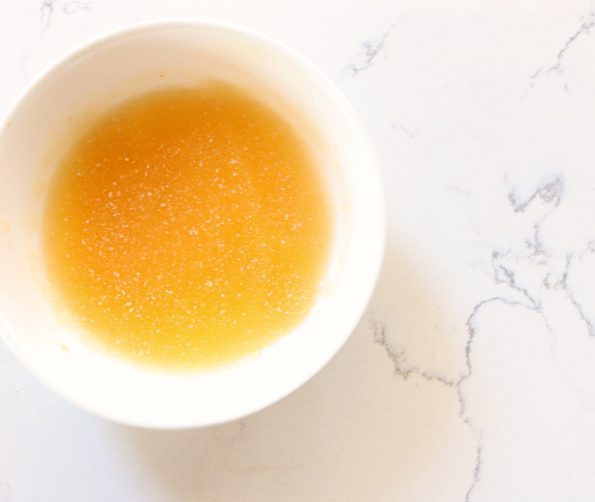
Place 2 tablespoons of the lemon juice into a small heatproof bowl and sprinkle the gelatine over the surface.
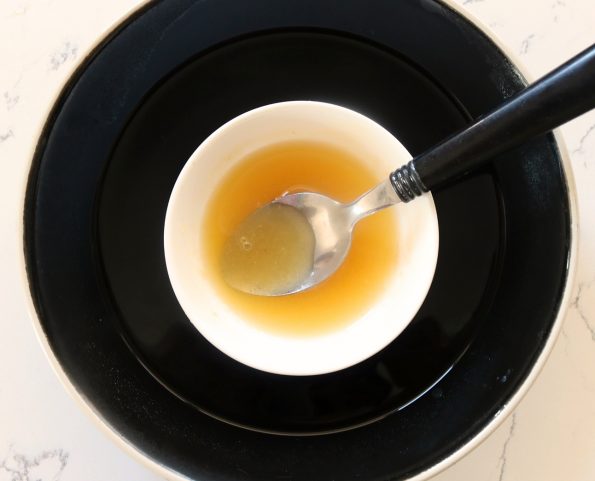
Now boil the jug (kettle).
Whilst it’s boiling, find another heatproof bowl, larger than the small bowl containing the gelatine and juice and place the smaller bowl inside it.
Carefully pour some boiling water into the larger bowl so that it reaches the same height as the gelatine and juice inside the smaller bowl…..being careful not to get any boiling water inside the small bowl.
Gently mix the gelatine and juice together until all of the gelatine has dissolved (this should only take a minute).
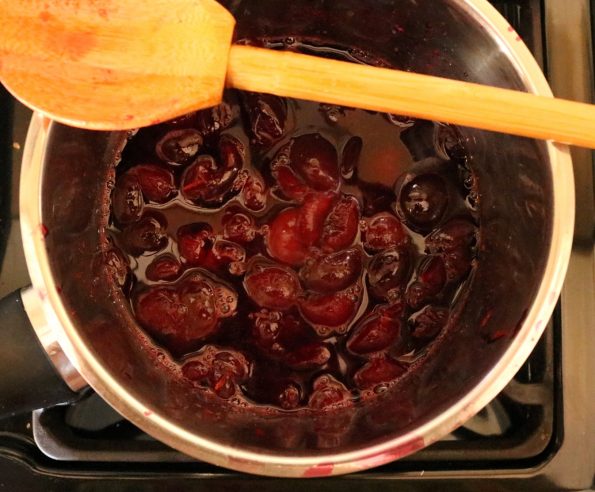
Add the dissolved gelatine to the cherry mix, stirring it in well and leave it out whilst continuing with the rest of the tart, returning to it every 10 minutes or so to give it a stir.
Base
Liberally spray a 25 cm round, loose-bottomed flan/tart tin with non-stick cooking spray.
Preheat the oven to 150°C fan bake oven or 170°C conventional oven, on bake, with a rack situated in the centre of the oven.
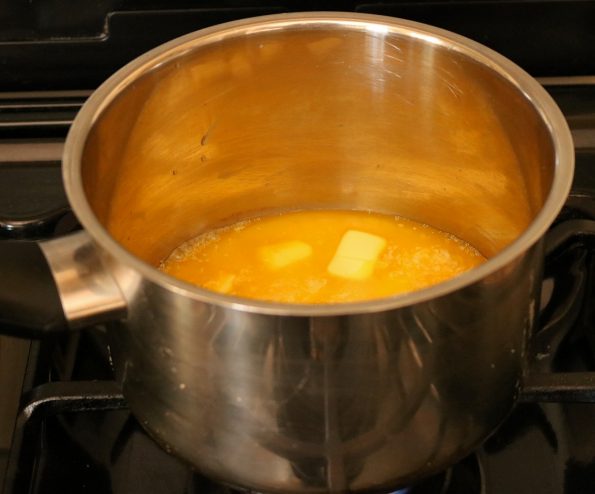
Next, cut the butter into cubes and place it into a small saucepan letting it melt over a low heat. As soon as it’s melted, set aside.
- Alternatively, place it in a microwave jug and melt it in the microwave. (You could even let it explode all over the place like I do, so much fun cleaning it up.)
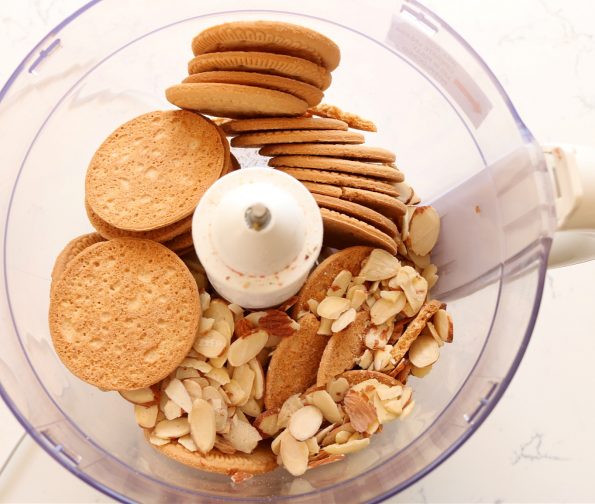
Next, in your food processor process the biscuits and the sliced almonds until they are fine crumbs and then place them into a medium-sized bowl.
- I don’t recommend this for this tart because the crumbs must be very fine but if you don’t have a food processor you can use a thick, resealable plastic bag. Fill it with the biscuits and the almonds, lay it flat on the bench, lay a tea-towel over it and use a rolling pin to bash and roll the biscuits until they are well crushed.
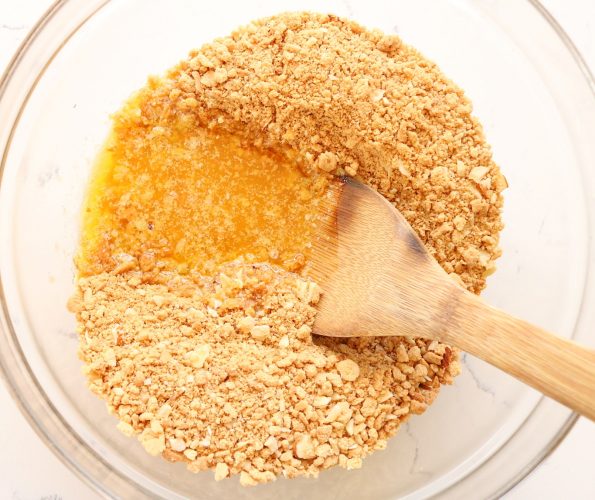
Add the melted butter and mix to thoroughly combine.
Spoon the crumbs into the tin, evenly spreading them out.
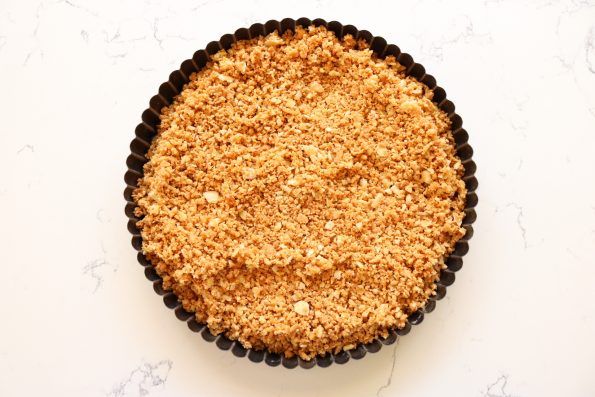
Use your fingers to very firmly press the crumbs into the sides, so it is about ½ cm thick.
- This may take a while but it’s the most important part of making this tart as you don’t want the sides to crumble when you take it out of the tin.
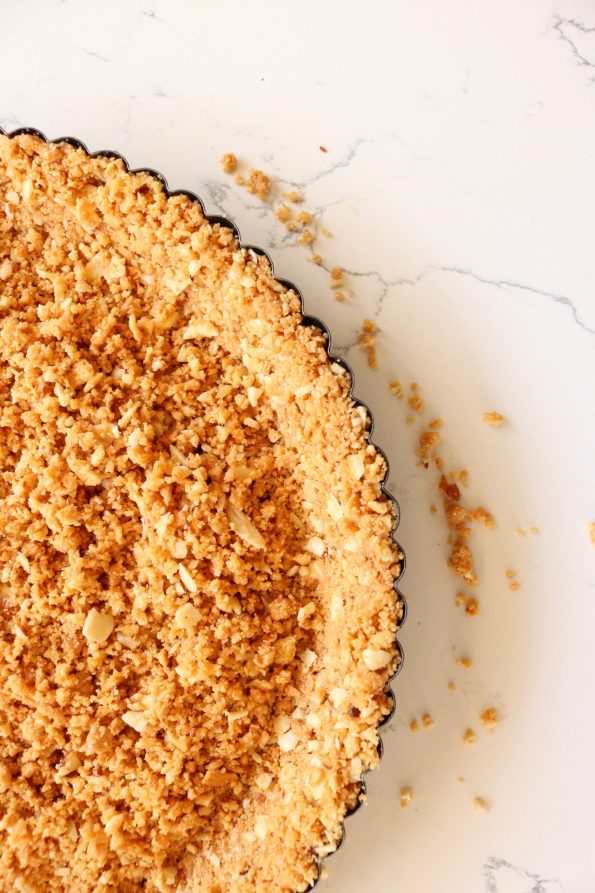
Still taking your time, use a flat-bottomed cup or glass to firmly press down the remaining crumbs, also pressing the sides of the glass into the sides.
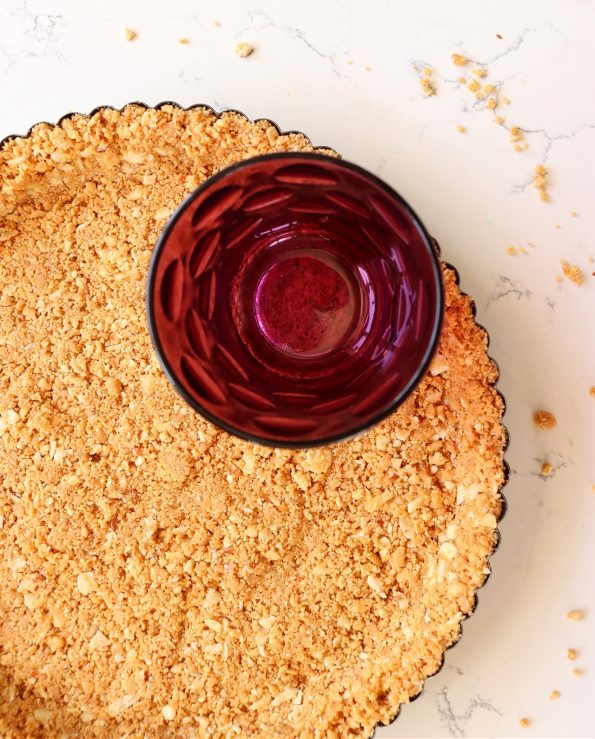
Place it n the oven to bake for 10 minutes.
Once done, leave it in the tin to cool on a wire rack for at least half an hour (you can make the filling during this time).
Cheesecake Filling
In a small bowl, use an electric beater, on medium speed, to beat the cream for around 1 ½ minutes or until stiff peaks form (if you pulled some up with a spoon it should stand up stiff). Set it aside.
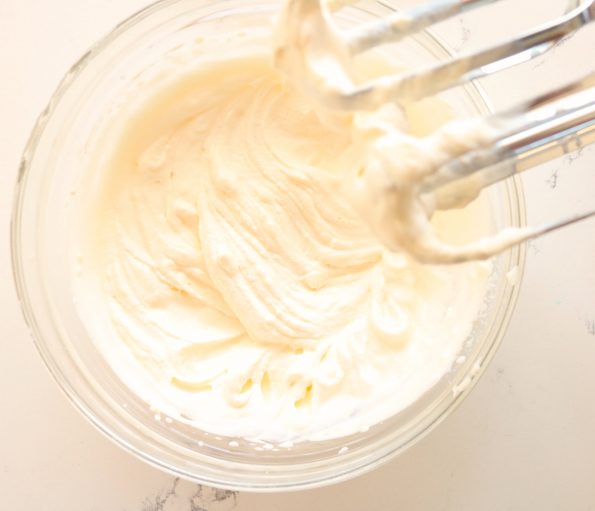
Next, place in a medium-sized bowl the mascarpone, sour cream, castor sugar and the vanilla extract and…
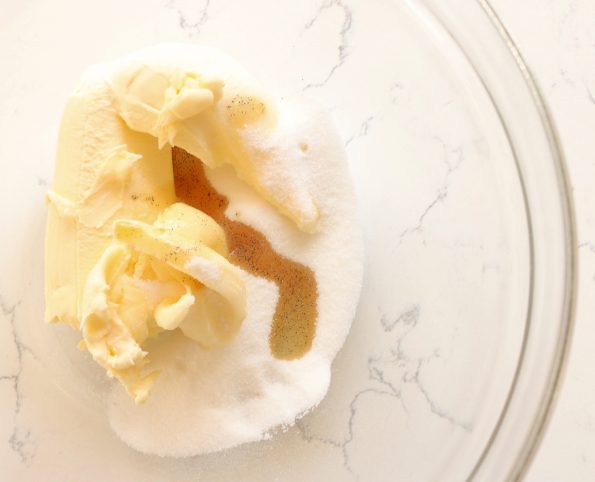
…use the beaters again to beat it all together for around a minute or until it’s nice and smooth. Also, leave it aside.
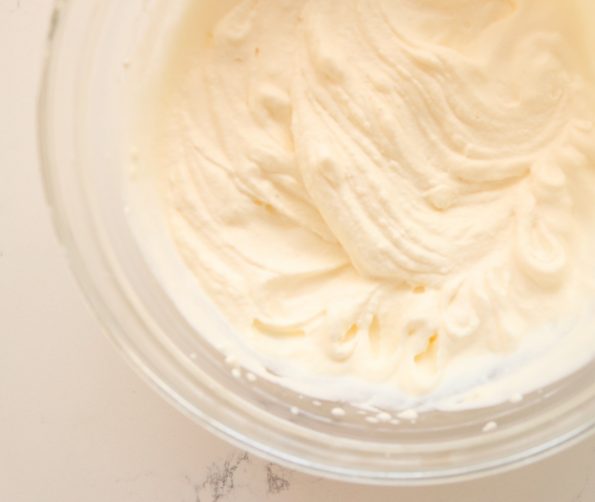
Now, you have to dissolve some more gelatine for the filling, so excuse the repetitiveness. 🙂
Place the remaining 2 tablespoons of the lemon juice into a small heatproof bowl and sprinkle the gelatine over the surface.

Boil the jug again and whilst it’s boiling, find another heatproof bowl that is larger than the small bowl containing the water and gelatine and place the smaller bowl inside it.
Carefully pour some boiling water into the larger bowl so that it reaches the same height as the water and the gelatine inside the smaller bowl…..being careful not to get any boiling water inside the small bowl.
With a teaspoon mix, the water and gelatine together until all of the gelatine has dissolved (this should only take a minute).

Remove the gelatine bowl from the larger bowl and add it to the mascarpone mixture.
Beat it in for around 20 seconds or until nicely combined.
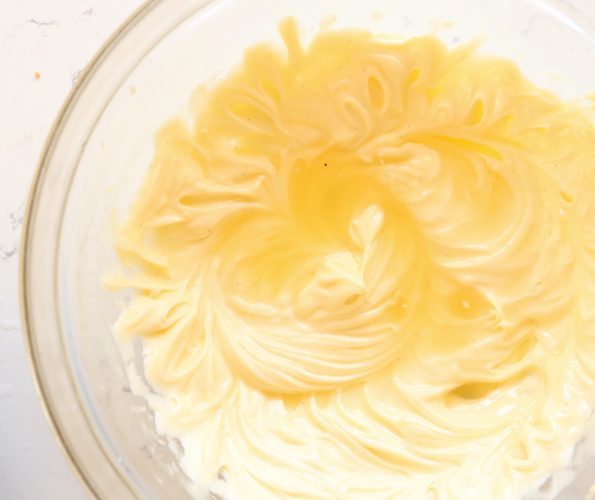
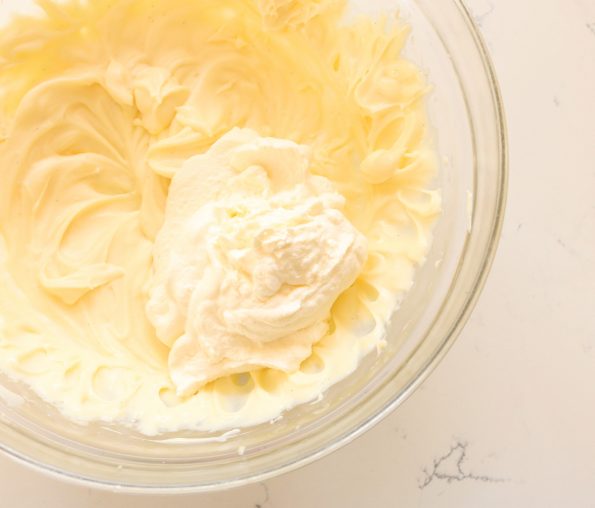
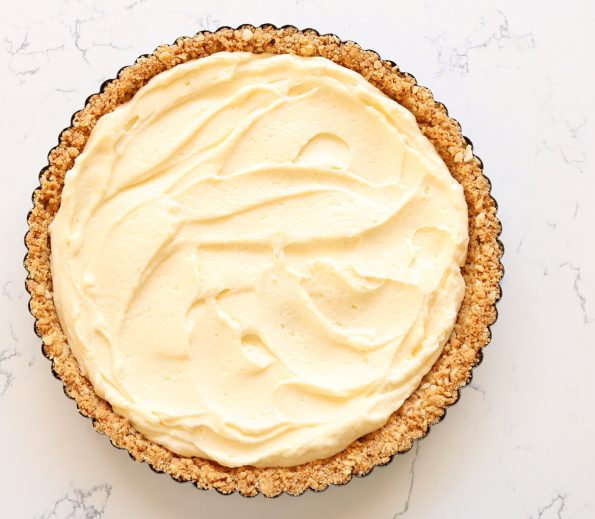
That’s it for the filling so spoon it into the base and…
- Make sure the base has cooled down to at least room temperature before doing this or it will melt the cream and the filling will seep through the base…you don’t want that!
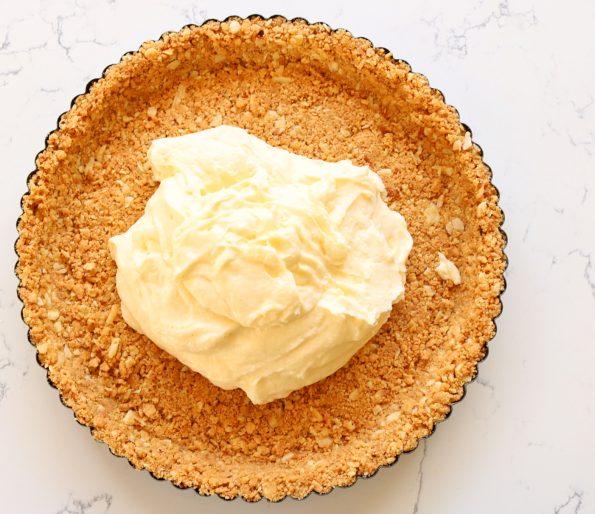
…once spread out, smooth the surface over with a palette knife to get it as flat and as even as possible (important with this tart as it has a topping going on).
Then place it in the fridge to set for 1 hour, also popping the saucepan of cherries into the fridge for the same amount of time.
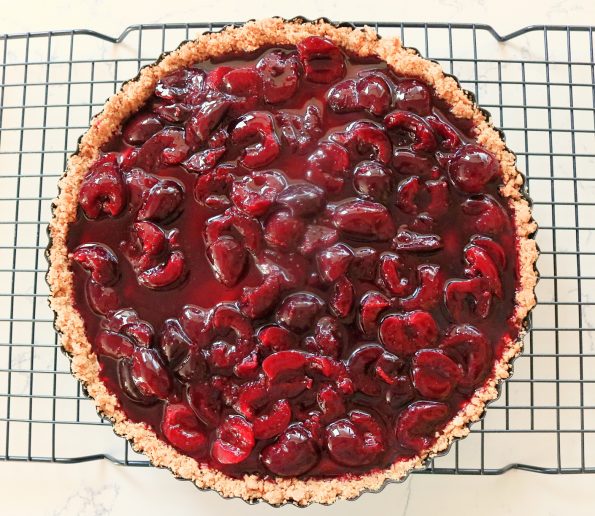
After an hour is up, remove it from the fridge and carefully spoon the cherry topping over the mascarpone filling.
Then return the tart to the fridge to set for a further hour or until the topping has set like jelly.
Remove the tart from the tin by first using a sharp knife to run down the sides in between the sides of the base and the tin to make sure it isn’t stuck anywhere.
Then place it on an upturned, flat-bottomed bowl (it needs to be smaller than the tin) so that the side of the tin falls down (with your help) and the tin base and tart are left sitting on top of the bowl. Place the tart, still on the base of the tin onto the kitchen bench.
Next, run a long, sharp knife around in between the base and the bottom of the tin to loosen it.
Use a spatula (or two) to help you slide it onto a flat serving plate and use a large, sharp knife to cut it into 8 wedges.
- I like to wipe the knife with a damp cloth between cuts so as not to get crumbs from the knife on the top.
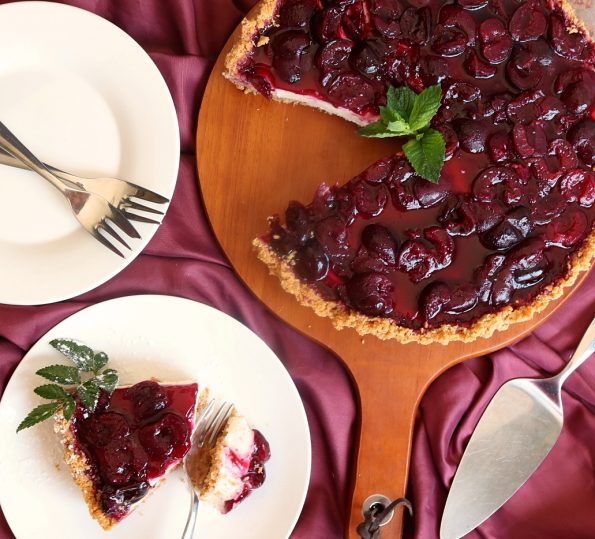
Keepin’ it fresh – Keep well covered with cling wrap in the fridge up to 2 days. It will keep a few longer but the base will become soft.
Related Posts…
Cherry, Mascarpone Cheesecake Tart
Ingredients
Cherry Topping
- 400 g fresh cherries
- ¼ cup / 55 g white sugar
- ¼ cup + 2 tablespoons / 90 ml lemon juice from 1 ½ medium-sized lemons
- ¼ cup / 60 ml water
- 1 ½ teaspoons gelatine granules
Base
- 1 x 250 g packet plain biscuits I use Griffins vanilla wines
- ¼ cup / 25 g sliced almonds
- 125 g butter
Cheesecake Filling
- ½ cup / 125 ml full cream
- ¾ cup / 200 g mascarpone
- 1 cup / 225 g sour cream
- ¼ cup / 55 g castor sugar
- ½ teaspoon vanilla extract
- 1 ½ teaspoons gelatine granules
- 2 tablespoons / 30 ml lemon juice ½ a medium-sized lemon
Instructions
Cherry Topping
- Squeeze the lemons (½ cup in total, from 2 juicy, medium-sized lemons) and set the juice aside.
- Stem and stone the plump cherries and slice them in half and place them in a pan with the sugar, ¼ cup of the lemon juice and the water.
- Bring to the boil, turn down the heat and simmer, stirring often, for 8 -10 minutes or until the cherries have softened. Leave them in the saucepan.
- Place 2 tablespoons of the lemon juice into a small heatproof bowl and sprinkle the gelatine over the surface.
- Find another, larger, heatproof bowl and place the smaller bowl containing the gelatine and juice inside it.
- Carefully pour some boiling water into the larger bowl so that it reaches the same height as the gelatine and juice inside the smaller bowl and gently mix the water and gelatine together until all of the gelatine has dissolved.
- Add the dissolved gelatine to the cherry mix, stirring it in well and set it aside whilst continuing with the rest of the tart, returning to stir it every so often.
Base
- Liberally spray a 25 cm round, loose-bottomed flan/tart tin with non-stick cooking spray.
- Preheat the oven to 150°C fan bake oven or 170°C conventional oven, on bake, with a rack situated in the centre of the oven.
- Cut the butter into cubes and place it into a small saucepan. Let it melt over a low heat, then set aside. (Of course, you can just use the microwave.)
- Using a food processor, process the biscuits and the sliced almonds until they are fine crumbs and place them into a medium-sized bowl. *If you don't have a food processor you can use a thick, resealable plastic bag. Fill it with the biscuits and the almonds, lay it flat on the bench, lay a tea-towel over it and use a rolling pin to bash and roll the biscuits until they are well crushed.
- Add the melted butter to the biscuit crumbs and thoroughly combine the two.
- Spoon the crumbs into the tin, evenly spreading them out and then use your fingers to press roughly half the crumbs, very firmly, into the sides so it is about ½ cm thick.
- Use a flat-bottomed cup or glass to firmly press down the remaining crumbs on the base, also pressing the sides of the glass into the sides.
- Place the base in the oven to bake for 10 minutes. Once done, leave it in the tin and place it on a wire rack for at least half an hour (you can make the filling during this time).
Cheesecake filling
- In a small bowl, use an electric beater, on medium speed, to beat the cream for around 1 ½ minutes or until stiff peaks form. Set aside.
- Place in a medium-sized bowl the mascarpone, sour cream, castor sugar and the vanilla extract and beat it all together for around a minute or until it’s nice and smooth. Set aside.
- Place the remaining 2 tablespoons of the lemon juice into a small heatproof bowl and sprinkle the gelatine over the surface.
- Find another, larger, heatproof bowl and place the smaller bowl containing the gelatine and juice inside it.
- Carefully pour some boiling water into the larger bowl so that it reaches the same height as the gelatine and juice inside the smaller bowl and then gently mix the water and gelatine together until all of the gelatine has dissolved.
- Add the gelatine mix to the mascarpone mixture and beat in for around 20 seconds or until nicely combined.
- Spoon the filling into the base and smooth the surface over with a palette knife to get it as flat and even as possible (make sure the base has cooled down to at least room temperature before doing this).
- Place it in the fridge to set for 1 hour along with the saucepan of cherries.
- After an hour, remove both from the fridge and carefully spoon the cherry topping over the mascarpone filling. Return the tart to the fridge and leave it to set for a further hour or until the topping has set like jelly.
- Remove the tart from the tin by first using a sharp knife to run down the sides in between the sides of the base and the tin, just to make sure it isn't stuck anywhere.
- Then place it on an upturned, flat-bottomed bowl (it needs to be smaller than the tin) so that the side of the tin comes down around the bowl (with your help) and the tin base and tart are left sitting on top of the bowl. Place the tart, still on the base of the tin onto the kitchen bench.
- Run a long, sharp knife around in between the biscuit base and the bottom of the tin to loosen it. Use a spatula (or two) to help slide the tart onto a flat serving plate and use a large, very sharp knife to cut it into 8 wedges (wiping the knife with a damp cloth between cuts stops crumbs from the knife getting on top).
- Keep well covered with cling wrap in the fridge for up to 2 days.


This cake is amazing ! I fell in love ! 🙂
Thank you Kuchnia 🙂