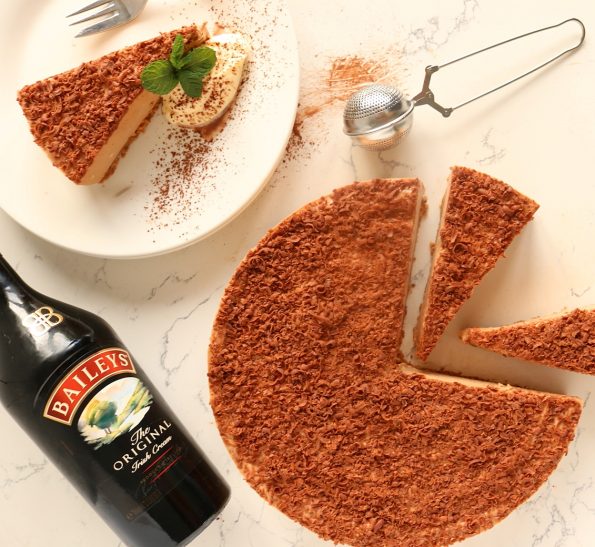
I’ve been waiting a long time to have some Bailey’s behind the bar to make this Cheesecake for my blog and finally I had some left from New Years!
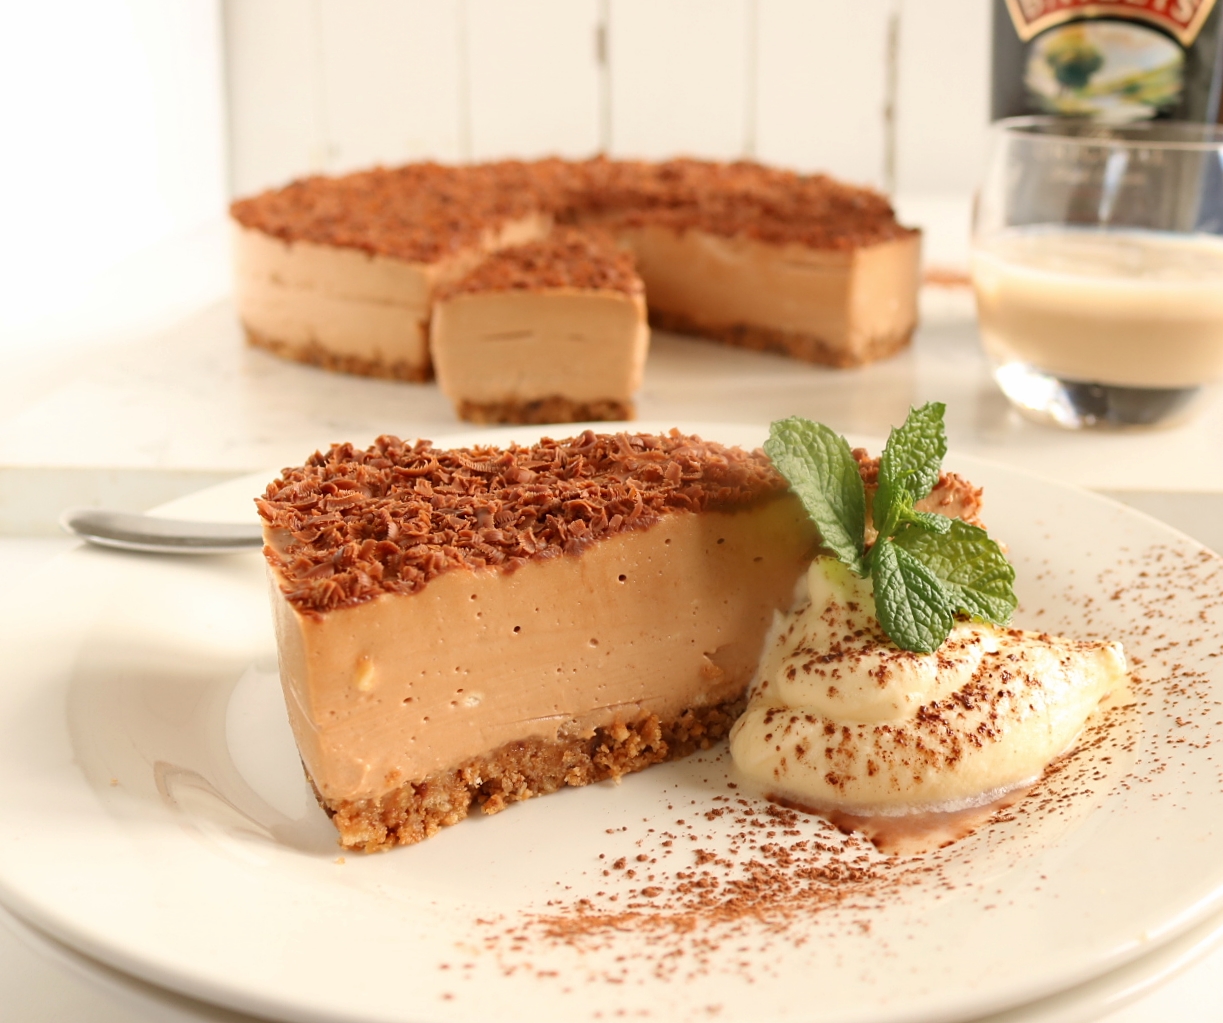
This is a fairly easy to make, no-bake cheesecake with a chocolate chip biscuit base (aka cookie base) and a creamy, cream cheese and milk chocolate filling. Like all of my cheesecakes, there’s a fair amount of whipped cream folded through, creating a light and airy texture and there’s plenty of grated chocolate on top because chocolate in the base and chocolate in the filling surely couldn’t be enough?!
So, certainly nothing you haven’t seen before…no prizes for originality here but here’s how I make it…
INGREDIENTS
250 g / 8 ¾ block milk chocolate (I used Whittaker’s Creamy Milk)
Base
1 x 250 g / 8 ¾ oz packet chocolate chip biscuits (cookies)
75 g / 2 ½ oz butter
Cheesecake Filling
1 ½ cups full cream
3 x 250 g / 8 ¾ oz pottles cream cheese (at room temperature)
½ cup castor sugar
1 teaspoon vanilla extract
1/3 cup Baileys
2 ½ teaspoons gelatine granules
Serves 10 – 12
Notes
- Easily made the day before and left overnight to set.
- If you like you can switch the chocolate chip biscuits to plain ones but you’ll need to up the butter to 125 g / 4 ½ oz.
- You can switch the block of chocolate for the same weight in chocolate buttons.
STEP BY STEP
If you haven’t already, take the cream cheese from the fridge to bring it back to room temp (no biggie, just a little easier to beat).
Then, to melt the chocolate, find a heatproof bowl that fits snuggly into the top of a small saucepan and break up 200 g / 7 oz of the chocolate and place it or the buttons (if using them) in the bowl. Place the extra 50 g / 1 ¾ oz in the fridge to use later on.
Fill 1/3 of the saucepan with water and then sit the bowl on top again. Check that the water isn’t touching the bottom of the bowl and if it is, tip some out so that it’s not. Remove the bowl again and bring the water to a boil. Once boiling turn down the heat to medium/low or to where the water is simmering.
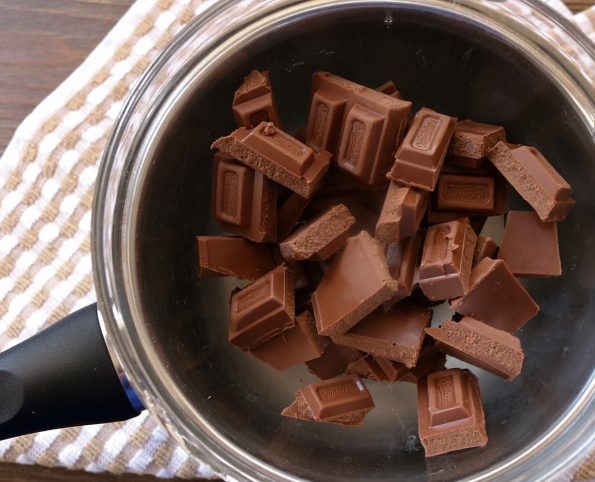
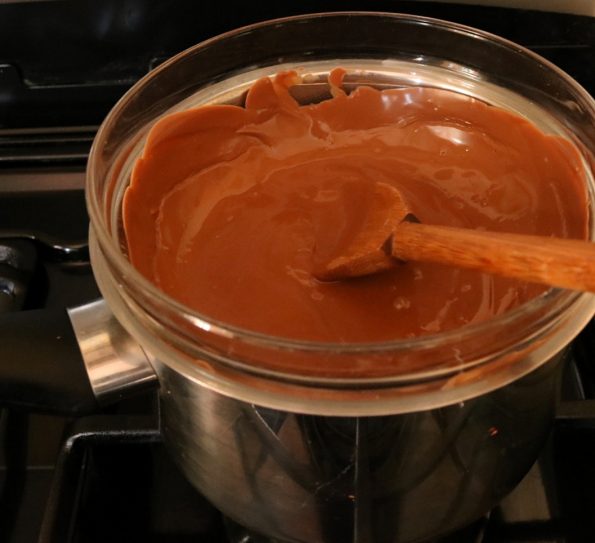
Place the bowl back on top and stir often (especially the sides and bottom so that it doesn’t stick and burn), until all of the chocolate has melted. Then turn off the heat and leave the bowl of chocolate aside.
Base
First lightly spray a 23 cm / 9″ round, loose-bottomed cake tin with non-stick cooking spray.
- When securing the base inside the tin, if it has a tiny lip around it, turn it up-side-down inside the tin. This will make it easier later on when you are running a knife in between the cheesecake base and the tin base and then sliding the cheesecake onto a serving plate, there won’t be that little lip making it more difficult than it needs to be.
Next, place the butter in a small saucepan and melt it over a low heat.
- Of course, with this small amount of butter you can just melt it in the microwave.

Now using a food processor, process the biscuits until they are crumbs (as big as large breadcrumbs) and then place them into a medium-sized bowl.
- If you don’t have a food processor you can use a thick, resealable plastic bag. Fill it with the biscuits, lay it flat on the bench, lay a tea-towel over it and use a rolling pin to bash and roll the biscuits until they are well crushed.
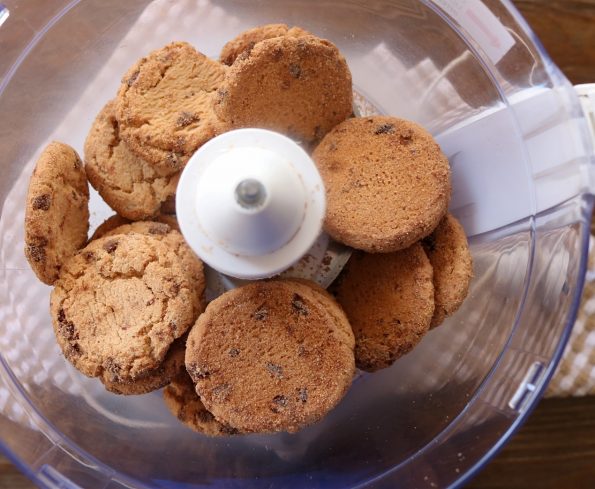
Add the melted butter to the biscuit crumbs and mix to thoroughly combine.
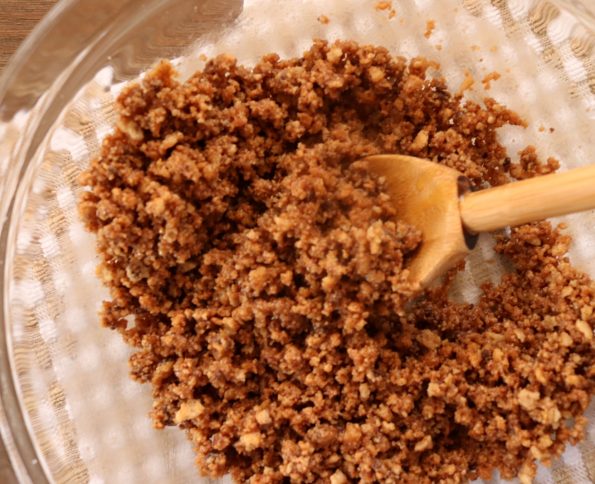
Spoon the crumbs into the cheesecake tin, spreading them out as evenly as possible and then…
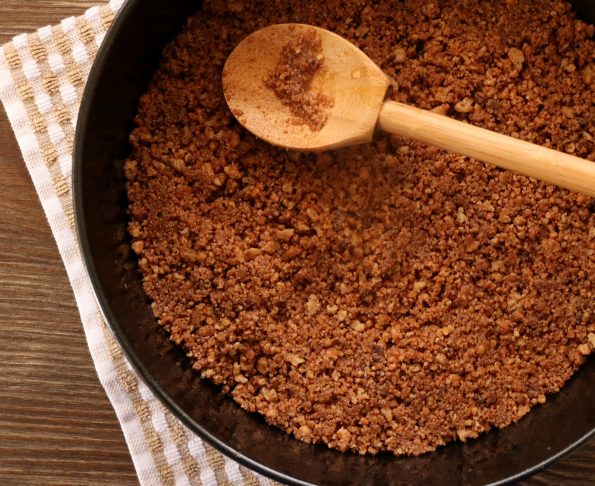
…press them down firmly using a metal spatula or a flat-bottomed cup or glass.
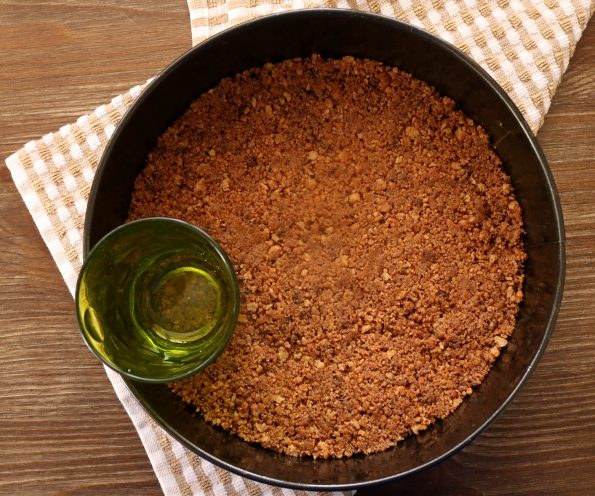
Place the base in the fridge to set whilst you make the filling.
Cheesecake filling
First, in a medium-sized bowl using an electric beater, on a medium speed, beat the cream for around 3 minutes or until stiff peaks form (if you pulled some up with a spoon it should stand up stiff). Set it aside for now.
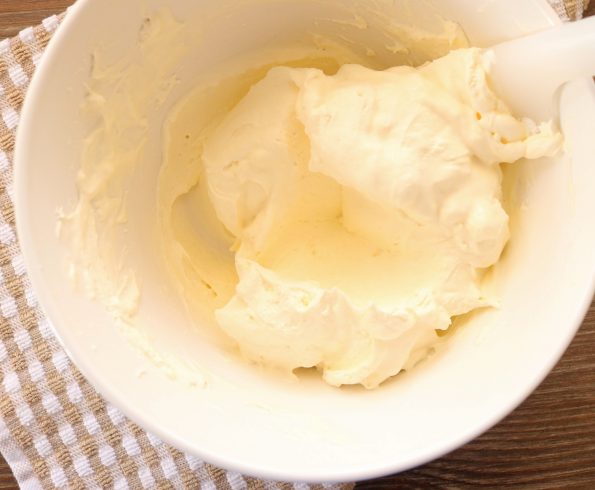
Next, place the cream cheese, the sugar and the vanilla extract into a large bowl and using your electric beater again, on a medium speed, beat it all together for around 3 minutes or until smooth.
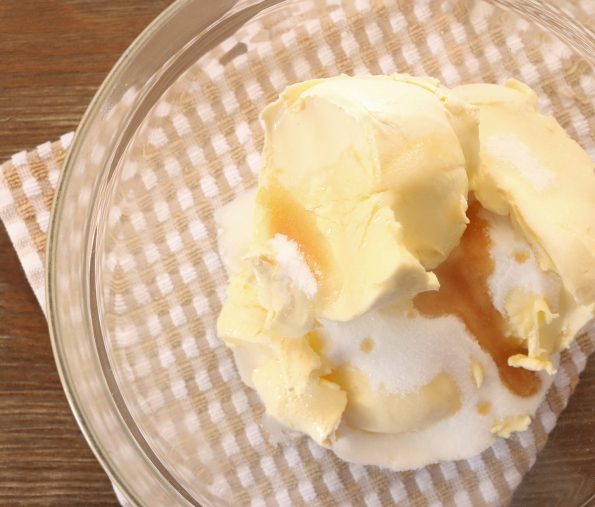
Add the melted chocolate to the mixture and beat it in for around a minute or until totally combined.
YEAH…Now we’re talking!
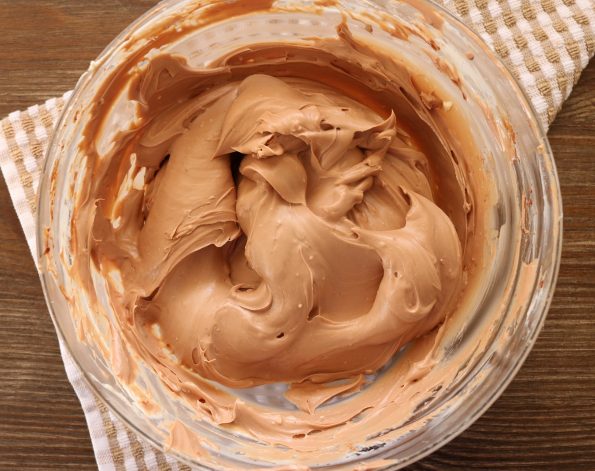
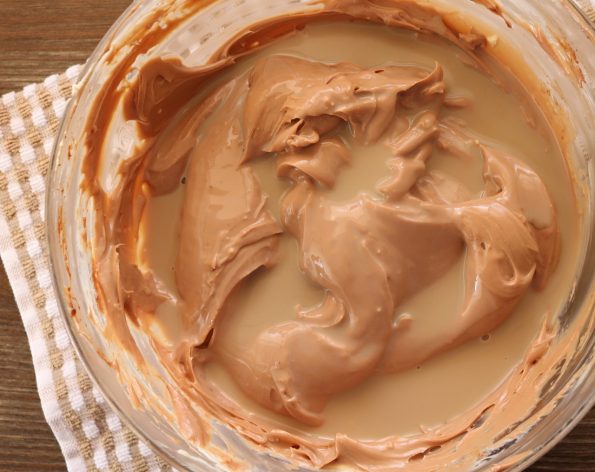
Add the Baileys and beat again for 30 seconds or until thoroughly combined.
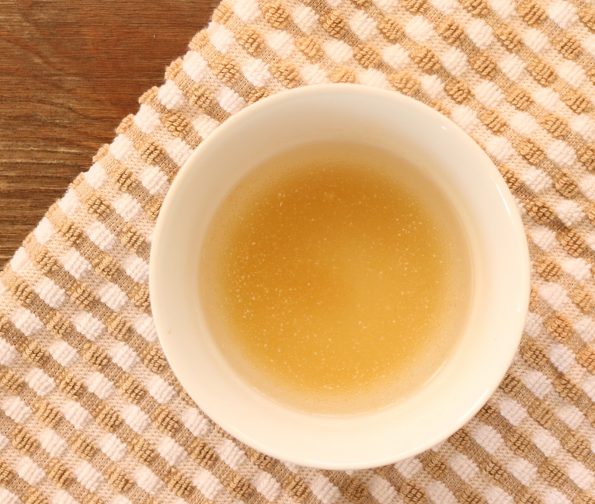
Place 3 tablespoons of cold water into a small heatproof bowl and sprinkle the gelatine over the surface.
Now boil the jug (kettle).
Whilst it’s boiling, find another heatproof bowl that is larger than the small bowl containing the water and gelatine and place the smaller bowl inside it.
Carefully pour some boiling water into the larger bowl so that it reaches the same height as the water and the gelatine inside the smaller bowl…..being careful not to get any boiling water inside the small bowl.
With a teaspoon mix the water and gelatine together until all of the gelatine has dissolved (this will only take a minute).

Then remove the gelatine bowl from the larger bowl and leave it sitting on the bench for a few minutes until it feels like it has cooled down to around the same temperature as the cream cheese mixture (stirring occasionally so that it doesn’t stick to the sides).
Scrape every little bit of the dissolved gelatine and water into the bowl with the cream cheese mixture and use the beaters again to mix it in well.
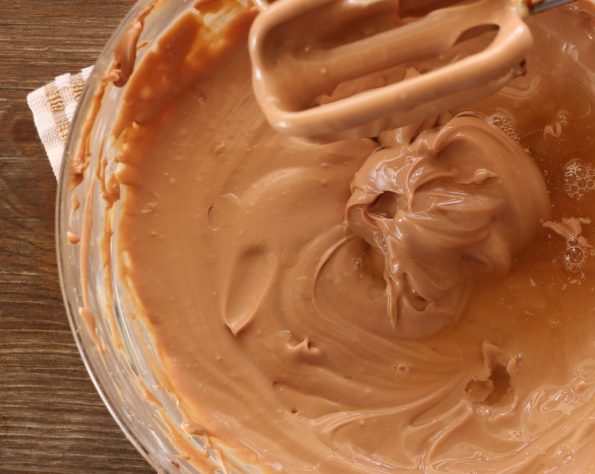
Lastly, use a large spoon or spatula to carefully fold the whipped cream into the mix until it’s just combined.
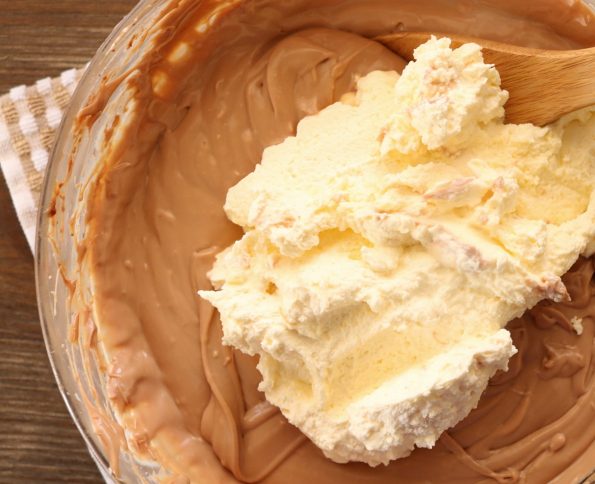
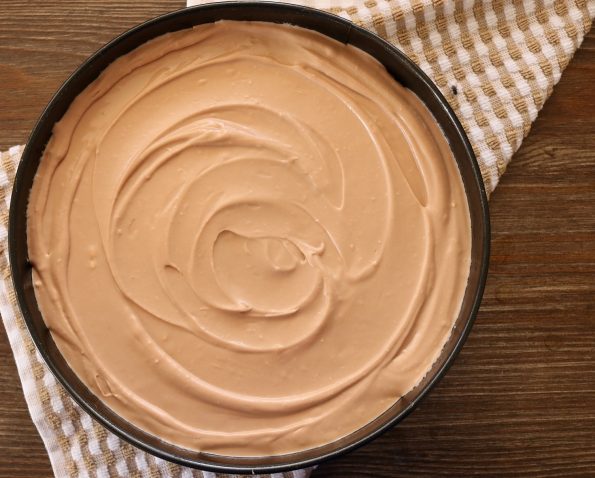
Spoon the cheesecake filling into the tin and spread it around on top of the set base.
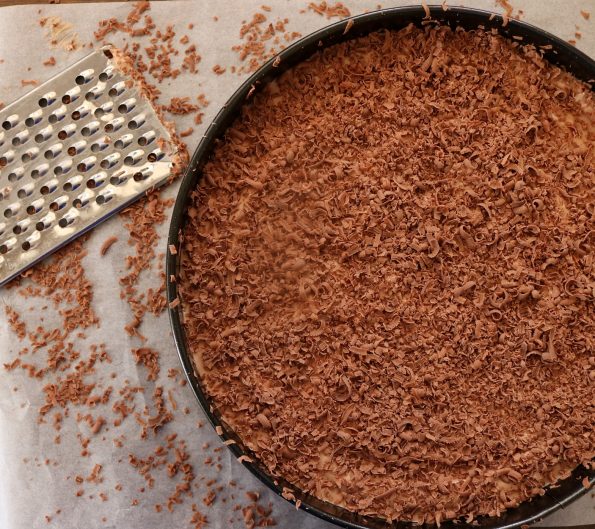
Now, retrieve that 50 g / 1 ¾ of chocolate from the fridge (you didn’t eat it, did you?) and grate it all over the top.
- When doing this I sit whatever I’ve made on top of some baking paper so that when I’m done I can gather up the excess and tip it on.
Place it in the fridge to set for at least 2 hours.
Once set, release and remove the tin ring and then run a large knife or spatula around in between the base of the cheesecake and the bottom of the tin to loosen it.
Using a large spatula (or two) carefully slide the cheesecake onto a serving plate.
- If you’ve used a tin that doesn’t have a latch on the side you can try this to get it out. Place the cheesecake on top of an upturned bowl or similar (smaller than the tin) and slide the ring down off the cheesecake. If it’s being stubborn run a knife around it between the cheesecake and the sides of the tin. Then place the base and cheesecake on the bench, run a long knife around in between the base of the tin and the base of the cheesecake to loosen it and then slide the whole thing onto a flat serving plate.
Use a large sharp knife to cut it into 12 pieces (or 10 for larger portions).
- I like to wipe the knife with a damp cloth between cuts so as not to get crumbs from the knife all over the top.
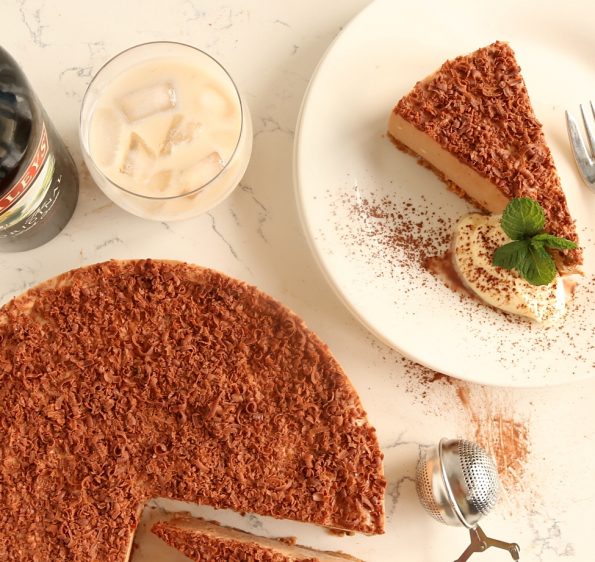
Serve with Creme Chantilly, a sprig of mint and if you like, a dusting of cocoa powder or cinnamon. 🙂
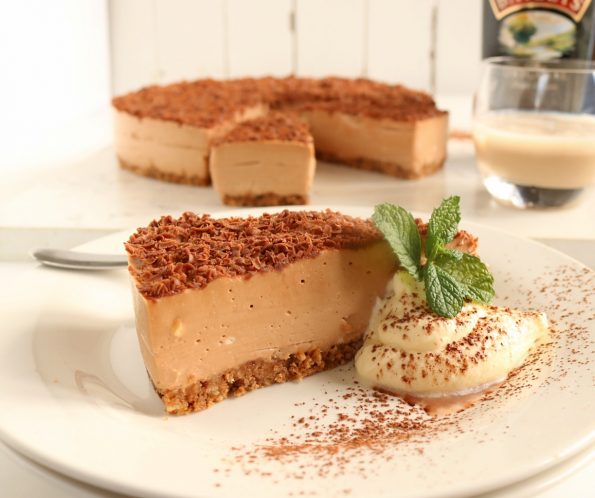
Keepin’ it fresh – I like to lay a long piece of cling wrap out on the bench (enough to wrap around the sides of the cheesecake) and then folded into 2 or 3 layers, so it matches the height of the cheesecake. Then I wrap it around the cheesecake quite firmly so that no air can get in and then I loosely cover the top with cling wrap. If not wrapped well cheesecakes will form a little crust and turn a little yellow. This will ensure it is kept at its best for up to 5 days in the fridge.
Related posts…
Deliciously smooth, no-bake, chocolate chip biscuit-based, Milk Chocolate & Baileys Irish Cream Cheesecake
Ingredients
- 250 g / 8 ¾ block milk chocolate (I used Whittaker's Creamy Milk)
- 1 x 250 g / 8 ¾ oz packet chocolate chip biscuits (cookies)
- 75 g / 2 ½ oz butter
- 1 ½ cups full cream
- 3 x 250 g / 8 ¾ oz pottles cream cheese (at room temperature)
- ½ cup castor sugar
- 1 teaspoon vanilla extract
- 1/3 cup Baileys
- 2 ½ teaspoons gelatine granules
Instructions
- Take the cream cheese from the fridge to bring it back to room temp.
- Find a heatproof bowl that fits snuggly into the top of a small saucepan and break up 200 g / 7 oz of the chocolate and place it or the buttons (if using them) in the bowl. Place the spare 50 g / 1 ¾ oz in the fridge to use later on.
- Fill 1/3 of the saucepan with water and then sit the bowl on top again. Check that the water isn't touching the bottom of the bowl and if it is, tip some out so that it's not. Remove the bowl again and bring the water to a boil. Once boiling turn down the heat to medium/low or to where the water is simmering.
- Place the bowl back on top and stir often (especially the sides and bottom so that none sticks to the sides and burns), until all of the chocolate has melted. Then turn off the heat and leave the bowl of chocolate aside.
- Lightly spray a 23 cm / 9 in round, loose-bottomed cake tin with non-stick cooking spray.
- Place the butter in a small saucepan and melt it over a low heat. *Or of course, you can just melt it in the microwave.
- Using a food processor, process the biscuits until they are crumbs (as big as large breadcrumbs) and then place them into a medium-sized bowl. *Alternatively, use a thick, resealable plastic bag. Fill it with the biscuits, lay it flat on the bench, lay a tea-towel over it and use a rolling pin to bash and roll the biscuits until they are well crushed.
- Add the melted butter to the biscuit crumbs and mix to thoroughly combine.
- Spoon the crumbs into the cheesecake tin, spreading them out as evenly as possible and then press them down firmly using a metal spatula or a flat-bottomed cup or glass.
- Place the base in the fridge to set whilst you make the filling.
- Place the cream in a medium-sized bowl and using an electric beater, on a medium speed, beat the cream for around 3 minutes or until stiff peaks. Set aside.
- Place the cream cheese, the sugar and the vanilla extract into a large bowl and still on a medium speed, beat it all together for around 3 minutes or until smooth.
- Add the melted chocolate to the mixture and beat it in for around a minute or until totally combined.
- Add the Baileys and beat again for 30 seconds or until thoroughly combined.
- Place 3 tablespoons of cold water into a small heatproof bowl and sprinkle the gelatine over the surface.
- Turn the kettle on and whilst it's boiling, find another heatproof bowl that is larger than the small bowl containing the water and gelatine and place the smaller bowl inside it.
- Carefully pour some boiling water into the larger bowl so that it reaches the same height as the water and the gelatine inside the smaller bowl.
- Mix the water and gelatine together until all of the gelatine has dissolved.
- Remove the gelatine bowl from the larger bowl and leave it sitting on the bench for a few minutes until it feels like it has cooled down to around the same temperature as the cream cheese mixture (stirring occasionally so that it doesn't stick to the sides).
- Scrape every little bit of the dissolved gelatine and water into the bowl with the cream cheese mixture and use the beaters again to mix it in well.
- Use a large spoon or spatula to carefully fold the whipped cream into the cream cheese mix until it's just combined.
- Spoon the cheesecake filling into the tin and spread it around on top of the set base.
- Grate the remaining chocolate all over the top.
- Place it in the fridge to set for at least 2 hours.
- Once set, release and remove the tin ring and then run a large knife or spatula around in between the base of the cheesecake and the bottom of the tin to loosen it.
- Use a large spatula (or two) to carefully slide the cheesecake onto a serving plate and use a large, sharp knife to cut it into 12 pieces (or 10 for larger portions).
- Wrapped well in cling wrap it will keep well in the fridge for up to 5 days.


Hi Tania
For the Baileys cheesecake is it supposed to have eggs?
Cannot see it on recipe but you have said add more cream if omitting eggs
Thanks Emma
No, it doesn’t have eggs! Thank you for pointing out that mistake Emma, changing it now!