Hi there 🙂
Often when I experiment with baking it doesn’t turn out very well. It’s too soft, too hard, too sweet, too tasteless, too small, too big, would’ve been better round/square, I needed to double/halve it, just unimpressive, over baked, under baked…..the list is endless. If I really think something will be awesome I’ll keep trying, wasting time and ingredients, often not even knowing what’s wrong so not being able to fix it. Sometimes I just don’t know when to give up so I’ve now given myself an x3 cut off, if I haven’t nailed it by the third time, I’m OUT! After a few fails at something a while back my son said to me “Mum, just cook things you know how to make!” lol, very wise, but a little boring sometimes kiddo. 🙂
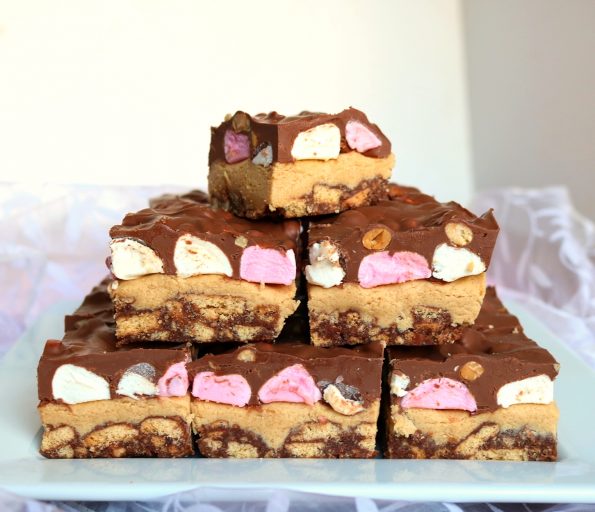
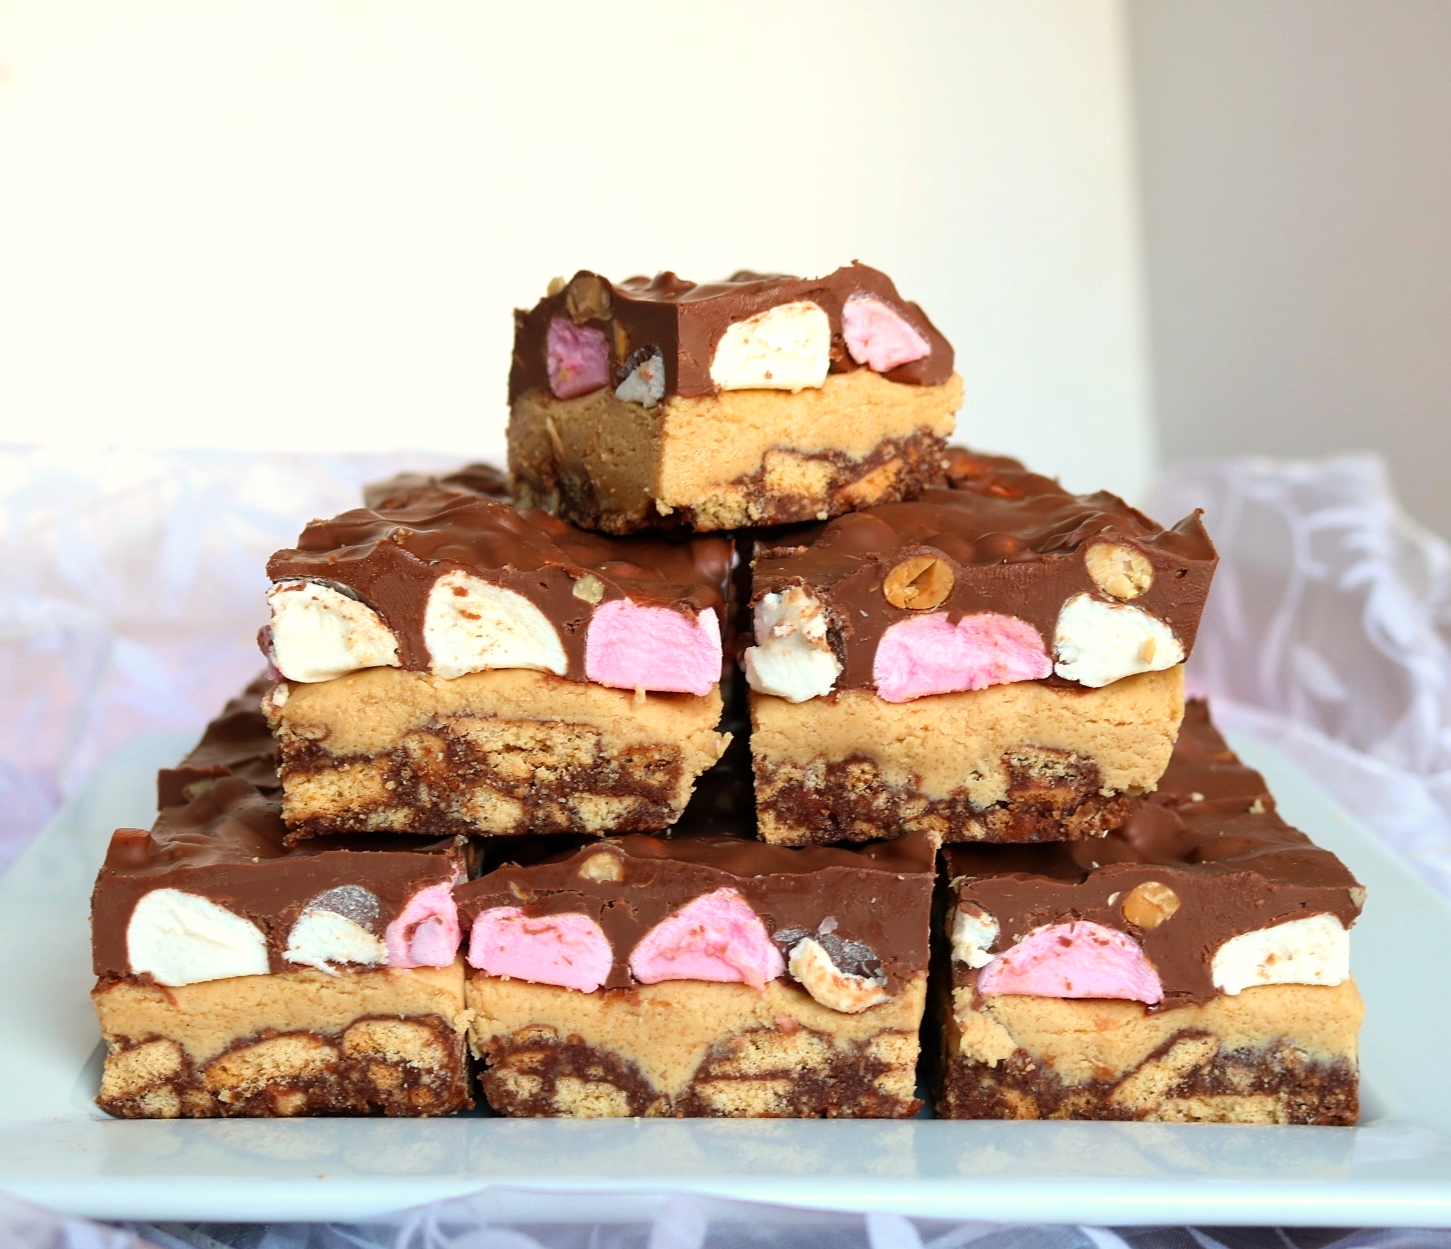
If my experiments are destined to turn out well it usually happens the first time I make it, or with just a few tweaks being needed. This particular rocky road was a first-time success due to the fact I used the base from my Nutty Fudge recipe and have made the peanut butter filling in a few different slices before and with both being amazingly good, I knew it would turn out primo! When I was pouring the melted Whittaker’s peanut chocolate onto the Nutty Fudge I thought, OMG, this would make the best rocky road topping and then I thought I’d turn it into more of a slice by using the base from the Nutty Fudge.THEN I thought but what nuts shall I put into my rocky road as the chocolate already has peanuts in it so I decided against adding any nuts at all but instead a layer of peanut butter filling that will go with everything else…..the chocolate, the peanuts and the marshmallows!
It’s a relatively easy no-bake slice (gotta love that) and it’s best made the day or night before you need it, as the chocolate ontop takes a long time to set. As I was eating my first piece I said “wow, this is dangerous” and it is, it’s dangerously delicious. 🙂
INGREDIENTS
Base
125 g butter
3/4 cup white sugar
1 1/2 tablespoons cocoa powder
1/2 teaspoon vanilla extract or paste
1 x 250 g packet of plain biscuits (I use Griffins Vanilla Wines or Super Wines)
1 medium-sized egg
Filling
50 g butter (at room temperature)
1 1/4 cups icing sugar
1/3 cup brown sugar
1 cup (200 g) smooth peanut butter
1 x 180 g packet of marshmallows
Topping
1 x 250 g block Whittaker’s 50% cocoa, dark chocolate or 33% cocoa, creamy milk chocolate
1 x 250 g block Whittaker’s 33% cocoa, peanut chocolate or x 5 Whittaker’s Peanut Slabs
Makes x 15 squares
Note
- I use a mix of dark and milk chocolate so it’s not too sweet nor bitter but that’s just my personal preference. As I mentioned in the ingredient list you can use a dark or a milk block along with the peanut chocolate, totally up to you.
WALKTHROUGH
First, ensure the 50 g of butter for the filling is cut into cubes, placed into a medium sized bowl and left out on the bench to soften whilst you make the base.
For this slice, I use a standard sized slice tin. So line a 27.5 cm L x 18 cm W x 4 cm D slice tin with baking paper (make sure this one has some extra paper up the sides then you normally would as it’s quite high) and lightly spray it with nonstick cooking spray.
- I always spray the tin lightly with spray before I put the paper in. It stops it from moving around on me.
Base
Getting started on the base, place the butter (cut into cubes), the sugar, the cocoa powder and the vanilla extract into a small saucepan.
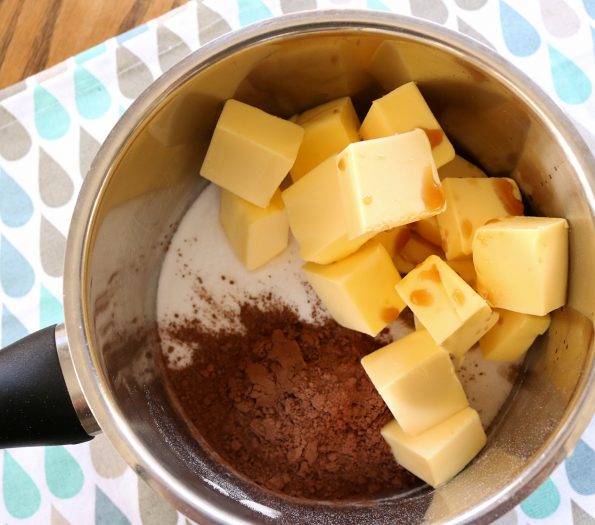
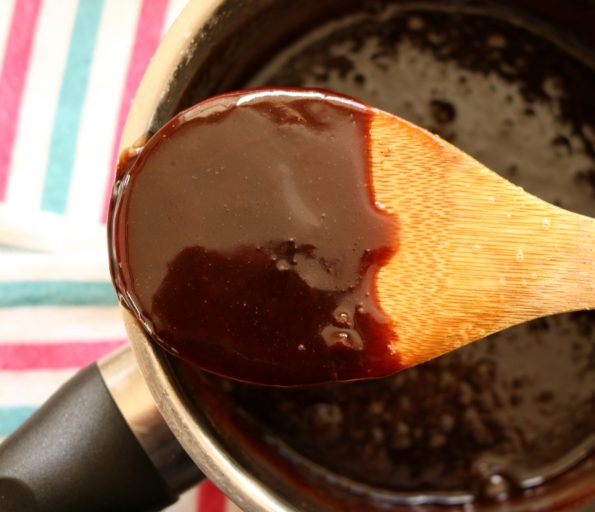
Place it over a medium/low heat and stir it often as it all melts together. Once it thickens to a syrup consistency (around 3 minutes) turn off the heat and leave it to cool down a bit.
- If you don’t stir it well enough the butter may not blend in. If it looks like there’s some melted butter sitting on top that hasn’t blended in, give it a quick whisk, that should fix it.
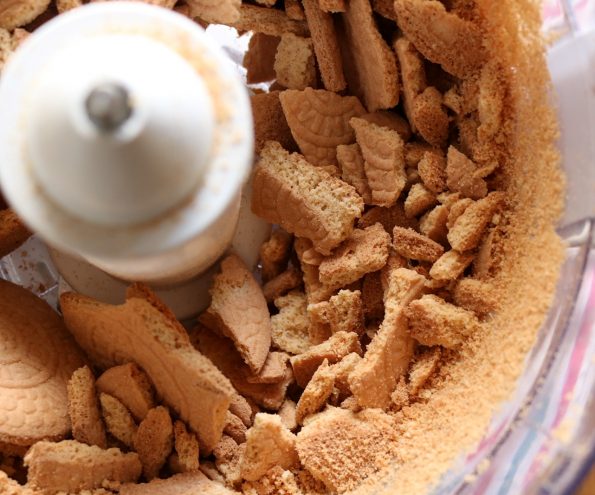
Next, place the packet of the biscuits into a food processor and use the pulse setting to process them into irregular sized pieces. So you have some crumbs, some little pieces and larger bits of biscuit too.
- If you don’t have a food processor place the biscuits into a resealable bag, cover it with a tea towel and bash and roll them with a rolling pin.
- This isn’t like a normal biscuit crumb base that’s only bound with butter. This has a nice warm, chocolate fudgy mix to bind which allows us to have a super chunky base. At the other end, if the pieces are all small the base will be too wet.
So something like this…..
Place the egg into a small bowl and using a fork or a small whisk, beat it well, making sure the whites and yolks are totally combined.
- You will be adding the egg to a hot/warm mixture so if there is any white that isn’t broken up it will cook as soon as soon as it gets hot and you’ll have little rubbery bits of white throughout your slice.
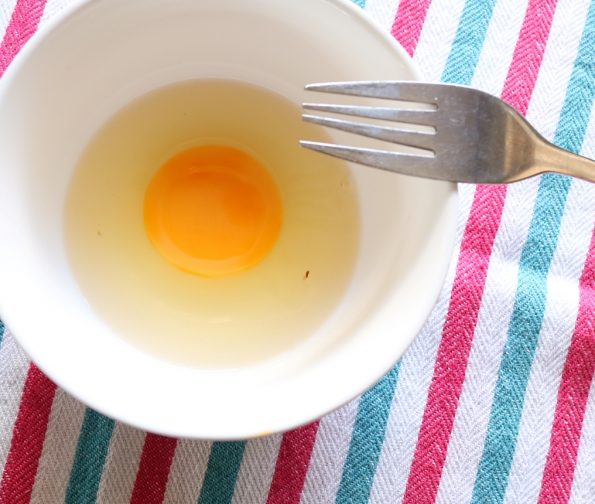
Then whilst stirring quickly, at the same time, pour the egg into the fudgy mix in the saucepan. Mix as fast as possible so if there are any bits of white it won’t have time to cook!
Pour the delicious fudgy mixture into the bowl with the broken biscuits and stir it all together.
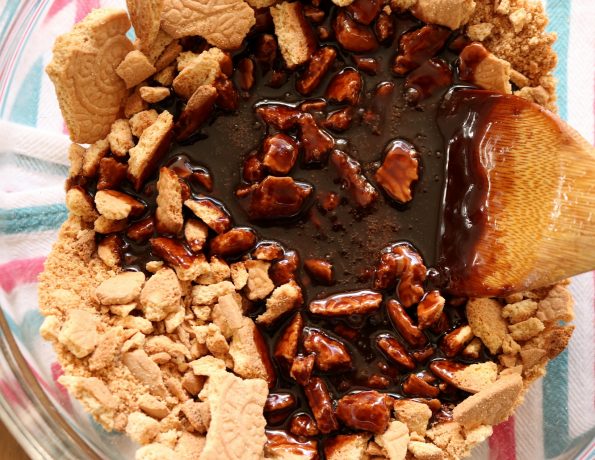
Spoon the biscuit mixture into your ready lined tin and spread it around making sure it’s right into the corners.
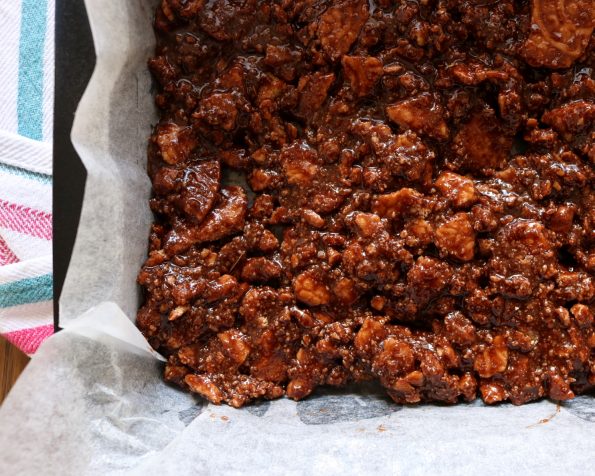
Using a metal spatula, press the mix gently into the tin, making sure it’s fairly even.
- Unlike a biscuit base, this base is quite wet and has no only butter but the sugar and the eggs to help it bond so you don’t need to press it down hard, just try to get it nice and even.
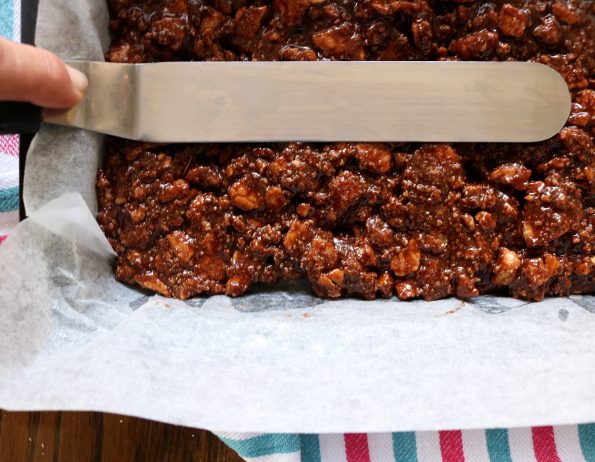
Then place it into the fridge while you make the peanut butter filling.
Filling
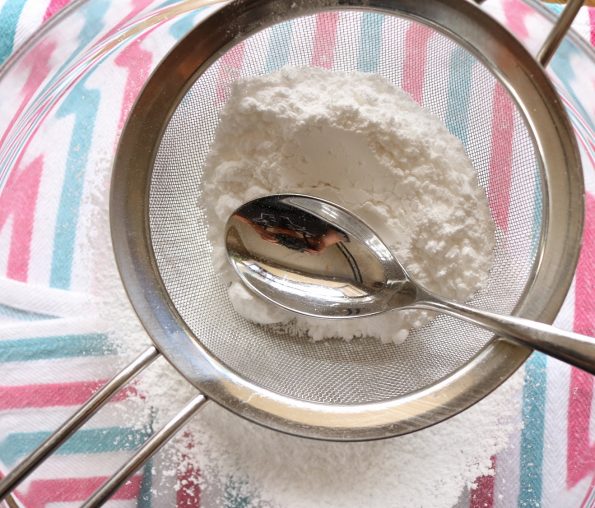
To make the filling, first sieve the icing sugar into the bowl with that 50 g of butter you got ready earlier.
Then add the brown sugar and the peanut butter…..excited yet?
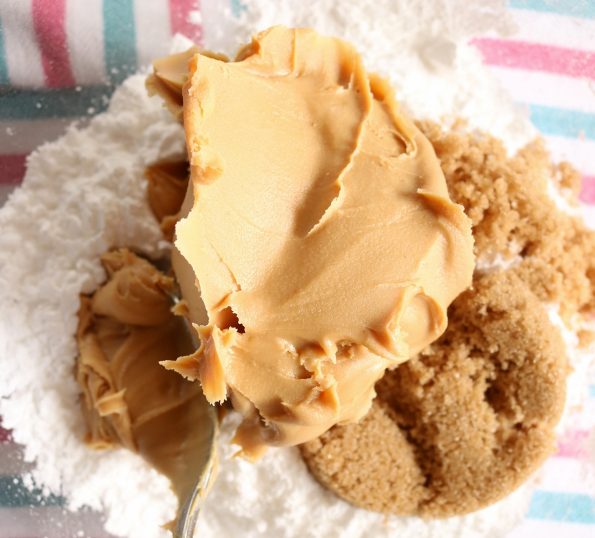
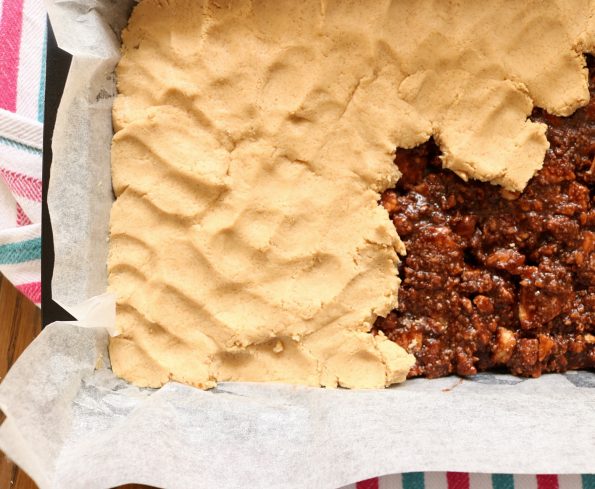
Use the back of a spoon to blend it all together. This may take a while but it’s worth it! When it’s mixed together and nice and smooth, press it as evenly as possible over the base.
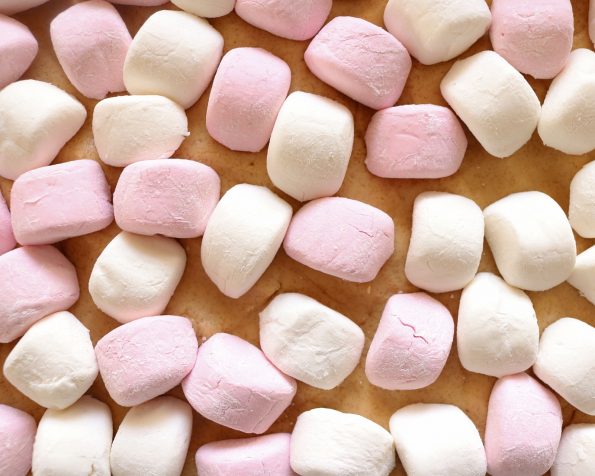
Using a small knife (I prefer my little kitchen scissors) chop the marshmallows in half and place them all over the peanut butter filling.
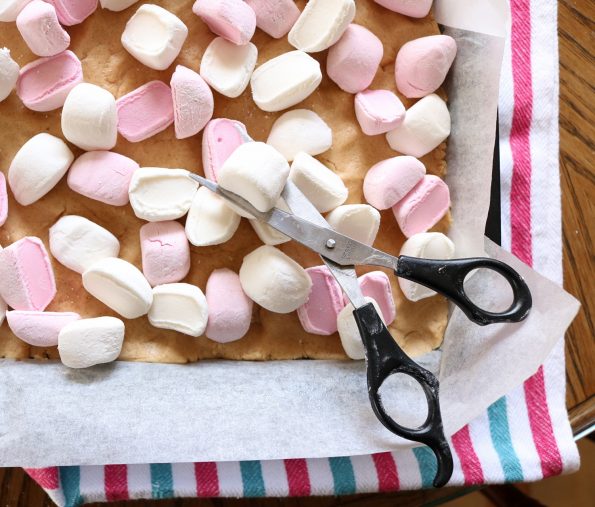
I like to place them flat side down because it’s easier to spread the chocolate….well I think so anyway). Once done, return to the fridge.
Topping
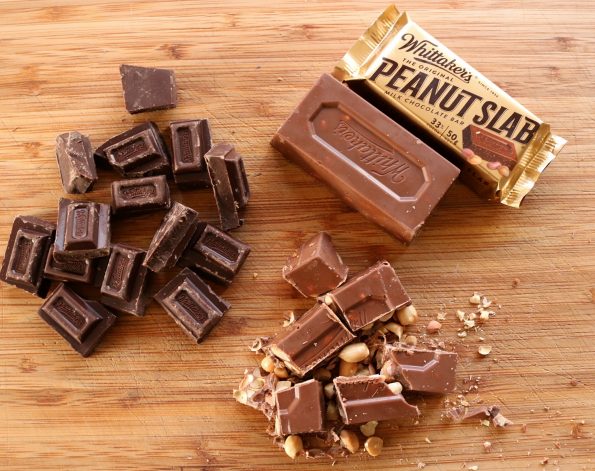
Break the chocolate blocks into squares (or doubles) and if using peanut slabs instead of the peanut block, roughly chop them up into chunks.
Find a heatproof bowl that fits snuggly into the top of a small saucepan and place the chocolate into the bowl.
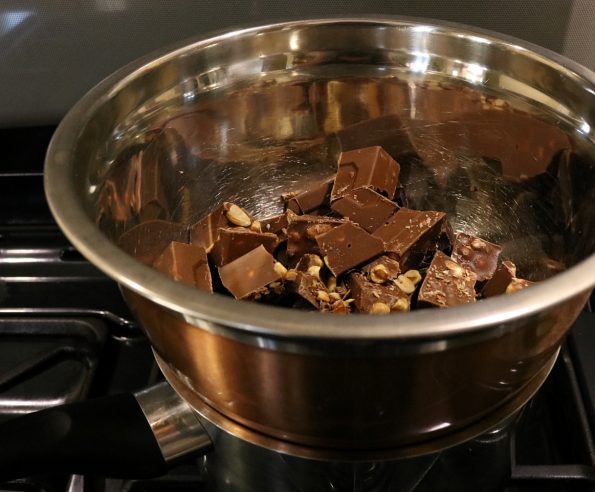
Fill 1/3 of the saucepan with water and then sit the bowl on top again, checking that the water isn’t touching the bottom of the bowl. If it is, tip some out and if isn’t remove the bowl again and bring the water to a boil. Turn down the heat to medium/low or to where the water is simmering.
Place the bowl back on top and stir often (especially the sides and bottom so that none sticks to the sides and burns), until all of the chocolate has melted.
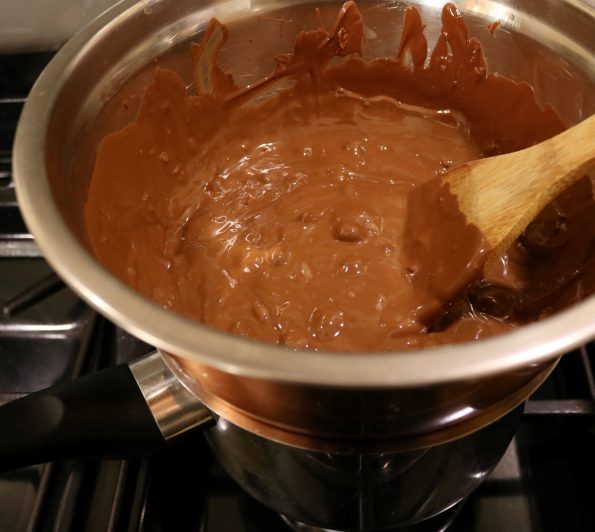
Pour the melted chocolate onto the base, aiding it to cover all of the marshmallows and spreading it right to the edges.
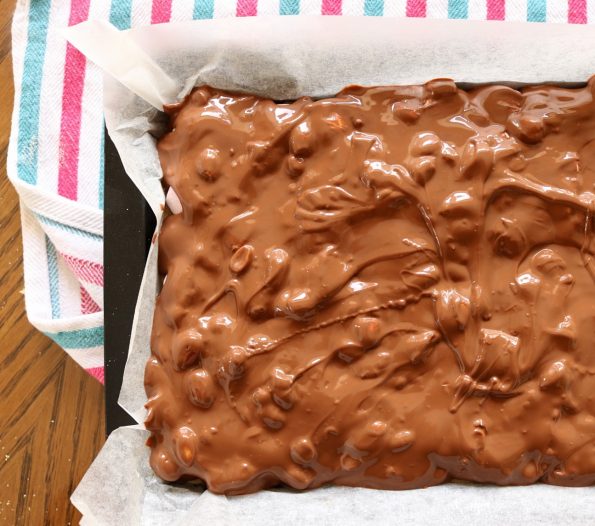
Now I like to leave this on the bench to set and it takes around 1 1/2 – 2 hours (yes, it’s pure torture)! You can pop it in the fridge to set if you like but I don’t recommend. It’s just that moisture droplets may settle on top and give your chocolate white spots and if you try to slice it straight from the fridge the chocolate will crack. As I mentioned earlier I always make this the day or night before I need it.
This is really sweet so I like to cut it into smaller pieces than I usually would a slice. So I cut mine into 5 x 3 pieces but you could even cut them in half again, maybe into cut little rectangles or triangles.
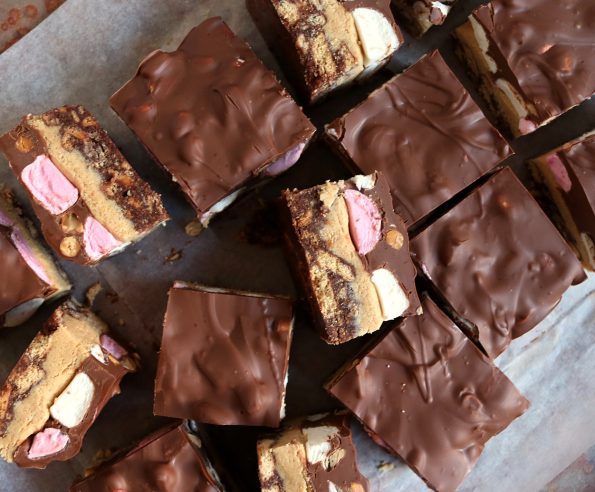
Storage – Store in an airtight container in the pantry for up to 5 days.
A dangerously delicious no-bake biscuit based slice with a peanut butter & marshmallow filling & a melted peanut chocolate top!
Ingredients
- 125 grams butter
- 3/4 cup white sugar
- 1 1/2 tablespoons cocoa powder
- 1/2 teaspoon vanilla extract or paste
- 1 x 250 gram packet of plain biscuits (I use Griffins Vanilla Wines or Super Wines)
- 1 medium-sized egg
- 50 grams butter (at room temperature)
- 1 1/4 cups icing sugar
- 1/3 cup brown sugar
- 1 cup (200 grams) smooth peanut butter
- 1 x 180gm packet of marshmallows
- 1 x 250 gram block Whittaker's 50% cocoa, dark chocolate or 33% cocoa, creamy milk chocolate
- 1 x 250 gram block Whittaker's 33% cocoa, peanut chocolate or x 5 Whittaker's Peanut Slabs
Instructions
- Line a standard sized (27.5 cm L x 18 cm W x 4 cm D) slice tin with baking paper (make it a little higher on the sides than usual) and lightly spray with non-stick cooking spray.
- Cut the 50 grams of butter for the filling into cubes, place it into a medium sized bowl and leave it out on the bench to soften.
- Place the butter (cut into cubes), the sugar, the cocoa powder and the vanilla extract into a small saucepan. Place it over a medium/low heat and stir it often as it all melts together (around 5 minutes). Once it thickens to a syrup consistency turn off the heat (if it looks like it hasn’t quite blended together well, give it a quick whisk). Leave it to cool down a bit.
- Place the biscuits into a food processor and use the pulse setting to process them into irregular sized pieces (you want some crumbs, some little pieces and larger bits of biscuit too). Note* I do one packet of the biscuits and half the walnuts at a time. If you don't have a food processor place the biscuits into a resealable bag, cover it with a tea towel and bash and roll them with a rolling pin. Place it all into a large bowl and set aside.
- Place the egg into a small bowl and using a fork or a small whisk, beat it well, making sure the white and yolk are totally combined. Whilst quickly stirring, pour it into the fudgy mix until it’s all well combined.
- Pour the fudgy mixture into the bowl with the biscuits and walnuts and stir it all together.
- Spoon the biscuit mixture into your ready lined tin and spread it around, making sure it’s right into the corners. Use a metal spatula, press the mix gently into the tin, making sure it's fairly even and then place into the fridge.
- To make the filling, first sieve the icing sugar into the bowl with that 50 grams of butter you got ready earlier. Then add the brown sugar and the peanut butter.
- Use the back of a spoon to blend it altogether and once smooth, press it as evenly as possible over the base.
- Using a small knife (I prefer my little kitchen scissors) chop the marshmallows in half and place them all over the peanut butter filling and then return the whole thing back into the fridge whilst you melt the chocolate for the topping.
- Break the chocolate blocks into squares (or doubles) and if using peanut slabs instead of the peanut block, roughly chop them up into chunks.
- Find a heatproof bowl that fits snuggly into the top of a small saucepan and place the chocolate into the bowl. Fill 1/3 of the saucepan with water and then sit the bowl on top again, checking that the water isn't touching the bottom of the bowl. If it is tip some out and if isn't remove the bowl again and bring the water to a boil. Turn down the heat to medium/low or to where the water is simmering. Place the bowl back on top and stir often (especially the sides and bottom so that none sticks to the sides and burns) until all of the chocolate has melted.
- Pour the melted chocolate onto the base, spreading it right to the edges.
- Leave until the chocolate is set on the bench for 2 – 2 1/2 hours (not in the fridge so moisture doesn’t ruin the chocolate and so the top won’t crack when you cut into it).
- Cut into 5 (length) x 3 (width) pieces and store in an airtight container in the pantry for up to 5 days.


Love the sound of these, but I’d have to switch out the marshmallows, because I’m a weirdo that way! Wish I had one now!
Hi Abbe 🙂 It would still be wickedly good even without the marshmallows and I wish I had one now too!
This looks SO PERFECT! I love anything with chocolate and peanut butter, especially when it’s no-bake. YUM!
Thanks Kelsie 🙂 Peanut butter and chocolate are a marriage made in heaven alright!
These look so utterly delicious. I saw them on G+ and had to visit your wonderful blog.
As far as I know Whittaker’s chocolate is not available here in the U.K., I’ll make sure I substitute it with good chocolate and similar cocoa percentages. Fantastic recipe and thank you for sharing.
Hi Sammie 🙂 I love your blog too, you are the ‘Easter Egg Queen’! Maybe you have a nice peanut chocolate over there you can use or you can just throw a handful of toasted peanuts into your favourite melted chocolate. Thanks for visiting!