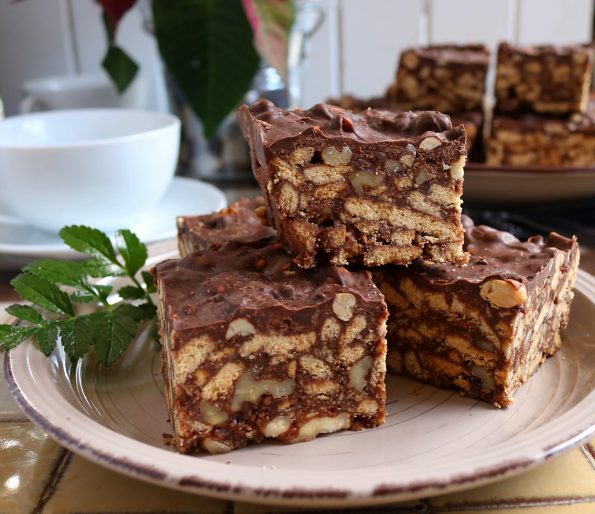
This is a gorgeous, rustic looking, most delicious chocolate slice using New Zealand’s very own delectable, Whittaker’s Chocolate (since 1896). You cannot use another brand of chocolate as it’s their peanut block (or peanut slabs) that make this slice special and totally moorishly addictive!
It’s a simple to make, no-bake slice. It’s actually not even a fudge at all but the biscuit base is held together with a chocolately, fudgy mixture and the walnuts to the base and peanut chocolate top gives it its name. It has a crunchy biscuit base that’s bound with a delicious fudgy sugar, cocoa, butter and egg mix. The topping, because it is JUST CHOCOLATE (YES!) needs a few hours to set so I make it the night before I need it and in the morning it’s nicely set and ready to cut up.
The chocolate topping is 2 x 250 gram blocks of chocolate, one plain and one peanut, simply melted and poured over. Back in the day when I made a huge version of this slice a few times a week Whittaker’s didn’t do a peanut block so I used peanut slabs (man, I love them!) but now I have simply replaced them with the block.
P.S. When I visit Whittaker’s website I just want to eat it. Being a chocoholic I think it’s the coolest website of all time!
INGREDIENTS
Base
250 g / 8 oz butter
1 ¼ cups white sugar
3 tablespoons cocoa powder
1 teaspoon vanilla extract or paste
2 x 250 g / 8 oz packets of plain biscuits (I use Griffins Vanilla Wines or Super Wines)
1 ½ cups walnut halves or pieces
2 medium-sized eggs
Topping
1 x 250 g / 8 oz block Whittaker’s 50% cocoa, dark chocolate or 33% cocoa, creamy milk chocolate
1 x 250 g / 8 oz block Whittaker’s 33% cocoa, peanut chocolate or x 5 Whittaker’s Peanut Slabs
Makes x 15 squares
Notes
- I use a mix of dark and milk chocolate so it’s not too sweet nor bitter but that’s just my personal preference. As I mentioned in the ingredient list you can use a dark or a milk block along with the peanut chocolate, totally up to you.
STEP BY STEP
For this yummy slice, I use a standard sized slice tin. So line a 27.5 cm / 10 ½ in L x 18 cm / 7 in W x 4 cm / 1 ½ in D slice tin with baking paper (make sure this one has a little extra paper up the sides as it’s quite high) and lightly spray it with non-stick cooking spray.
- I always spray the tin lightly with spray before I put the paper in. It stops it from moving around on me.
Base
Getting started, place the butter (cut into cubes), the sugar, the cocoa powder and the vanilla extract into a small saucepan.
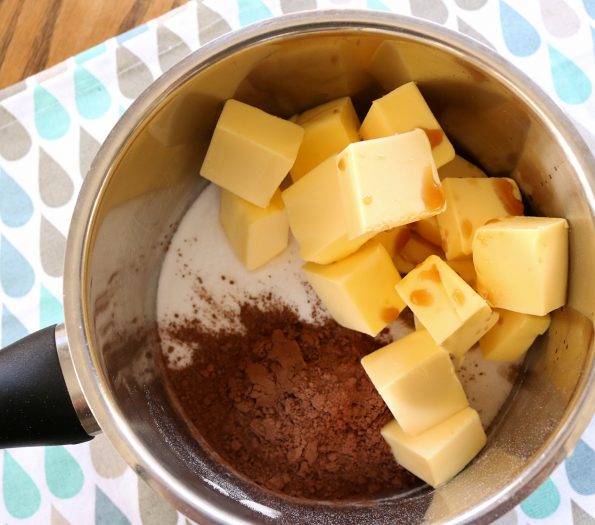
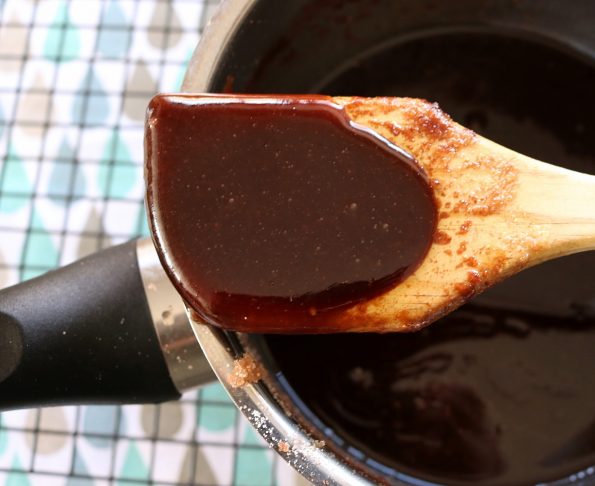
Place it over a medium/low heat and stir it often as it all melts together. Once it thickens to a syrup consistency (around 5 minutes) turn off the heat and leave it to cool down a bit.
- If you don’t stir it well enough the butter may not blend in. If it looks like there’s some melted butter sitting on top that hasn’t blended in, give it a quick whisk, that should fix it.
Next, place one packet of the biscuits and half of the walnuts pieces (or halves) into a food processor and…..
- If you don’t have a food processor place the biscuits and the walnuts into a resealable bag, cover it with a tea towel and bash and roll them with a rolling pin.
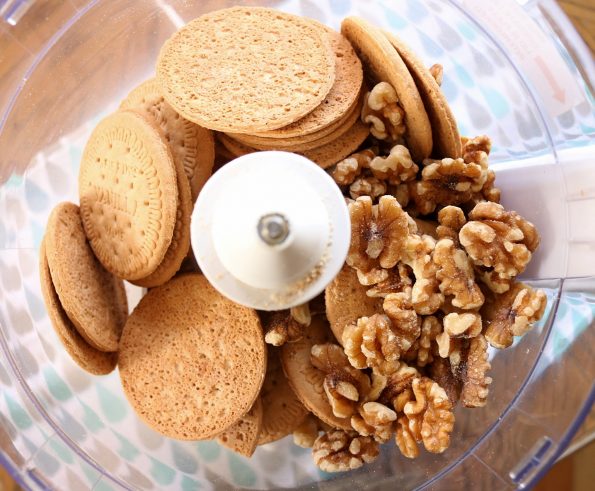
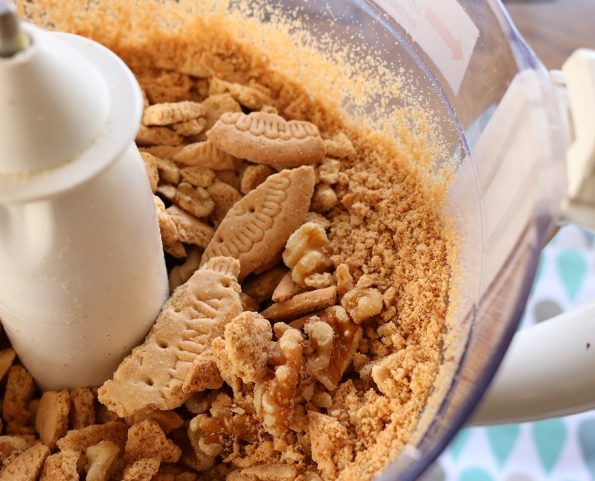
…..use the pulse setting to process them into irregular sized pieces. So you have some crumbs, some little pieces and larger bits of biscuit too.
Repeat with the second packet of biscuits and the remaining walnuts. Place the processed pieces into a large bowl and set aside.
- This isn’t like a normal biscuit crumb base that’s only bound with butter. This has a nice warm, chocolate fudgy mix to bind which allows us to have a super chunky base. At the other end, if the pieces are all small the base will be too wet.
See pic below…..
Place the eggs into a small bowl and using a fork or a small whisk, beat them well, making sure the whites and yolks are totally combined.
- You will be adding the eggs to a hot/warm mixture so if there are any whites that aren’t broken up they will cook as soon as they get hot and you’ll have little rubbery bits of whites throughout your slice.

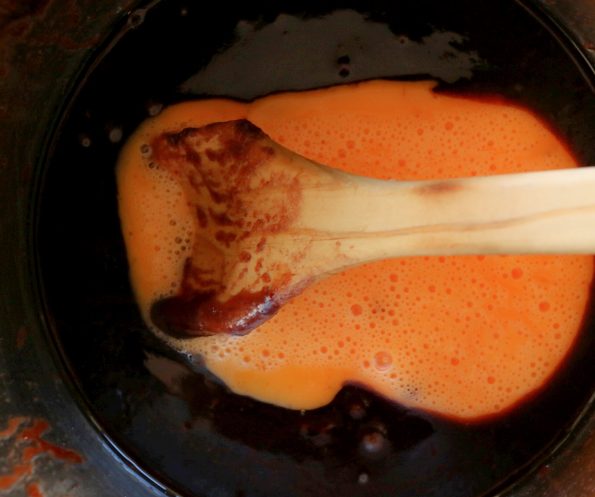
Then whilst stirring, quickly a the same time, pour the beaten egg into the fudgy mix in the saucepan. Mix as fast as possible so if there are any bits of white it won’t have time to cook! I even took a huge risk pausing to take a pic!
WARNING: Ugly pic ahead, lol….don’t know what happened here, dropped the photography ball.
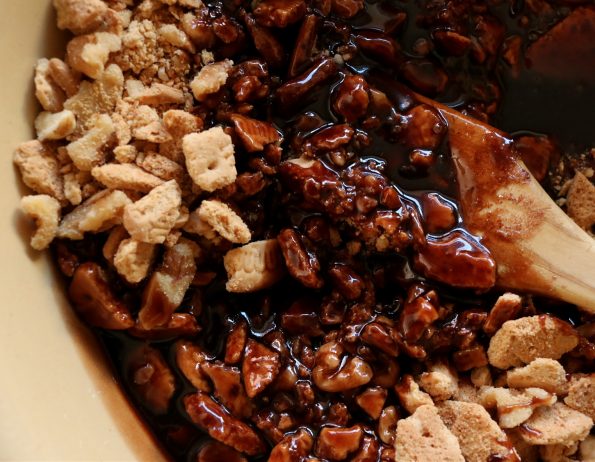
Pour the delicious fudgy mixture into the bowl with the biscuits and walnuts and stir it all together.
Isn’t it awesome!
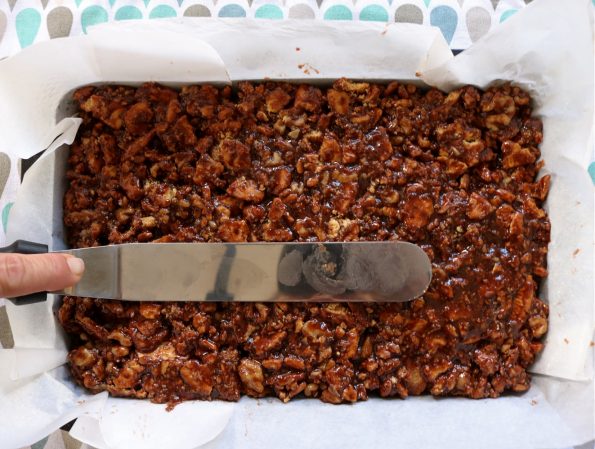
Spoon the biscuit mixture into your ready lined tin and spread it around making sure it’s right into the corners.
- It looks like a lot and that it will be too much for the tin but its right, don’t worry the chocolate will fit on top!
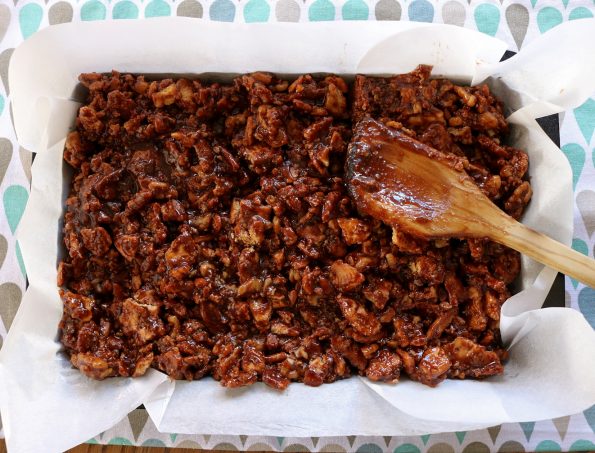
Using a metal spatula, press the mix gently into the tin, making sure it’s fairly even.
- Unlike a biscuit base, this base is quite wet and has not only butter but the sugar and the eggs to help it bond so you don’t need to press it down hard, just try to get it nice and even.
Then place the base into the fridge to set.
Topping
While the base is setting it’s time to melt the chocolate for the topping.
Break the chocolate blocks into squares (or doubles) and if using peanut slabs instead of the peanut block, roughly chop them up into chunks.
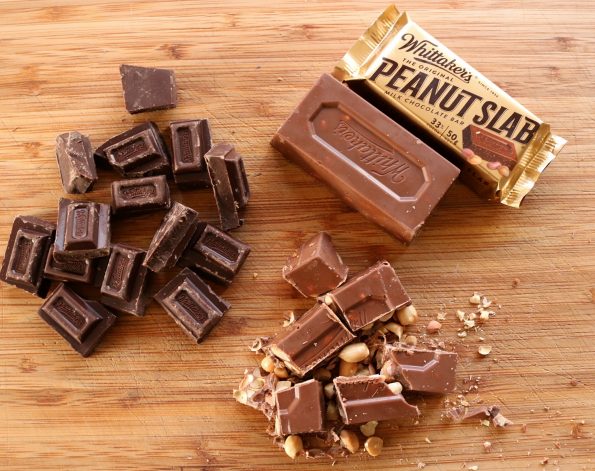
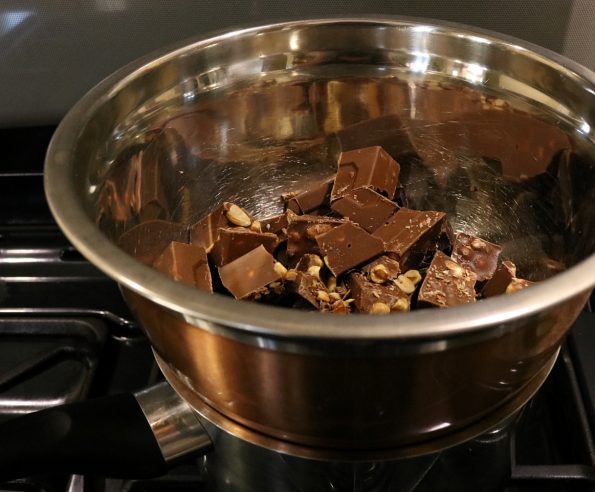
Find a heatproof bowl that fits snuggly into the top of a small saucepan and place the chocolate into the bowl.
Fill 1/3 of the saucepan with water and then sit the bowl on top again, checking that the water isn’t touching the bottom of the bowl. If it is, tip some out and if isn’t remove the bowl again and bring the water to a boil. Turn down the heat to medium/low or to where the water is simmering.
Place the bowl back on top and stir often (especially the sides and bottom so that none sticks to the sides and burns), until all of the chocolate has melted.
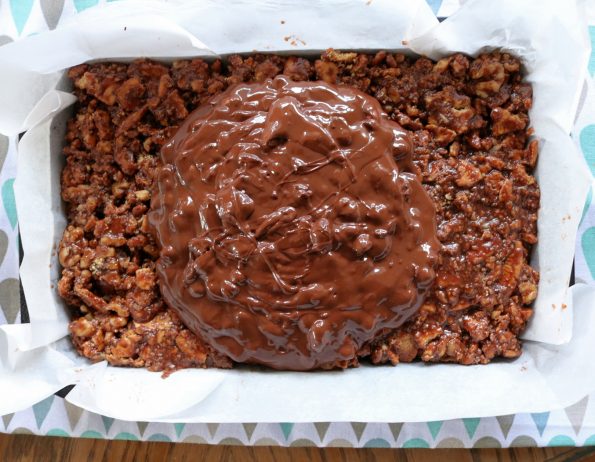
Pour the melted chocolate onto the base, spreading it right to the edges.
Lick all utensils involved in the melting of the chocolate!…..No? Just me?….oh well.
Now I like to leave this on the bench to set and you won’t like this but it takes around 2 – 2 ½ hours.
- You can pop it in the fridge to set if you like but I don’t recommend. It’s just that moisture droplets may settle on top and give your chocolate white spots and if you try to slice it straight from the fridge the chocolate will crack. As I mentioned earlier I always make this the day or night before I need it.
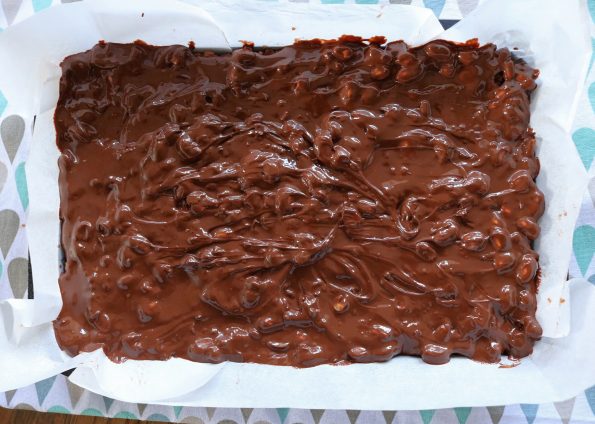
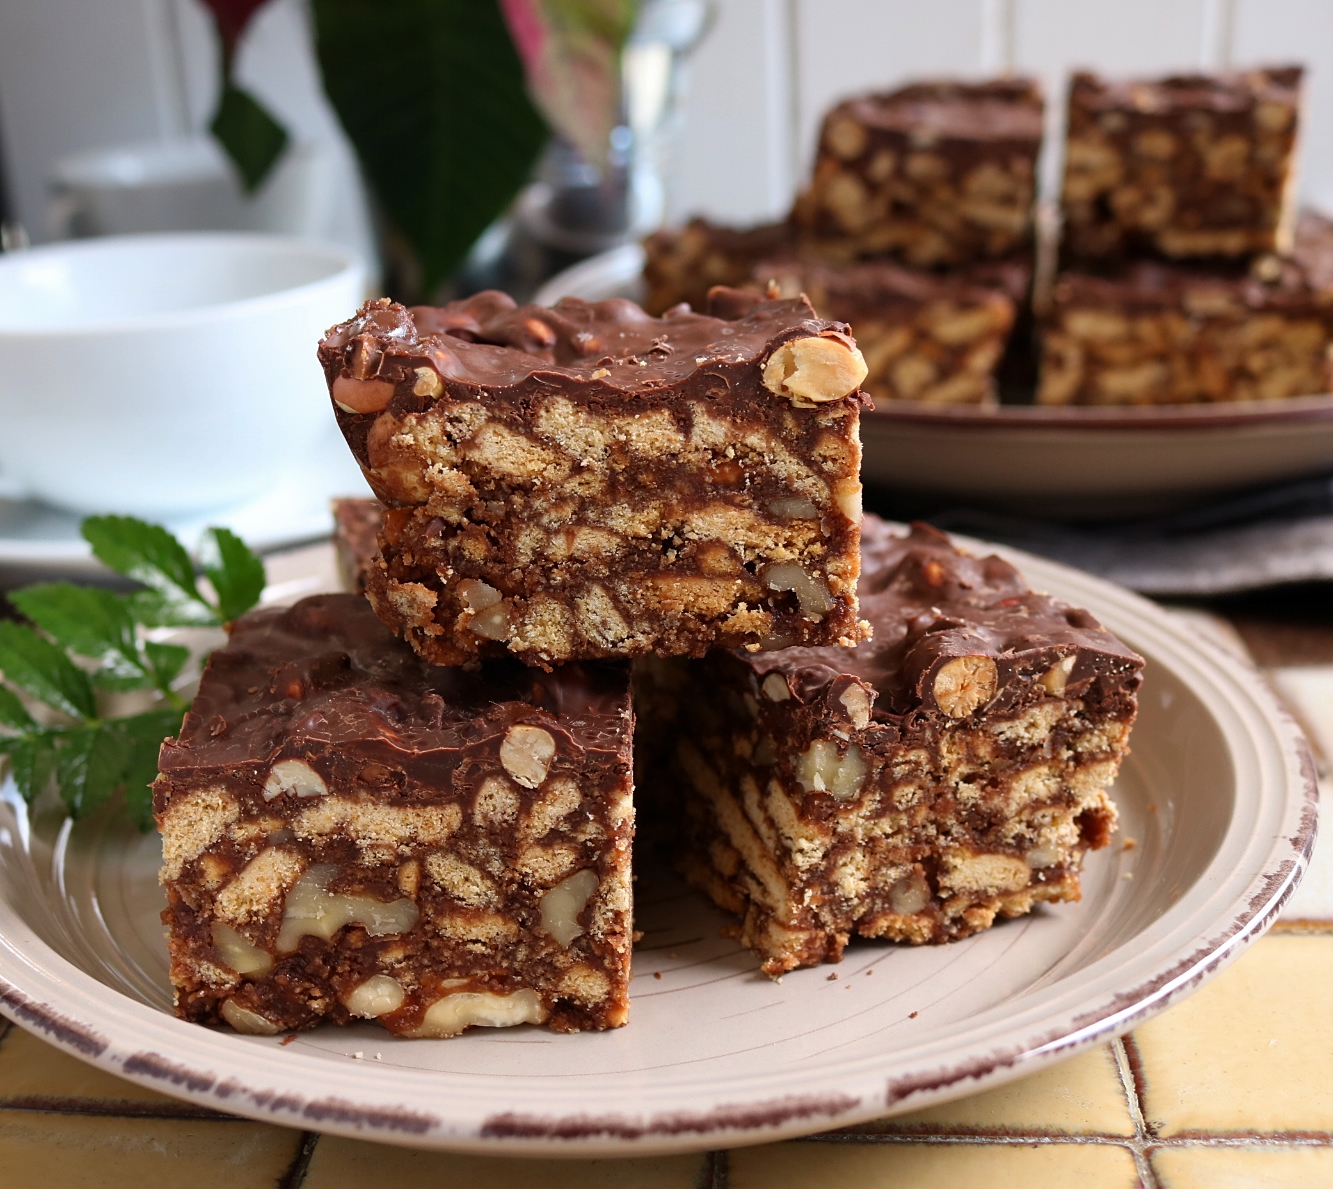
This is really sweet so I like to cut it into smaller pieces than I usually would a slice. So I cut mine into 15 pieces (5 lengthways x 3 widthways).
I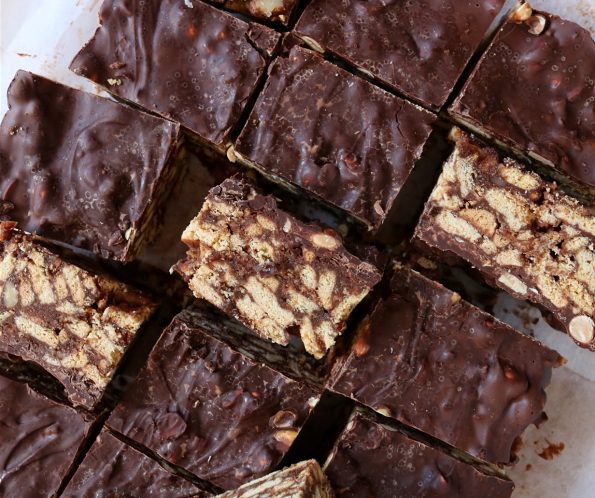
Look at all the peanuts!
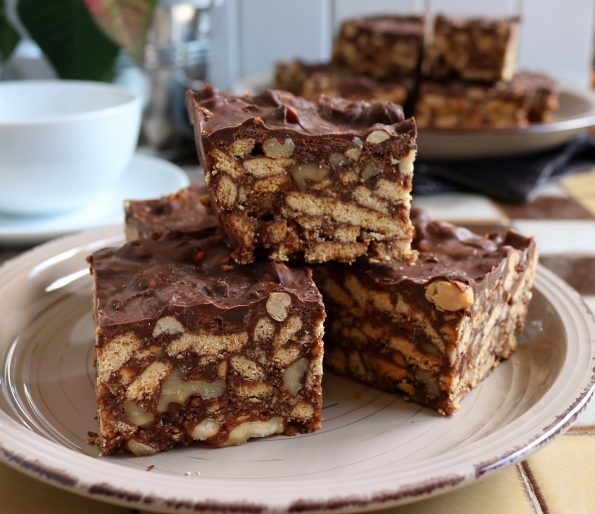
This is one of those slices that I pretty much have to hide from myself, it’s so good!
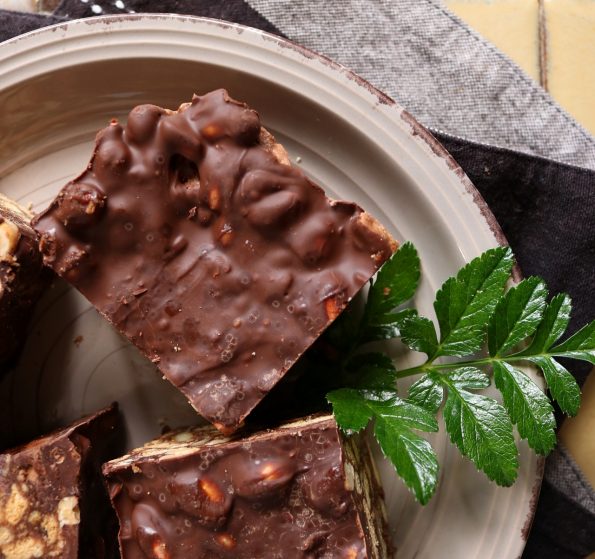
Enjoy anytime, anyplace, with anyone (pick me, pick me)! 🙂
Keeping it fresh – Store in an airtight container in the pantry for up to 5 days.
Related Posts…
This is a rustic looking, delicious, moorish & addictive, no-bake biscuit based slice that is topped with our very own Whittaker's peanut chocolate.
Ingredients
- 250 g / 8 oz butter
- 1 ¼ cups white sugar
- 3 tablespoons cocoa powder
- 1 teaspoon vanilla extract or paste
- 2 x 250 g / 8 oz packets of plain biscuits (I use Griffins Vanilla Wines or Super Wines)
- 1 ½ cups walnut halves or pieces
- 2 medium-sized eggs
- 1 x 250 g / 8 oz block Whittaker's 50% cocoa, dark chocolate or 33% cocoa, creamy milk chocolate
- 1 x 250 g / 8 oz block Whittaker's 33% cocoa, peanut chocolate or x 5 Whittaker's Peanut Slabs
Instructions
- Line a standard sized (27.5 cm / 10 ½ in L x 18 cm / 7 in W x 4 cm / 1 ½ in D) slice tin with baking paper (make it a little higher on the sides than usual) and lightly spray with nonstick cooking spray.
- Place the butter (cut into cubes), the sugar, the cocoa powder and the vanilla extract into a small saucepan. Place it over a medium/low heat and stir it often as it all melts together (around 5 minutes). Once it thickens to a syrup consistency turn off the heat (if it looks like it hasn’t quite blended together well, give it a quick whisk). Leave it to cool down a bit.
- Place the biscuits and the walnuts pieces (or halves) into a food processor and use the pulse setting to process them into irregular sized pieces (you want some crumbs, some little pieces and larger bits of biscuit too). Note* I do one packet of the biscuits and half the walnuts at a time. If you don't have a food processor place the biscuits and the walnuts into a resealable bag, cover it with a tea towel and bash and roll them with a rolling pin. Place it all into a large bowl and set aside.
- Place the eggs into a small bowl and using a fork or a small whisk, beat them well, making sure the whites and yolks are totally combined. Whilst quickly stirring, pour them into the fudgy mix until it’s all well combined.
- Pour the fudgy mixture into the bowl with the biscuits and walnuts and stir it all together.
- Spoon the biscuit mixture into your ready lined tin and spread it around, making sure it’s right into the corners. Use a metal spatula, press the mix gently into the tin, making sure it's fairly even and then place it into the fridge to set.
- Break the chocolate blocks into squares (or doubles) and if using peanut slabs instead of the peanut block, roughly chop them up into chunks.
- Find a heatproof bowl that fits snuggly into the top of a small saucepan and place the chocolate into the bowl. Fill 1/3 of the saucepan with water and then sit the bowl on top again, checking that the water isn't touching the bottom of the bowl. If it is tip some out and if isn't remove the bowl again and bring the water to a boil. Turn down the heat to medium/low or to where the water is simmering. Place the bowl back on top and stir often (especially the sides and bottom so that none sticks to the sides and burns) until all of the chocolate has melted.
- Pour the melted chocolate onto the base, spreading it right to the edges.
- Leave until the chocolate is set on the bench for 2 – 2 ½ hours (not in the fridge so moisture doesn’t ruin the chocolate and so the top won’t crack when you cut into it).
- Cut into 5 (length) x 3 (width) pieces and store in an airtight container in the pantry for up to 5 days.


Leave a Reply