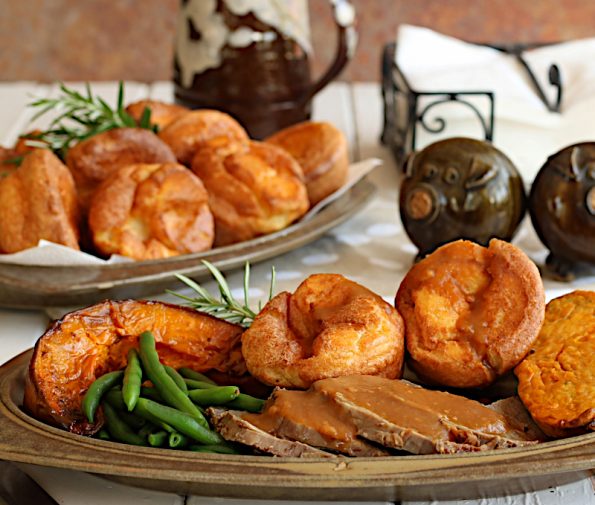
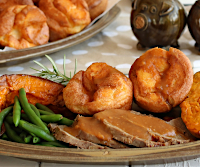
In my opinion, roast beef is just is not the same if not served with some fluffy, crispy little British ‘Yorkies’!!
I used to make my Grandmother’s Yorkshire puddings and they were nice but please don’t tell her that I’ve gone and changed her recipe, quite a lot! I’ve added an egg and taken out some flour. I’ve also replaced a lot of the milk with water as I think it makes them crispier.
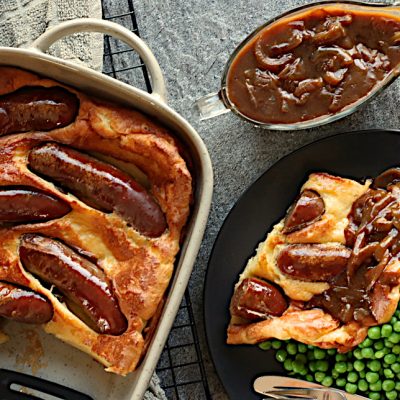
Traditionally they are served with beef and cooked in the meat’s drippings but can also be cooked in lard or as my Aunty prefers, in butter. I use vegetable oil as lard grosses me out a tad and butter burns so easily in the oven. There’s also no need to stick to tradition, you can enjoy them not only beef but chicken, pork, sausages or even a stew or casserole…anything with gravy really.
A little history – First created in Yorkshire, a county in Northern England, the first version for these puddings was recorded in 1737 and were called ‘Dripping Puddings’ as they were cooked under the roast beef so that the dripping could drip over them. But it was Hannah Glasse, a popular food writer who published a Yorkshire Pudding recipe not long after that made them so famous in Britain.
If you haven’t made them before don’t worry, everybody’s turn out a little different but it’s nearly impossible to mess up a Yorkshire pudding….Give them a go! They’re smothered in gravy, so even if they don’t look exactly as you expected they’ll still taste great!
INGREDIENTS
1 ½ cups / 225 g standard flour
½ teaspoon salt
¼ teaspoon pepper
4 large eggs (I use size 7’s)
2/3 cup / 160 ml milk
2/3 cup / 160 ml water
¼ cup / 60 ml sunflower or canola oil
Makes 12
Notes
- The best oil to use is vegetable oil as it can sustain a very hot temperature needed for the outside of the puddings to set.
- Of course, you can use dripping that you’ve saved and strained from a previously cooked, roast beef. You can even use the dripping from the beef you are serving these puddings with, as long as you previously made the batter you can bake them whilst the beef is resting.
- You can use butter instead of oil but it’ll heat up and start bubbling in the muffin tin before the oil does, so when you place the tin in the oven it’s best to watch it through the door and as soon as the butter is bubbling, take it out because the next minute it will be burning!
- If you are serving them with chicken or pork, after the batter has rested for the hour you can stir through 1 tablespoon of freshly chopped rosemary or sage.
- If you are having a few people for a roast dinner and will be extra busy you can make the batter the day before. I would lay some cling wrap over the surface (touching the batter) before storing it in the fridge. It will go a tad grey but that’s ok it’s just the air that’s turned it that colour, give it a good whisking and it will be fine. P.S You can do this with pancake or pikelet mix also.
- Resting the batter for at least an hour or even overnight (always rest in the fridge because of the eggs) will relax the gluten in the flour and the starch grains to swell giving you a lighter and fluffier pud!
STEP BY STEP
Let’s get cracking!
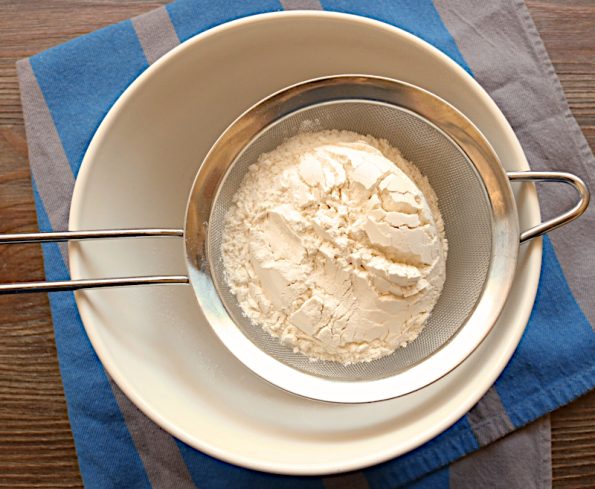
First, sift the flour into a medium-sized bowl…
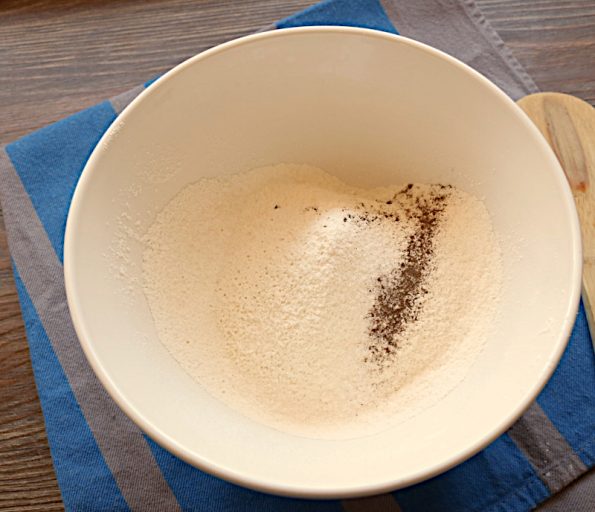
…and add the salt and pepper.
Create a rough well in the centre and…
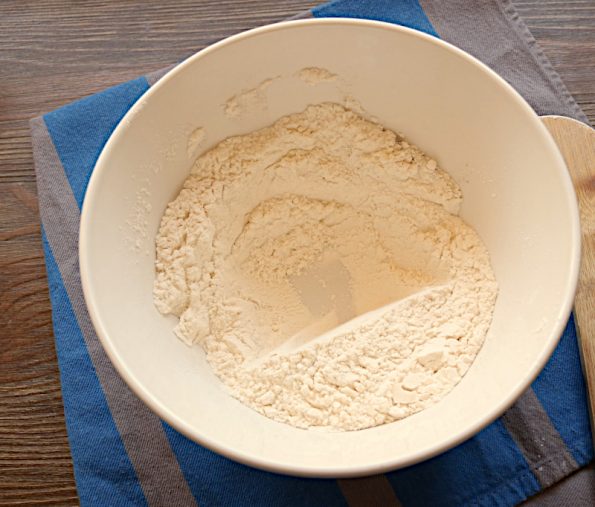
…add the eggs to the well.
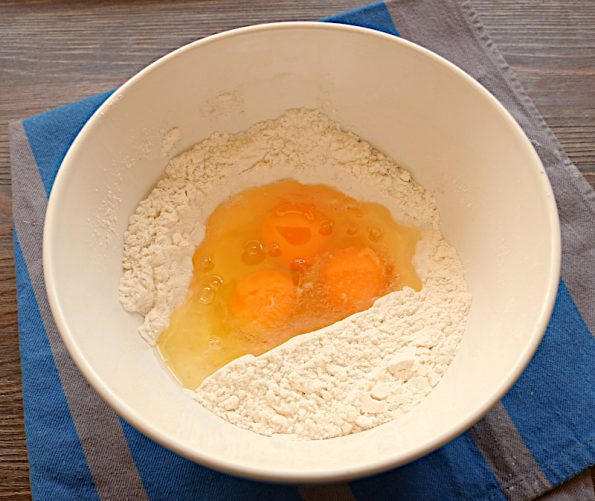
Measure the milk and the water and pour it into a small jug.
Grab a whisk and start whisking in the centre where the eggs are whilst at the same time slowly pouring in the liquid.
Just continue pouring it in slowly and whisking, letting the flour gradually fall in from the sides by itself.
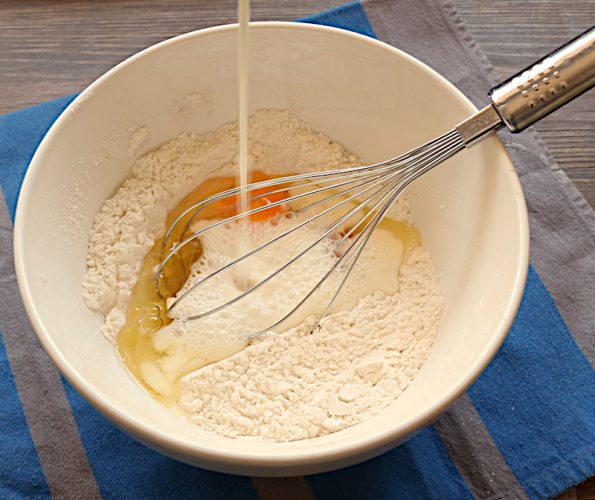
When the flour stops falling in on its own help it out and then continue whisking the whole mix until it’s totally lump-free.
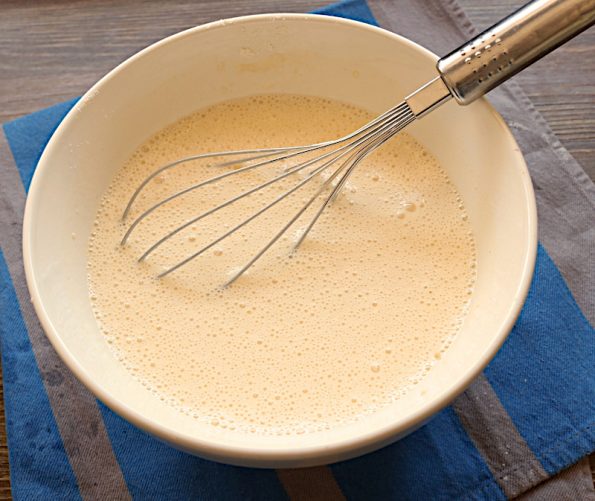
Place the Yorkie batter into the fridge to chill for at least one hour (or overnight) and then leave it out for 30 minutes to an hour to bring it back to room temperature.
- You don’t need to bring it back to room temperature if you don’t want to. The warmer batter will create taller, crisper puddings with a hollow centre and colder batter will create denser puddings with a low centre (a good ‘pool’ for the gravy!)
Whilst letting it come back to room temperature, place a rack in the centre of the oven and turn it to 180°C fan/convection oven or 200°C conventional oven, on bake.
Place one teaspoon of oil in each of the muffin holes and place it in the oven for 10 minutes or (and most importantly) until you can see and hear the oil sizzling.
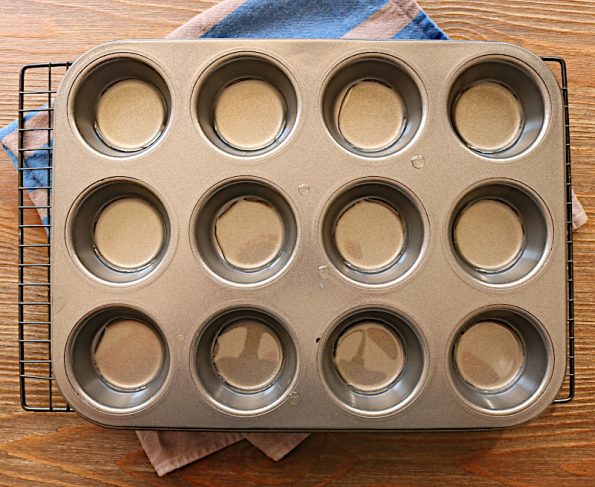
VERY carefully take the muffin tin out of the oven.
Carefully pour the batter as evenly as possible between the holes (please watch out for very hot oil/fat splatters!).
- The oil should sizzle when the batter hits it, this will set the outsides so that the oil doesn’t seep into the puddings and at the same time ensures they don’t get stuck in the pan.
- The oil or fat will creep over the edges of the batter but that’s normal. 🙂
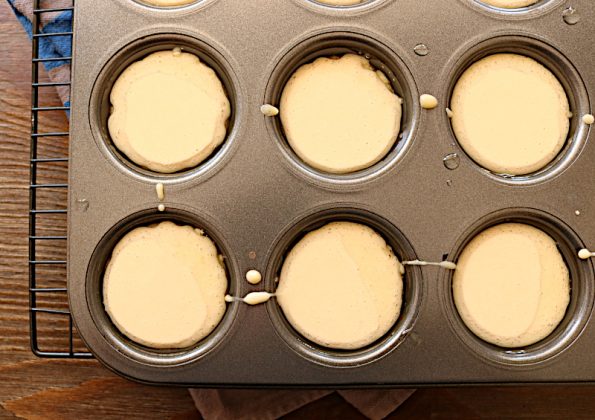
Awesome! Now cook them in the oven for 30 minutes…

…or until they are well browned all over.
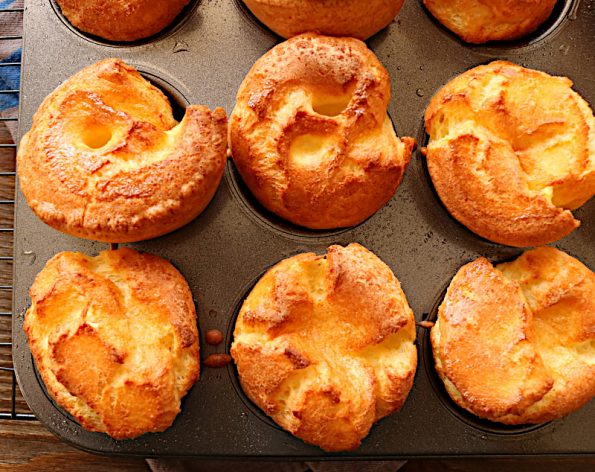
Serve with copious amounts of gravy!!
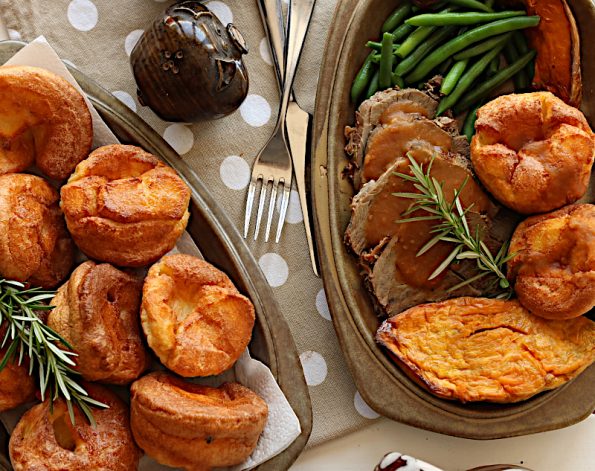
Keepin’ em fresh – Keep well covered in the fridge for just a few days. To reheat them, pop them on a tray and reheat them at 180°C fan/convection oven or 200°C conventional oven for 10 minutes OR just pop them on top of your roast vegetables 15 minutes before they will be done.
You can also freeze them for up to a month, making sure they have totally cooled down on a wire rack before placing them in an airtight bag. Defrost them before reheating.
Yorkshire Puddings
Ingredients
- 1 ½ cups / 225 g standard flour
- ½ teaspoon salt
- ¼ teaspoon pepper
- 4 large eggs I use size 7's
- 2/3 cup / 160 ml milk
- 2/3 cup / 160 ml water
- ¼ cup / 60 ml sunflower or canola oil
Instructions
- Sift the flour into a medium-sized bowl and add the salt and pepper.
- Create a rough well in the centre and add the eggs to the well.
- Measure the milk and the water and pour it into a small jug.
- Use a whisk and start whisking in the centre where the eggs are whilst at the same time slowly pouring in the liquid. When the flour stops falling in on its own help it out and then continue whisking the whole mix until it's totally lump-free.
- Place the batter into the fridge to chill for at least one hour (or overnight) and then leave it out for 30 minutes to an hour to bring it back to room temperature. (You don't need to bring it back to room temperature if you don't want to. The warmer batter will create taller, crisper puddings with a hollow centre and colder batter will create denser puddings with a low centre.
- Once chilled, place a rack in the centre of the oven and turn it to 180°C fan/convection oven or 200°C conventional oven, on bake.
- Place one teaspoon of oil in each of the muffin holes and place it in the oven for 10 minutes or until you can see and hear the oil bubbling.
- VERY carefully take the muffin tin out of the oven and carefully pour the batter as evenly as possible between the holes (please watch out for very hot oil/fat splatters!).
- Place them in the oven to cook for 30 minutes or until they are well browned all over.
- Keep well covered in the fridge for just a few days. To reheat them, pop them on a tray and reheat them at 180°C fan/convection oven or 200°C conventional oven for 10 minutes OR just pop them on top of your roast vegetables 15 minutes before they will be done.
- You can freeze them for up to a month, making sure they have totally cooled down on a wire rack before placing them in an airtight bag. Defrost them before reheating.


Leave a Reply