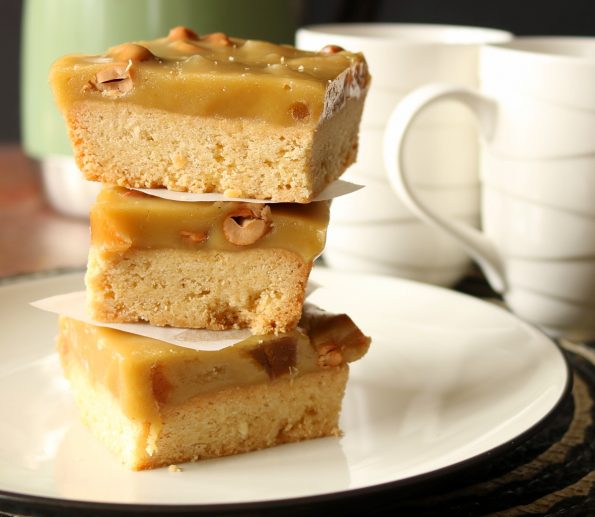
Hi there! By popular demand, I am sharing my favourite ginger crunch recipe. I was going to wait until next winter (I feel it’s a wintery warmy kinda slice) but ginger-lovers are super impatient people lol. This is the fastest selling slice at the Café I work at and if I never made a different slice no-one would care as long as this was there.
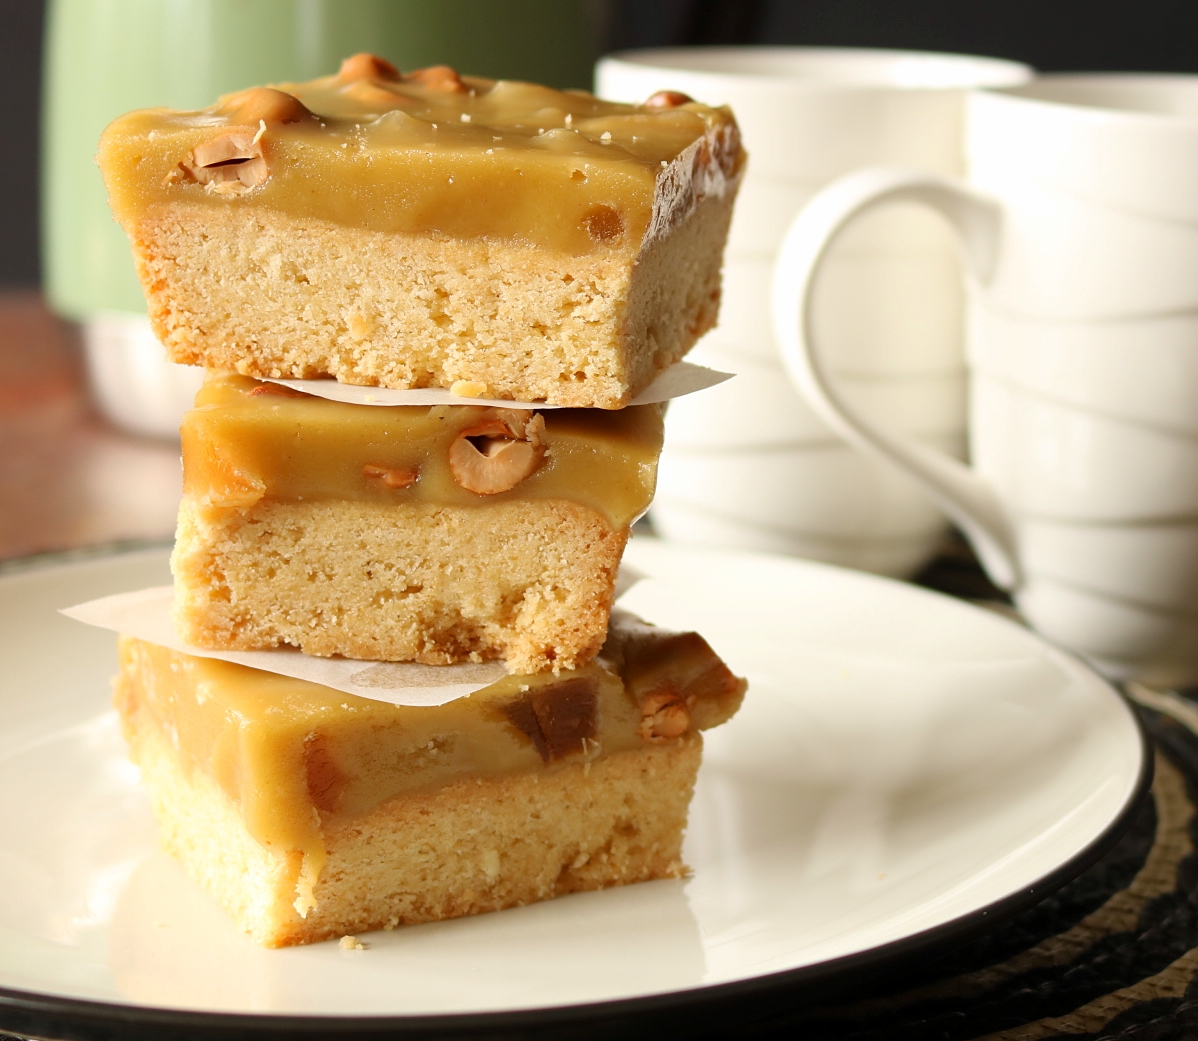
It is pretty much a standard ginger slice recipe but on steroids! It has a slightly crunchy ginger spiced base and a sweet ginger icing loaded with toasted cashew nuts and chunks of crystallised ginger!
I confess that I always hated ginger. Whenever I used to see those gift-boxes of crystallised fruit around at Christmas, full of ginger pieces, I would cringe and I still won’t eat a piece of crystallised ginger by itself but when it’s in this sweet icing it loses some of its bite and it makes this slice to die for!
Geeky baking info: Native to Brazil the cashew nut is actually a seed from a fruit called a Cashew Apple which is a light reddish to yellow fruit and the pulp is used for fruit drinks or distilled into liquor. There you go a bit of useless information for you (I meant to say, fascinating trivia), it may come in handy on a pub quiz night…could win you the game! Go the Cashew Apple! 🙂
INGREDIENTS
Base
250 g / 8 oz butter (at room temperature)
½ cup castor sugar
2 cups standard flour
2 teaspoons baking powder
2 teaspoons ground ginger
Icing
250 g / 8 oz butter
½ cup golden syrup
2 ½ cups icing sugar
2 teaspoons ground ginger
100 g crystallised ginger (½ cup when roughly chopped up)
100 g / ¾ cup raw cashew nuts
Makes 12 – 16 pieces
STEP BY STEP
Place a rack just below the centre of the oven and turn it to 160°C/325°F fan bake/convection oven or 180°C/350 °F conventional oven, on bake or roast.
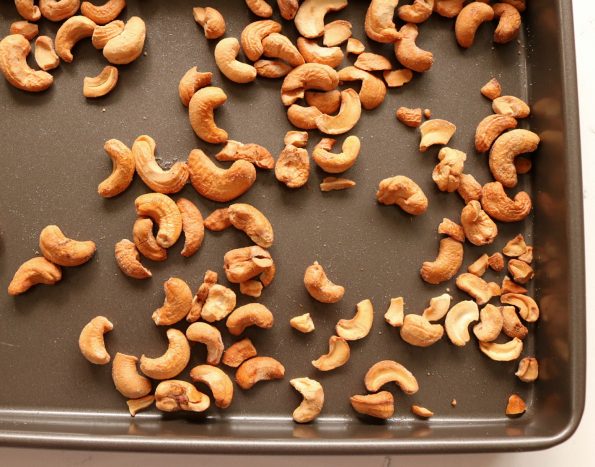
Place the cashew nuts on a baking tray and when the oven is up to temp toast them for 8 – 10 minutes or until they are 2 or 3 shades darker (take them out and toss them well halfway through cooking or the outside ones will darken too quickly). Set them aside.
- I toast mine until they are quite dark as they are going into soft icing and I still want them to have a nice bite to them.
Then turn the oven down to 150°C/300°F fan bake/convection oven or 175°C/350 °F conventional oven, on bake.
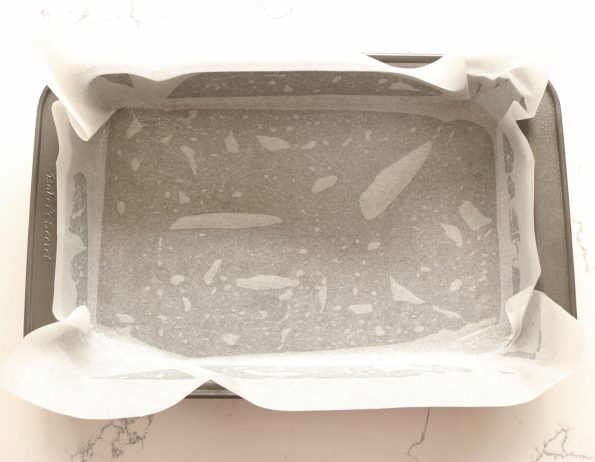
Next line a 27.5 cm / 11 in L x 18 cm / 7 in W x 4 cm / 1 ½ in D sized slice tin with baking paper (making sure the paper for this slice is a little bit higher than the sides of the tin because the icing comes up right to the top of the tin) and then spray it with non-stick cooking spray.
- I always lightly spray the tin before fitting the paper in as it stops the paper from sliding around when I’m trying to fit it.
Set it aside and get busy making the base…….
Base
If your butter isn’t soft enough to cream yet, soften it in the microwave on half power/medium/50% for 30 second increments until it is soft but with no ‘melty’ bits.
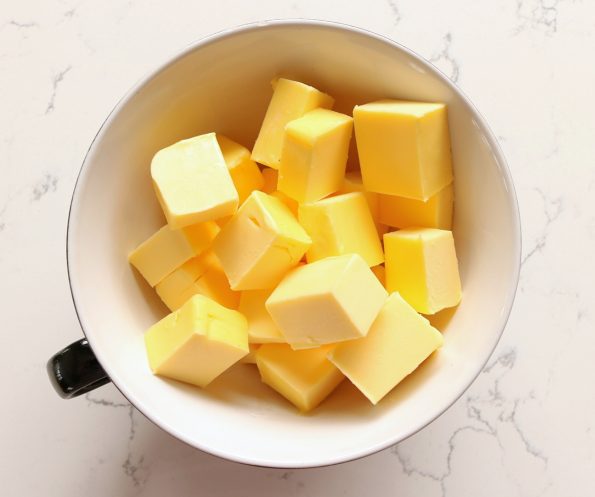
Then place it in a medium to large bowl with the castor sugar and…..
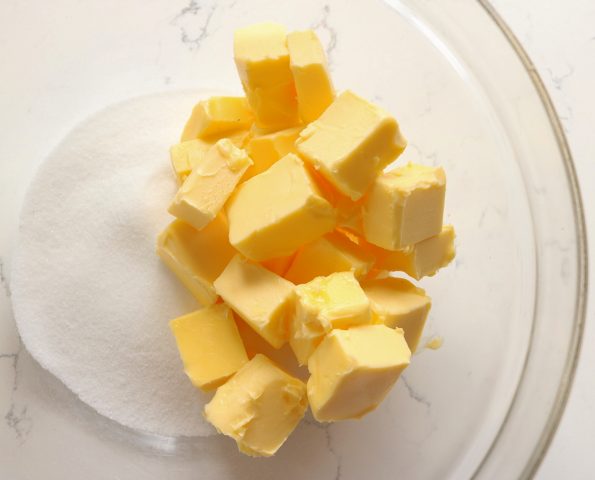
…..using your electric beater, on a medium speed, beat the two together for around 3 minutes or until super creamy.
Then add the flour, the baking powder, the ground ginger…..
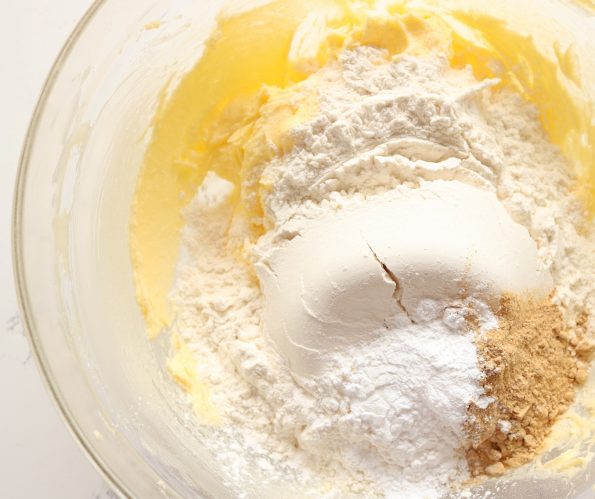
…..and continue to beat on a medium speed until it looks all crumbly.
- You can keep beating here until it is a smooth dough, which is fine, it will still turn out fab, but I find if you leave it crumbly like this (see pic below) it has a nice crunch to it when it’s baked. 🙂
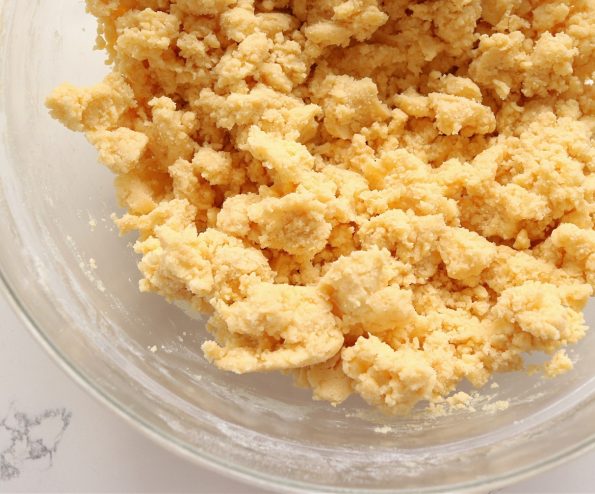
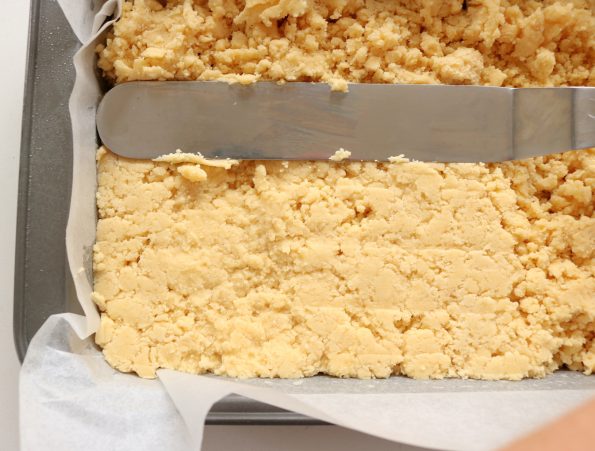
Next, loosely spoon your ginger dough around in your ‘ready and waiting’ tin, getting it as even looking as possible.
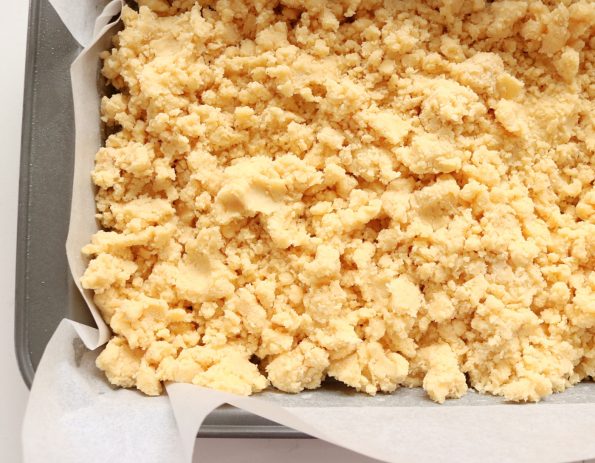
Then use a spatula to press the dough evenly and firmly down.
- It pays not to press down too hard though as that may cause your base not to rise as much).
All done?…..
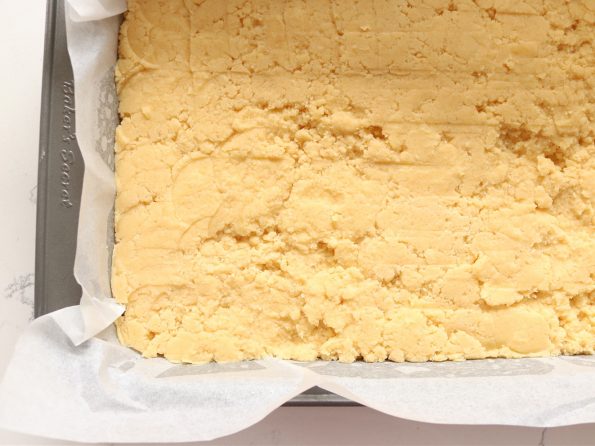
Then place it in the oven and bake it for 40 minutes or until lightly browned all over and a sharp knife inserted into the centre comes out clean.….
…..but it’s not time for a coffee! It’s time to get the crystallised ginger and the icing ready!
Icing
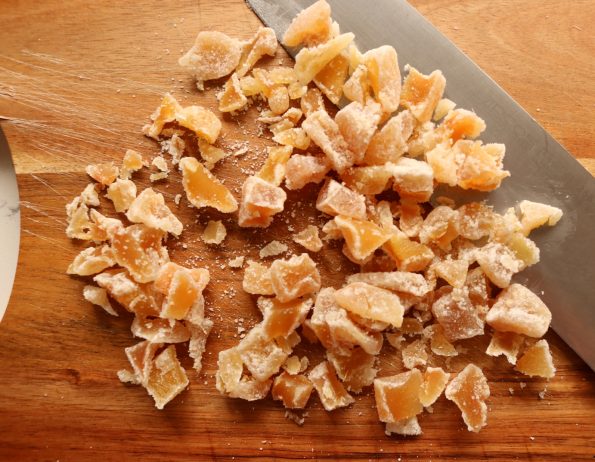
First, roughly chop up the crystallised ginger and then add it to the cashew nuts.
Now when the base is around 15 minutes away from being ready, you can start the icing.
Cut the butter into cubes and place it in a medium-sized saucepan with the golden syrup and then over a low heat, slowly melt the two together (stirring occasionally).
Once they have melted together turn the heat up to medium and bring it to the boil, letting them boil for one minute (stirring a few times) and then removing the pan from the heat.
- If you melt the two together on a high heat or you boil them too long the butter will separate and when the icing is set it will have a layer of butter sitting on the top.
Next, add the icing sugar and the ground ginger to the saucepan with the butter and golden syrup and…..
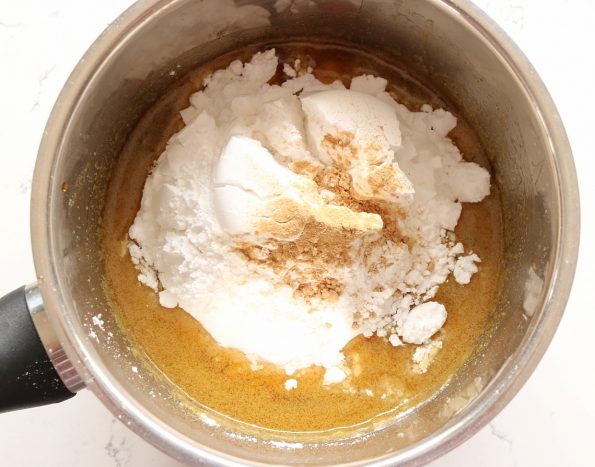
…..quite quickly whisk it all together until it’s lump-free.
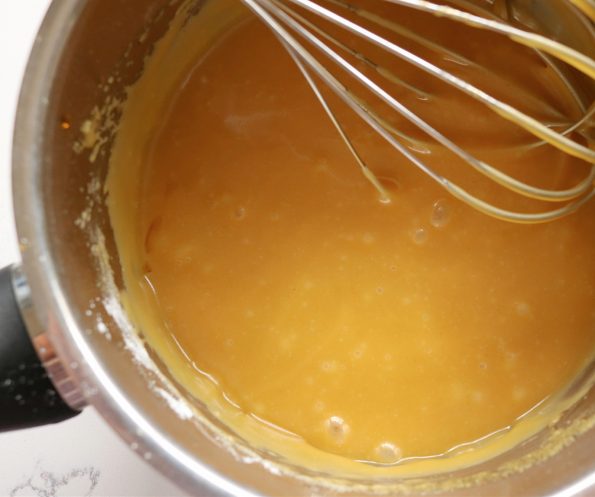
YUUUUM!
Time to fold in the crystallised ginger and the toasted cashews.
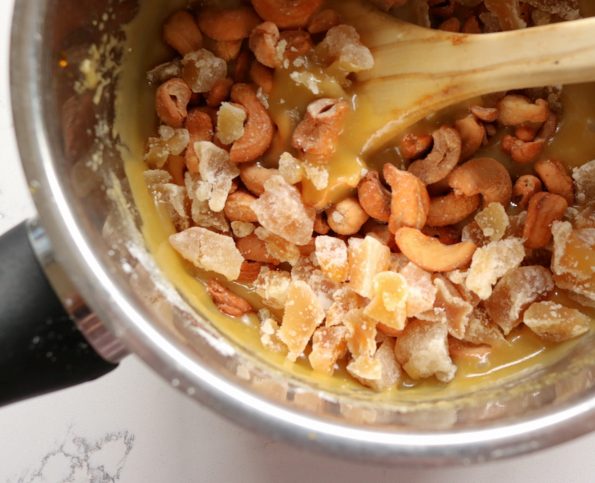
When the base is ready and whilst it’s still hot, pour the icing over it and spread it around.
- If you ice this base when it’s cold the icing may not meld onto the base as well.
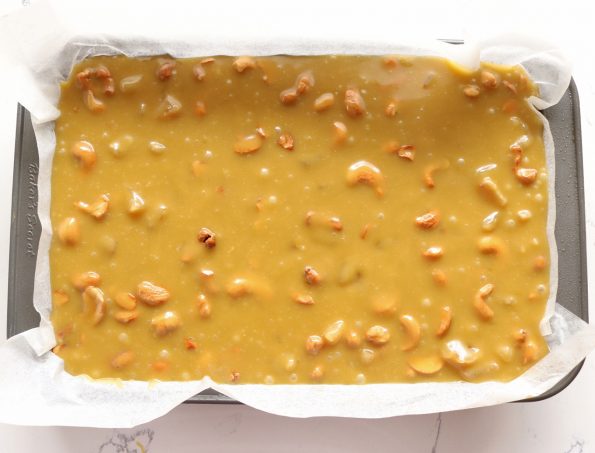
Now, this is the hardest part….waiting for it to set…..pure torture I say!
You can leave this on the bench overnight to set at its own pace or place it in the fridge to help it cool down but this still takes around 1 – 2 hours, so if you want nice firm icing, you’ll need to be patient…..but it’s worth it I promise.
- It only goes into the fridge to help it set, I wouldn’t store it in the fridge. I keep most baking in the pantry in an airtight container. The fridge can make cakes, biscuits and slices go hard and dry. I also think baking gets a ‘fridgy’ taste, lol, that may just be me, being weird!
Ta Dah!!
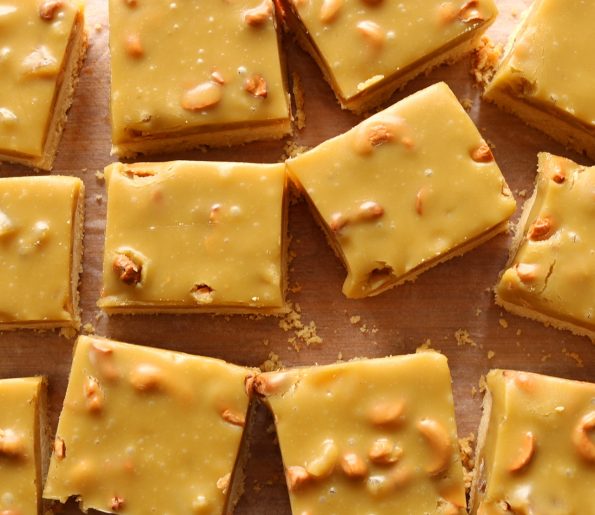
Keepin’ it fresh – This has a great life because the base is quite firm. If kept in the pantry, in an airtight container it will still be nice after five days.
Related Posts…
A treat for ginger lovers! A crunchy ginger spiced base with a sweet ginger icing filled with toasted cashews & pieces of crystallised ginger
Ingredients
- 250 g / 8 oz butter (at room temperature)
- ½ cup castor sugar
- 2 cups standard flour
- 2 teaspoons baking powder
- 2 teaspoons ground ginger
- 250 g / 8 oz butter
- ½ cup golden syrup
- 2 ½ cups icing sugar
- 2 teaspoons ground ginger
- 100 g crystallised ginger (½ cup when roughly chopped up)
- 100 g / ¾ cup raw cashew nuts
Instructions
- Place a rack just below the centre of the oven and turn it to 160°C/325°F fan bake/convection oven or 180°C/350 °F conventional oven, on bake or roast.
- Place the cashew nuts on a baking tray and when the oven is up to temp, toast them for 8 - 10 minutes or until they are 2 or 3 shades darker (tossing them halfway through). Set aside.
- Turn the oven down to 150°C/300°F fan bake/convection oven or 175°C/350 °F conventional oven, on bake.
- Line a 27.5 cm L x 18 cm W x 4 cm D sized slice tin with baking paper (making sure the paper for this slice is a little bit higher than the sides of the tin because this slice is quite a high one) and then spray it with non-stick cooking spray.
- Place the butter and the castor sugar into a medium-sized bowl and using an electric beater, on a medium speed, beat the two together for around 3 minutes or until light and creamy.
- Add the flour, the baking powder, the ground ginger and continue to beat on a medium speed until it's all combined (but lumpy still).
- Use a spatula to press the dough down evenly (but not too hard) into the lined tin.
- Place it in the oven and bake it for 40 minutes or until lightly browned all over and a sharp knife inserted into the centre comes out clean..
- Roughly chop up the crystallised ginger and then add it to the cashew nuts.
- When the base is around 15 minutes away from being ready, start the icing.
- Cut the butter into cubes and place it in a medium-sized saucepan with the golden syrup and then over a low heat, slowly melt the two together (stirring occasionally).
- Once they have melted together turn the heat up to medium and bring it to the boil, letting them boil for one minute (stirring a few times) and then removing the pan from the heat.
- Add the icing sugar and the ground ginger to the saucepan with the butter and golden syrup and quickly whisk it all together until it's lump-free.
- Fold in the crystallised ginger and the toasted cashews.
- When the base is ready and still hot, pour the icing over it and spread it around.
- Leave on the bench overnight to set at its own pace or place it in the fridge to help it cool down, which will take around 1-2 hours.
- Keep in the pantry, in an airtight container up to 5 days.


I have just seen this on Instagram and had to come and find this delicious recipe. Absolutely all of my favourite flavours, I can see why it’s popular. Pinned ready to make, once ingredients bought. Thank you so much for sharing I love Ginger.
Hi Sammie 🙂 Thanks so much for dropping by! Let me know if you make it and love it as much as we do!