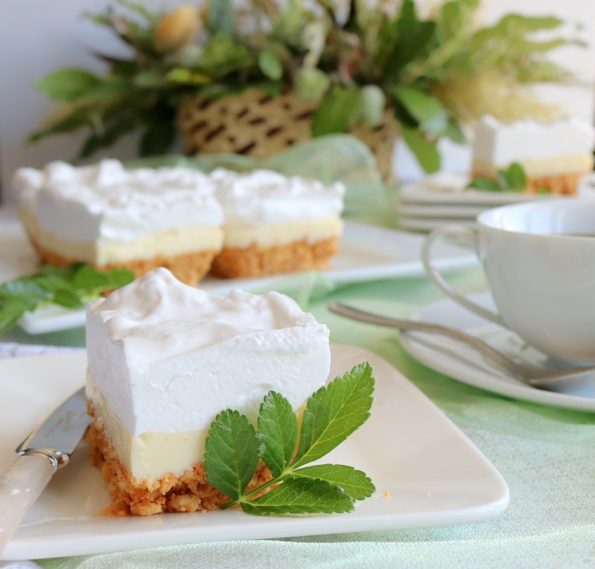
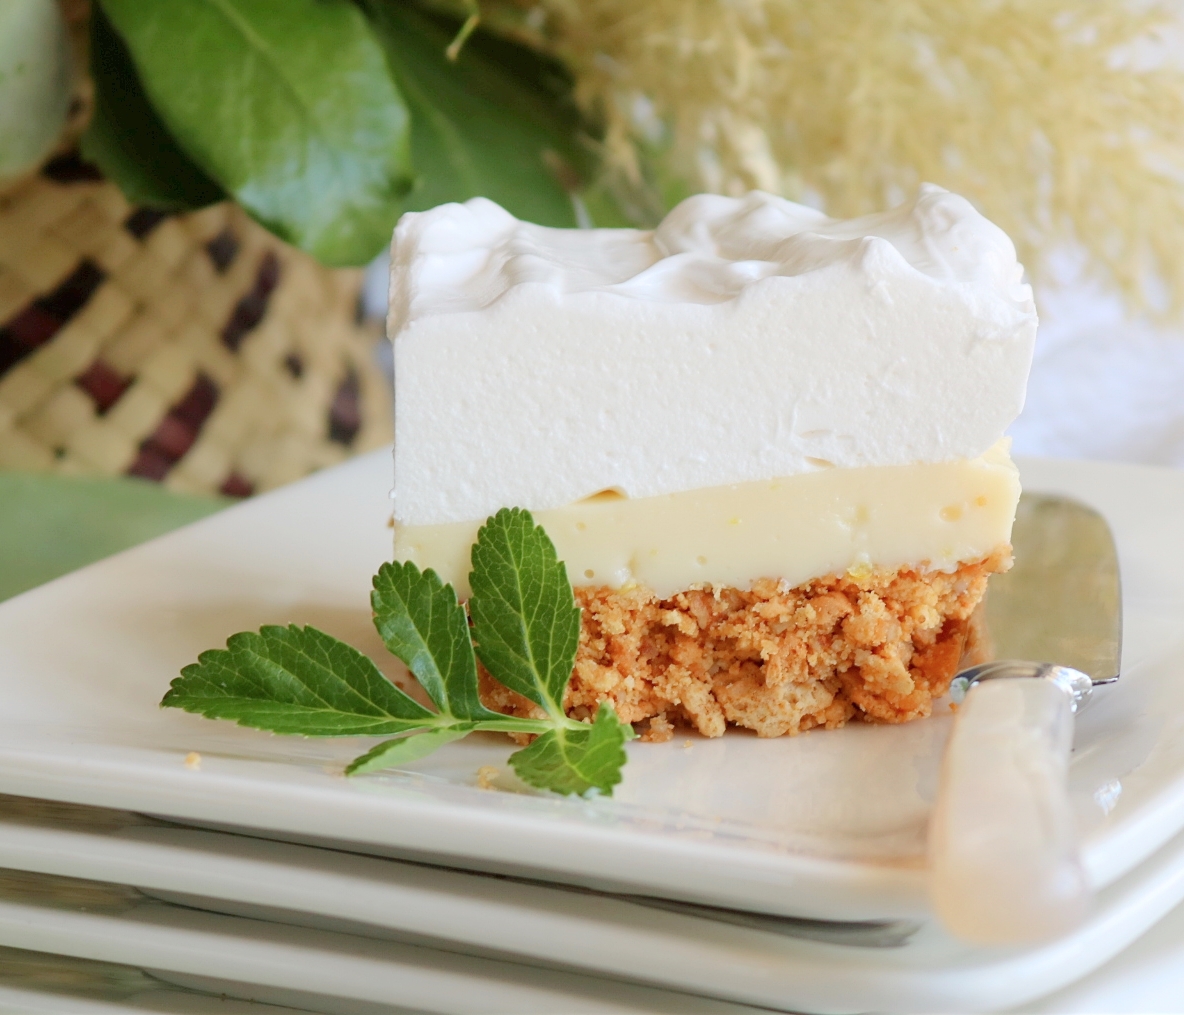
Hi there 🙂 I love slices and I love marshmallow so this is one of my favs, it’s just so ‘melt in ya mouth’ delish! The base recipe is from one of my ancient ‘torn out of a mag’ pages and of course I’ve ‘fiddled’ with it to suit. It has a no-bake biscuit base to which I usually add white chocolate but I also like adding crushed walnuts, pecans or coconut. On top of the base sits a lemon flavoured condensed milk filling which is slathered with a thick and fluffy marshmallow top.
INFO FOR BAKING GEEKS (like me) – Marshmallow originated from ancient Egypt, where they extracted sap from the marshmallow plants roots (you have to wonder who was gardening and thought hey, what if I get that oozy stuff out and make something edible with it) and mixed it with nuts and honey. They also peeled back the stem to reveal its soft pith which was boiled in sugar syrup and dried to make a soft, chewy confectionary but rather than just eating these for just enjoyment they were used to treat sire throats.
In the early 19th century France was the first to whip the marshmallow sap and sweeten it, creating a confectionary similar to our modern marshmallow. Then in the late 19th century, the French (no wonder they are awesome pattissiers) thought of using egg whites or gelatine combined with corn starch (cornflour) to create the chewy base and so the humble marshmallow as we know today was born!
INGREDIENTS
Base
250 g plain biscuits (Vanilla Wines, plain Digestives or Malt)
125 g butter (plus an extra 25 g if adding nuts)
Optional – ¼ cup desiccated coconut, chopped pecans, chopped walnuts or 50 g white chocolate.
Filling
400 g condensed milk
zest & juice of 2 medium sized lemons (approx 1/3 cup juice)
1 tablespoon gelatine granules/powder
Marshmallow
1 cup castor sugar
5 teaspoons gelatine granules/powder
Makes 12 pieces
Notes
- If you are using the square tin, the base will be thicker which in turn makes it a little harder to compact the crumbs so if you are using this tin you really must push them firmly down.
- If you’ve had problems with biscuit bases crumbling in the past (hand up) you can add a tablespoon of golden syrup per 250 grams of biscuits. Added coconut helps it to bind together too.
- A nice alternative is replacing the lemon zest and juice with lime and using white chocolate or coconut in the base.
STEP BY STEP
First, you line a square or rectangle tin. The one I used here is a small square cake tin, 20 cm sq x 5 cm D but you can also use a 30 cm L x 20 cm W x 4 cm D rectangle slice tin.
First spray it lightly with non-stick cooking spray and then line it with non-stick baking paper and then spray it again. Try to make sure any flappy bits of paper are stuck back on the sides because the marshmallow is light and when it goes on it won’t push them back causing it to have quite uneven edges.
- Lightly spraying the tin before the paper goes in helps the paper stay put.
Base
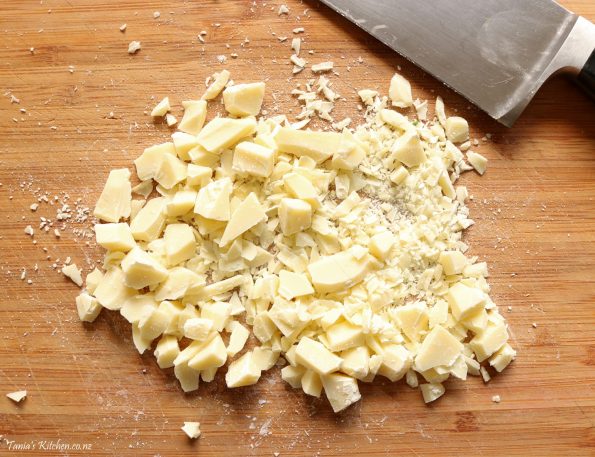
First, if you are adding white chocolate to the base, use a large knife to finely chop it up into the smallest possible pieces and then set it aside.
- It is going into the processor with the biscuits but it needs to be chopped up into little pieces first as it needs a head start in the processor. If the pieces of chocolate go into the base too big…..when you go to cut it, it will cause the base to crumble!…..eeek…..BAKING!…..so many annoying technicalities…..but that’s why when you get it right it’s so rewarding. 🙂
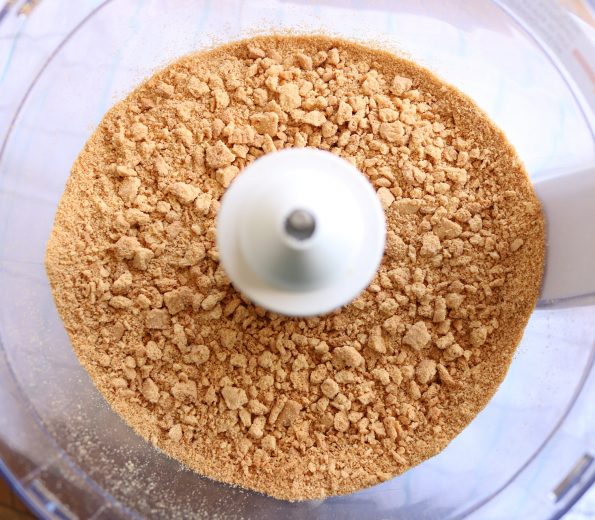
Next place the biscuits (and the coconut, pecans, walnuts or the white chocolate) into a food processor and using the blade fitting, process them until they are as fine as coarse breadcrumbs. Transfer them to a bowl and set aside.
- If they are not fine enough and your base may be crumbly.
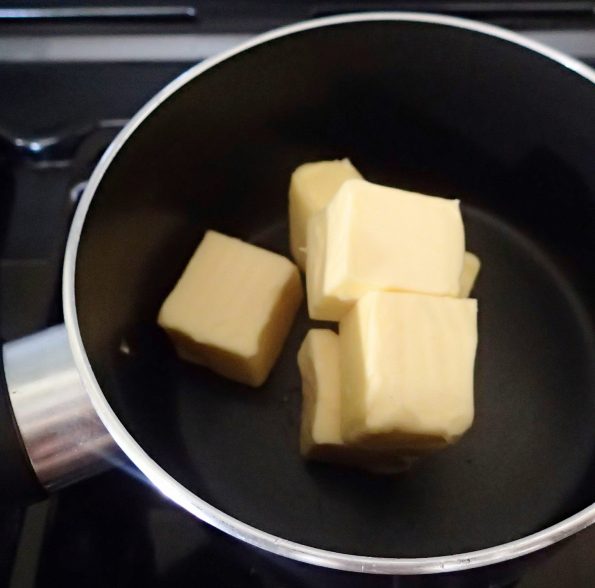
Now in a small saucepan, over a low heat, melt the butter.
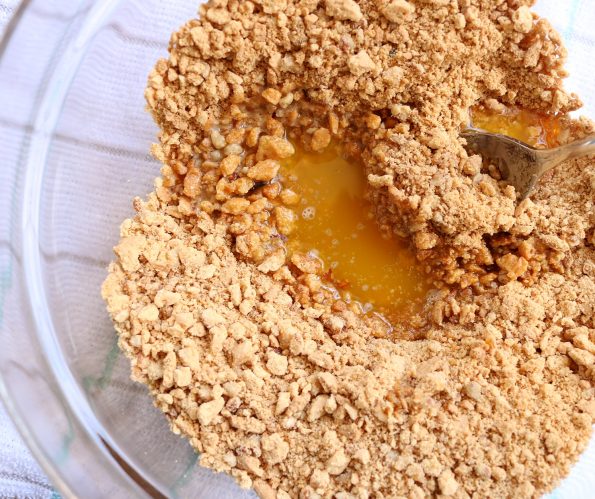
Add the butter to the biscuit crumbs mixing it altogether really well.
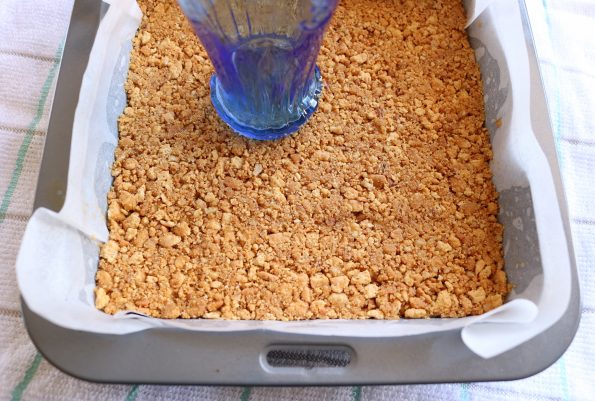
Then spread the crumbs evenly around in the tin before you start to, as firmly as possible, flatten them into the tin using the bottom of a cup or glass or a metal spatula. Then place your base into the fridge to harden for at least 30 minutes.
Filling
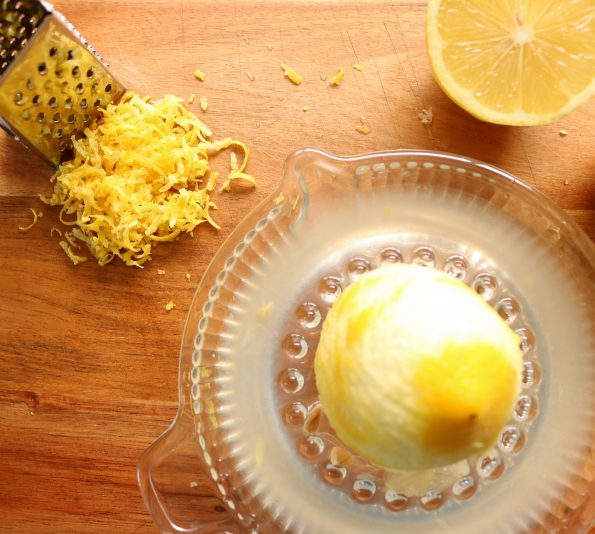
So while the base is setting in the fridge, zest and squeeze the lemons.
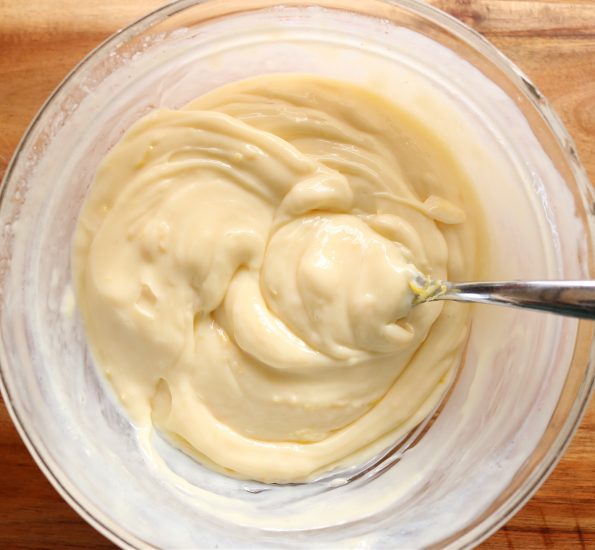
Now in a medium-sized bowl add the lemon zest and juice to the condensed milk and mix it in well. Set it aside whilst you dissolve the gelatine.
To dissolve the gelatine for the filling, place 1/4 cup of cold water in a small pan and then evenly sprinkle the tablespoon of gelatine over the top.
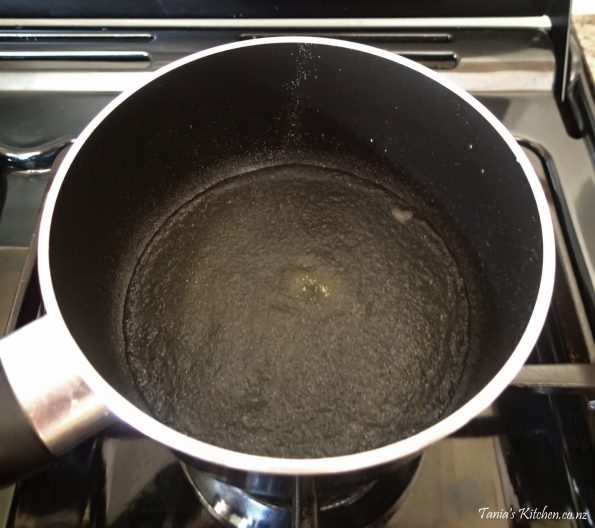
With the heat on low leave it for a few minutes and then when you see the gelatine starting to melt, give it a gentle stir and then leave it again until it looks like it has all melted. Stir it again and remove from the heat.
- When you stir it make sure you get any gelatine attached to the sides of the pan off, it’s no biggie but may give you some lumps of gelatine that you don’t want in your filling.
The granules should all be dissolved now with it looking like a syrup.
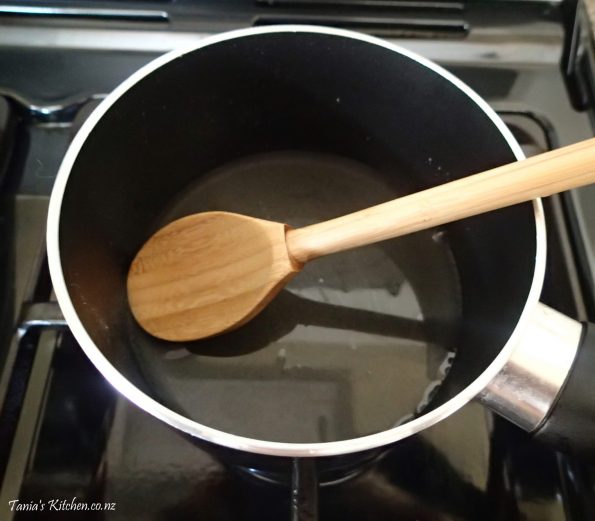
Pour the dissolved gelatine into the bowl containing the condensed milk, and the lemon juice and zest and mix it in quickly and thoroughly.
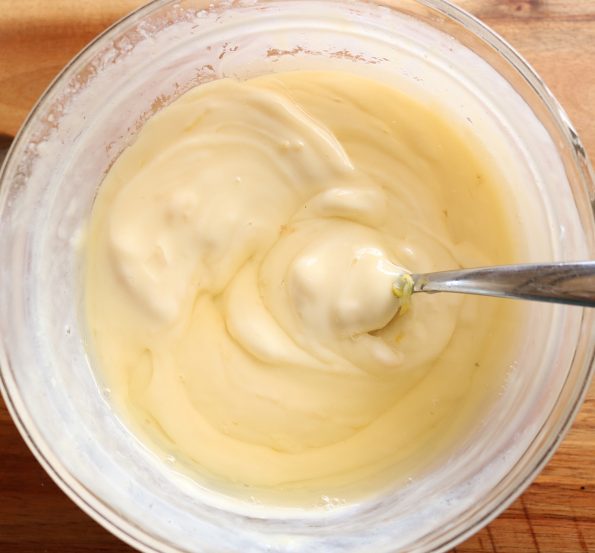
Spread the condensed milk filling over your biscuit base and return it to the fridge.
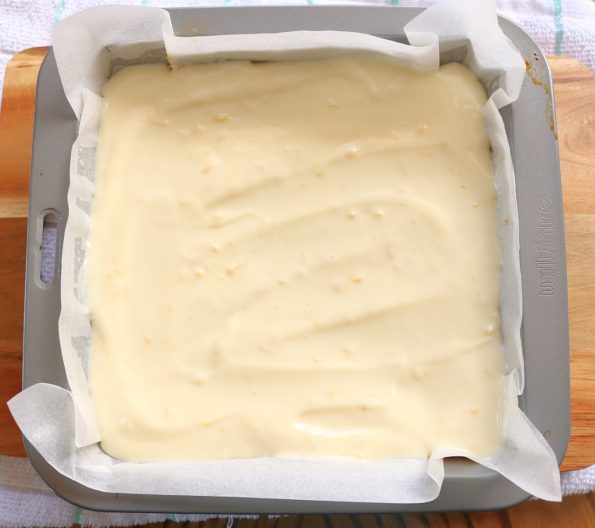
Marshmallow
Now for the coolest part…..making marshmallow!
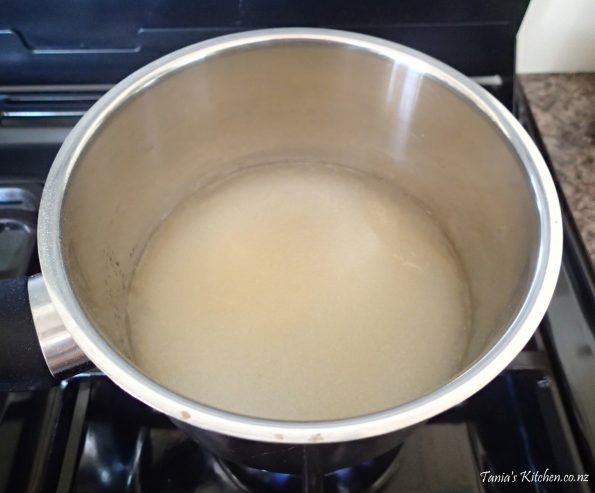
Place the cup of sugar in a medium-sized saucepan with 1 cup of water and then sprinkle the gelatine evenly over the top.
Next, over a medium heat slowly bring it to a boil, gently stirring a few times to make sure the gelatine doesn’t stick to the sides.
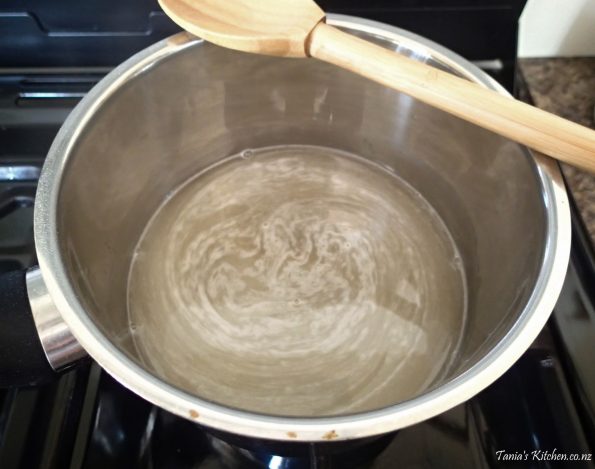
When its boiling turn the heat down to medium/low or low (to where it is just simmering/softly boiling), give it a final stir and then leave it for 10 minutes.
- If you are tempted you can gently stir it a few times.
After the ten minutes is up, pour the mix into a large heatproof bowl.
Whilst the sugar syrup is still hot, set your electric beaters (preferably a stand/bench mixer) to high and beat it until the marshmallow is thick (this takes around 10 minutes).
- You are aiming for a consistency of fully whipped cream or a meringue at stiff peak stage……so when you lift the beaters the peaks of marshmallow will remain standing up and not fall back down.
If you haven’t made marshmallow before, just like my first time, you will marvel at its snowy white, fluffy, billowiness (yeah I think I just invented a word) with childlike wonder!
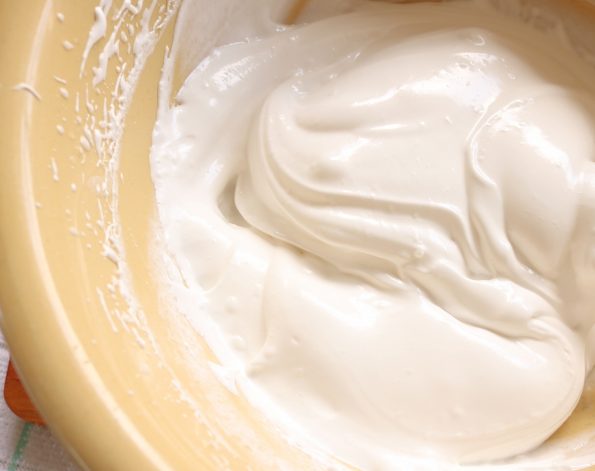
Now you need to work super fast (no time to lick the beaters) because when it gets to that thick stage it starts to set quickly, so grab that scraper and scrape it out onto that set base and filling.
Use the back of a metal spoon or a metal spatula to quickly spread it over the filling.
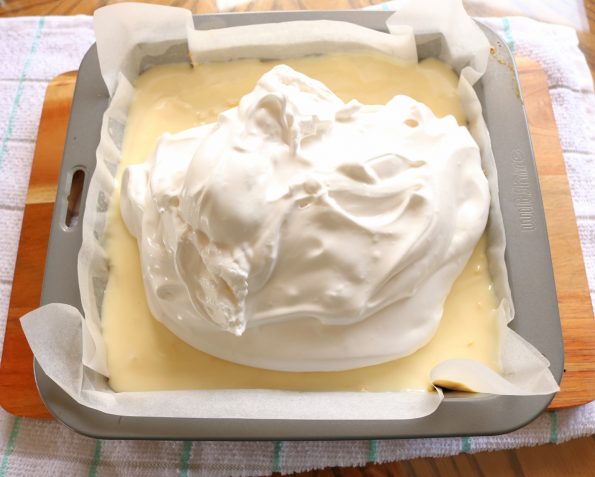
Finally….Yay! Now place it in the fridge to set for at least 1 hour (or even overnight) then it should be okay to slice up.
Once out of the fridge the paper should just come away from the sides.
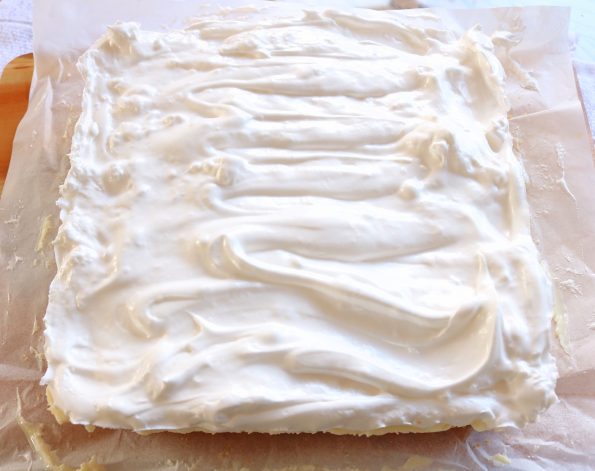
The base, filling, and marshmallow should be melded together.
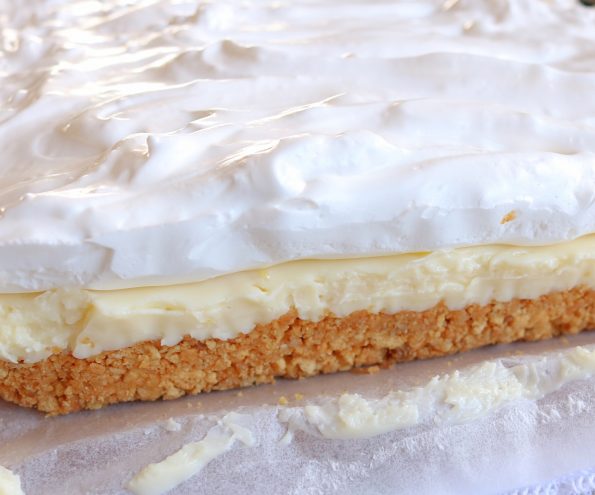
Use a sharp knife (not serrated) to cut it and it pays to wipe the knife with a damp cloth between cuts otherwise crumbs from the knife will make a mess on top of that pretty marshmallow.
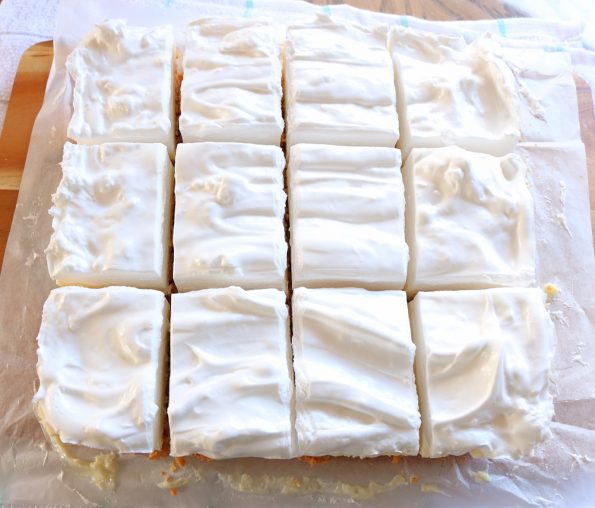
Enjoy!
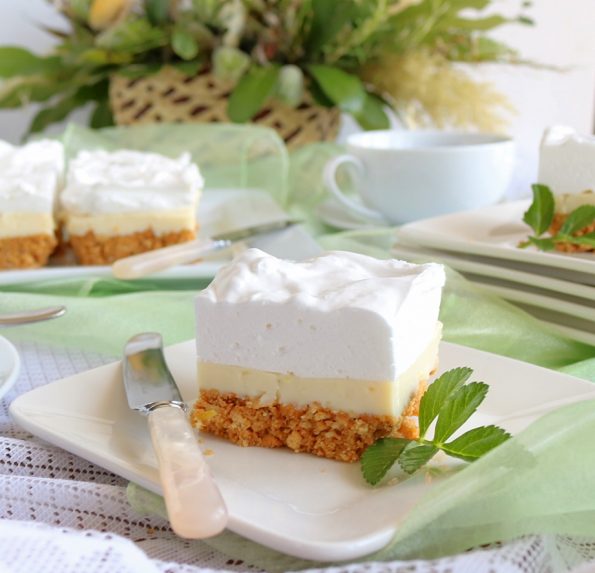
Keepin’ it fresh – This needs to be stored in an airtight container in the fridge. It’s great for 2 days, 3 is okay but it starts to get that ‘fridgey’ taste.
Related Posts
A no-bake biscuit base with a lemon flavoured sweet condensed milk filling and a fluffy, 'melt in your mouth' marshmallow topping!
Ingredients
- 250 g plain biscuits
- 150 g butter (plus an extra 25 g if adding nuts)
- Optional - 1/4 cup desiccated coconut, chopped pecans, chopped walnuts or 50 g white chocolate.
- 400 g condensed milk
- zest & juice of x 2 medium-sized lemons
- 1 tablespoon gelatine granules
- 1 cup castor sugar
- 5 teaspoons gelatine granules
Instructions
- Line a 20 cm sq x 5 cm D square tin or a 30 cm L x 20 cm W x 4 cm D slice tin with baking paper and then lightly spray it all over with non-stick cooking spray.
- If you are adding white chocolate to the base, use a large knife to finely chop it up into the smallest possible pieces. Set aside.
- Place the biscuits (and if you are adding one of them, the coconut, pecans, walnuts or the white chocolate) into a food processor and using the blade fitting, process them until they are as fine as coarse breadcrumbs. Transfer them into a bowl. Set aside.
- In a small saucepan, over a low heat, melt the butter. Add it to the biscuit crumbs, mixing them together really well.
- Spread the crumbs evenly around in the tin before you start to, as FIRMLY as possible, flatten them into the tin using the bottom of a cup or glass or a metal spatula. Place the base into the fridge to harden for at least 30 minutes (even overnight).
- In a medium-sized bowl add the lemon zest and juice to the condensed milk and mix it in well. Set aside.
- Place 1/4 cup of cold water in a small pan and then evenly sprinkle the tablespoon of gelatine over the top.
- With the heat on low leave it for a few minutes and then when you see the gelatine starting to melt, give it a gentle stir and then leave it again until it looks like it has all melted. Stir it again and remove from the heat.
- Pour the dissolved gelatine into the bowl containing the condensed milk, lemon juice and zest and mix it in quickly and thoroughly. Spread it over the biscuit base and return it to the fridge.
- Place the cup of sugar in a medium sized saucepan with 1 cup of water and then sprinkle the gelatine evenly over the top. Next, over a medium heat slowly bring it to a boil, gently stirring a few times to make sure the gelatine doesn't stick to the sides.
- When its boiling turn the heat down to medium/low or low (to where it is just simmering/softly boiling), give it a final stir and then leave it for 10 minutes. (If you are tempted you can gently stir it a few times).
- After the ten minutes is up, pour the mix into a large heatproof bowl.
- Whilst the sugar syrup is still hot, set your electric beaters (preferably a stand/bench mixer) to high and beat it until the marshmallow is thick...this takes around 10 minutes. (You are aiming for a consistency of fully whipped cream or a meringue at stiff peak stage......so when you lift the beaters the peaks of marshmallow will remain standing up and not fall back down).
- Once at that thick stage it will start to set so immediately scrape it from the bowl onto the filling and use the back of a metal spoon or a metal spatula to quickly spread it all over the filling.
- Place it in fridge to set for at least 1 hour (or overnight).
- Once out of the fridge the paper should just come away from the sides and the base, filling and marshmallow should be melded together.
- Use a sharp knife (not serrated) to cut it and it pays to wipe the knife with a damp cloth between cuts so that crumbs from the knife won’t make the marshmallow look messy.
- Store in an airtight container in the fridge for up to 3 days.


Hi!!! Love it, love it, love it.
HI! I love that you came here and said “love it”! Wish we could eat some together 🙂
The crumb and filling came out great but why does my marshmallow never thicken up ? What am I doing wrong ?
Hi Sarah 🙂 Sorry to hear of your marshmallow woes. The base and the filling are the hard parts so it will be something simple. So without knowing what the marshmallow is turning out like I’ll take a guess. A lot of beaters have different speeds so it could be an under whipping problem, ie; if your beater isn’t as fast as mine it may take a bit longer. It needs to have stiff peaks, so if you lift the beaters out the marshmallow peaks will stand up stiff and not fall back down. If you have whisk attachments you can use those and it will whip into stiff peaks easier. If you’ve been whipping it for ever and it’s not increasing in volume it could be that the sugar syrup wasn’t softly boiling, it needs to have thickened and be ‘syrupy’ rather than be thin like water. Also you need to start whipping the syrup straight away without letting it cool first. Maybe you could just have a few practices making the marshmallow alone and setting it in a lined and lightly sprayed tin to practice (so as not to watse any other ingredients). I really hope that helps, baking can be such a technical (and very frustrating) thing sometimes but so satisfying when it turns out perfect!