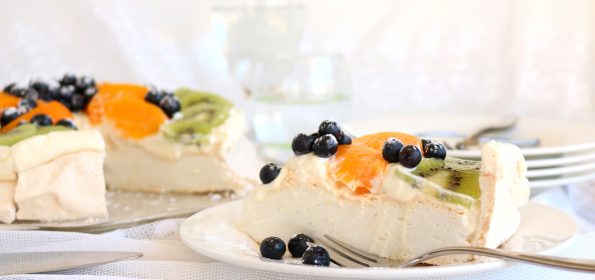
My Aunty Karen is my family’s ‘Pavlova Queen’ and this is the recipe she uses.
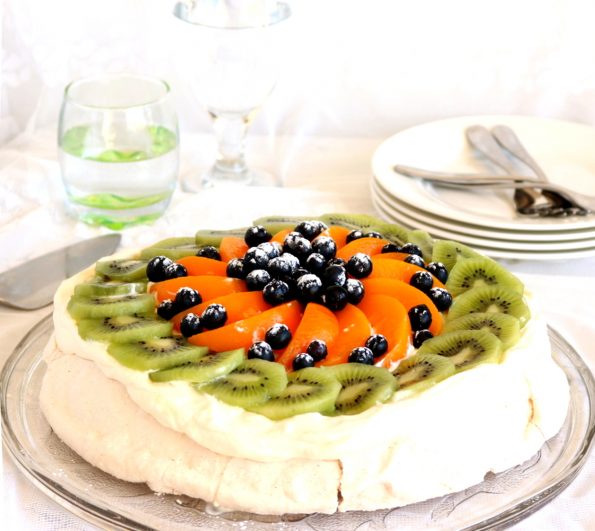
If you’ve made a ‘pav’ before you’ll know they take a lot of beating and if you’ve yet to master them just remember this ‘we beat the pav, they don’t beat us! So many people are terrified of making one and I was too, not only did they beat me up, they stomped all over me and left me for dead, making me doubt every bit of baking skill I possess!
Last year I decided no more and that I was going to show my pavlovas who’s the boss in my kitchen (it’s me btw) so when my Aunty Karen visited I asked her a ton of annoying questions and made a heap of pavs until I understood them more. I’m a slow learner and the only way I’ve ever become good at anything is to do it a lot and make a pile of mistakes and as long as I eventually learn from those mistakes and learn not to repeat them, I learn a new skill, so thank you to all the pavlovas that weren’t perfect!!
Aunty Karen is very casual about making them so I think my best tip is to just relax and enjoy making them and if they don’t turn out ‘perfect’ just slather them with yummy cream and fruit and enjoy them anyway, they’ll still taste great!
INGREDIENTS
Pavlova
6 medium-sized eggs (I use size 6’s)
1 ½ cups castor sugar
1 ½ teaspoons malt vinegar
¾ teaspoon vanilla extract
4 ½ teaspoons cornflour
To Decorate
300 mls full cream (1 ¼ cups)
½ teaspoon vanilla extract
2 tablespoons icing sugar
your favourite fresh or tinned fruit
icing sugar (confectioners sugar) to dust
Optional – ¼ cup passionfruit syrup
Serves 8 – 10
Notes
- Make it ahead, the day or night before you need it, as it needs to stay in the oven until the oven is cold and that can take quite some time!
- I use castor sugar in pretty much all of my baking and is usually used in Pavlovas and meringues as it is finer and dissolves easier when whipping up the meringue. It is finer than granulated sugar but not as fine as ‘Icing Sugar’ (aka, ‘confectioner’s Sugar’). Apparently, it is sold in the US as ‘Superfine Sugar’ or ‘Baker’s Sugar’ but is not the same as 10x Superfine Sugar as that is akin to Confectioner’s Sugar.
In the US, C&H makes a Baker’s Sugar that is apparently the same as what we call ‘Castor Sugar’ in Australia and New Zealand.
In saying all this though, my Aunty just uses normal, white granulated sugar and her pavlovas are perfection, so we all can too! - If you like, you can use white vinegar or white wine vinegar instead of malt vinegar. I’m a malt vinegar fan as back in the day it was what was used and it adds such a lovely flavour. I also think it adds more of a slight tan colour to the outside crust of the meringue whereas if you use white vinegar it’ll be whiter.
STEP BY STEP
Pavlova
Cut a piece of non-stick baking paper to line a baking tray.
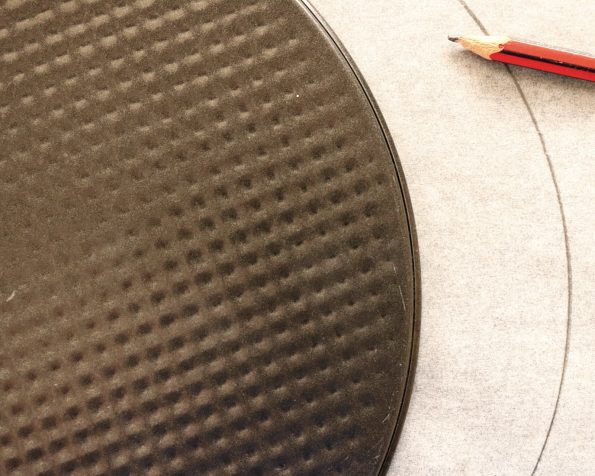
Then, using a pencil, pressing down firmly, trace around the base or ring of a 23 cm / 9 in, cake tin.
- Feel free to go a tiny bit wider but I wouldn’t go any smaller than this as the higher the pav the more likely there will be a pocket of air between the meringue and the upper crust causing it to cave in, either when it’s cooling, from the weight of the cream and/or when you are cutting it.
Using your fingers flick some cold water all over the tray and…
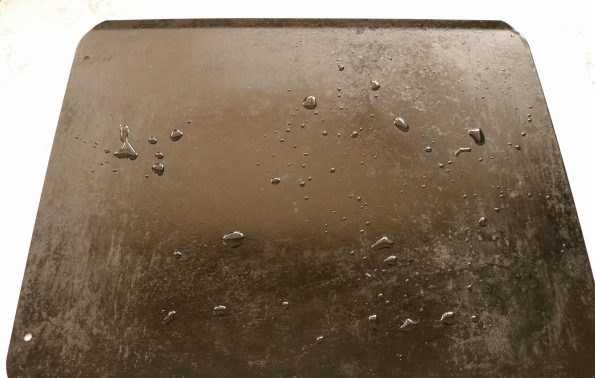
…then place the paper back on, pencil side down (you should be able to see the outline of the circle through the paper). Set aside for now.
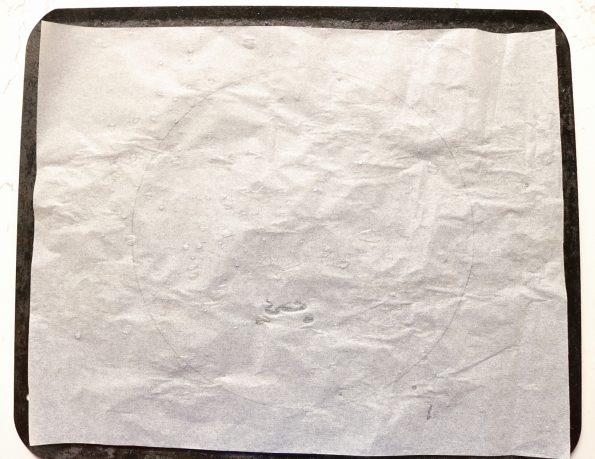
Turn the oven on early, to 120°C fan bake oven or 140°C conventional oven, on bake, with a rack situated just below the centre of the oven.
- A higher the heat will make the outside of the pav darker and the outer meringue crust harder, making it more likely that the pavlova will crack when you transfer it to a plate and/or cut it. So pavlovas are cooked at a low temperature, also because they need to slowly dry out inside.
Next, get the vinegar, the vanilla and the cornflour out ready to go, as well as the measuring spoons and a ¼ measuring cup because once you start beating it’s all go, all the way to pavlova town!!!!
Separate the eggs and place the whites into a very clean and dry, large ceramic, metal or glass bowl.
- Avoid using plastic bowls for whipping egg whites as they can often harbour traces of grease or fat, which prevents the whites from getting stiff which is also why the bowl you use must be very clean and dry.
- Btw, if you happen to have one (I’ll be jealous) copper bowls are the best for whipping egg whites, they’ll always give you the best volume.
- If there’s any fat, oil or grease residue in your bowl or on the mixer attachments, your eggs will take longer to whip, won’t reach their full volume, and are less stable. The same thing will happen if you have any yolk in the egg whites.
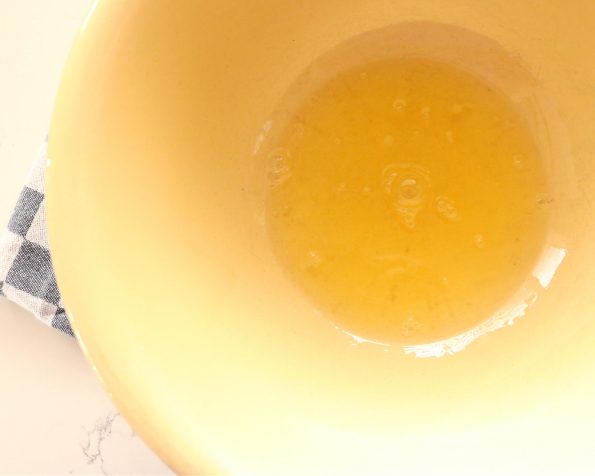
Using your electric beaters or a bench mixer on a medium speed whip the whites until they are stiff peaked (the ends will stay standing when you lift the beaters out). This won’t take long (as a guide, mine took 1 ½ minutes).
- As soon as they are stiff peaked, stop whipping them just in case the air that you carefully added to the whites will decide to up and start to leave.
- This is also the perfect opportunity to rummage about in your cupboards and drawers and find those whisk attachments that came with your beater (or the balloon whisk with your bench mixer) they’ll give your whites a lot more volume.
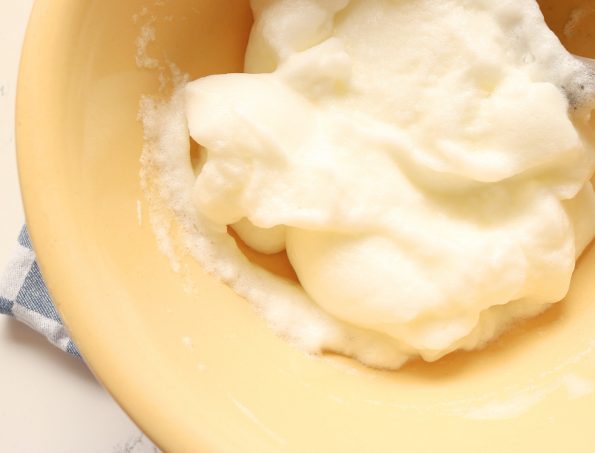
Once stiff, add ¼ cup of cold water and continue beating for a further 20 seconds or until you think it’s just mixed in.
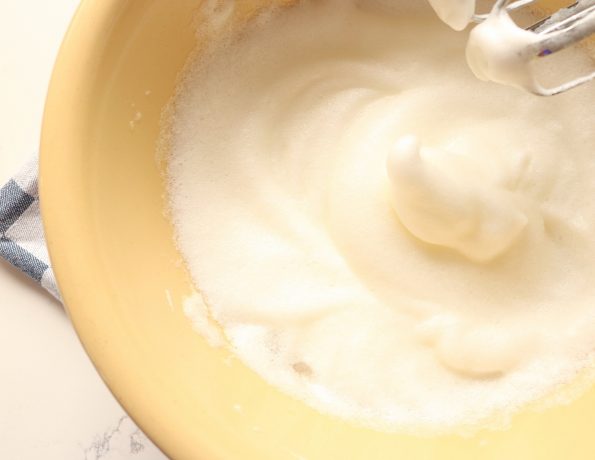
Still on the same speed, start to add the sugar, ¼ cup at a time, beating for 1 minute between additions (that’s a total beating time of 6 minutes).
- Now you don’t want to speed this bit up. This part is what makes the pavlova stable, so just nice and slowly…¼ cup at a time. If you do it too fast the pavlova may weep in the oven.
- After all of the sugar’s been added, it should be thick and glossy and again, if you pull the beaters out the meringue should stand up stiff.
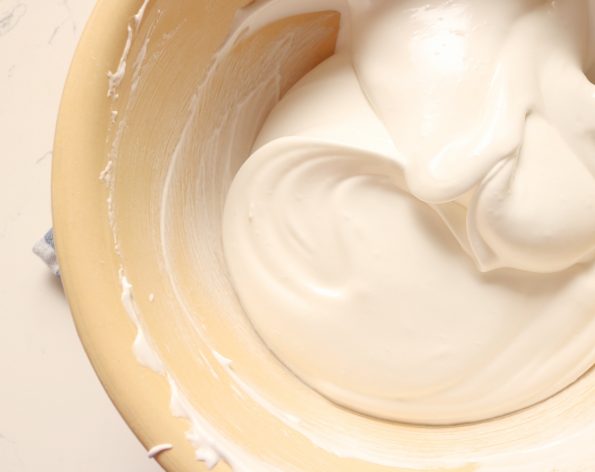
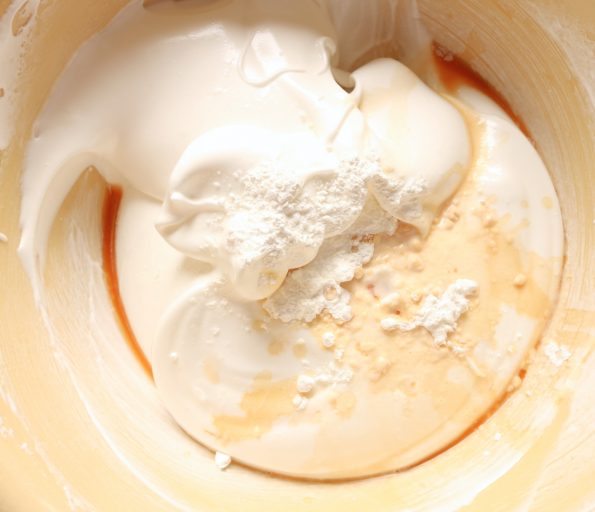
Then scrape down the sides of the bowl and add the vinegar, the vanilla, sprinkle over the cornflour and then continue beating for a further 30 seconds or until you think it’s just mixed in.
- This is where if there are any ‘little piggies’ in the house (I was, still am) they will be hanging around to lick the beaters!
Retrieve the baking tray you prepared and again using your fingers flick some cold water all over it, this will create some steam so that it doesn’t stick.
- If you like you can give it a light spray with non-stick cooking spray instead.
Now using a spatula or a large spoon, very carefully and gently (remember you don’t want to knock any air out of it) spoon the meringue onto the baking sheet, inside the circle. Just big spoonfuls blobbed on, no need to make it pretty just yet.
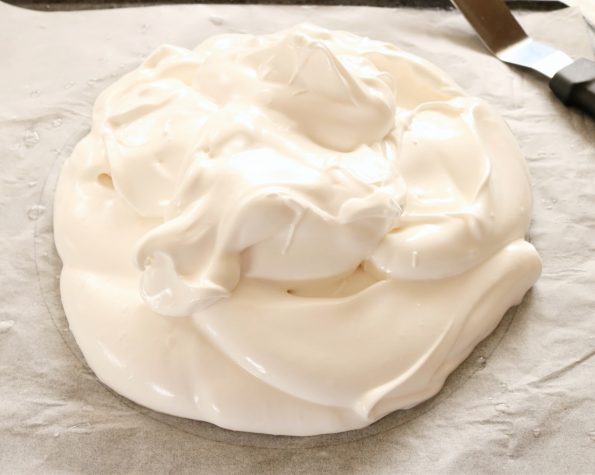
My Aunty leaves hers just like this and pops it in the oven but if you like you can use a metal spatula to gently run around the sides, so they are slightly sloping in at the top and then gently smooth/swirl the top around, just to get some shape that’s all (best not to play with it too much as it might knock some air out of the egg whites).
- You should aim for the pav to be 5 to 7 ½ cm / 2 or 3 in high. If it’s any higher it will look awesome but when it’s cooking it may develop a pocket of air between the meringue inside and the top crust and will cave in whilst cooling down or when you cut it. BUT…it is the nature of a pav and once you cream it, no one will know, they will only know how delicious it is!
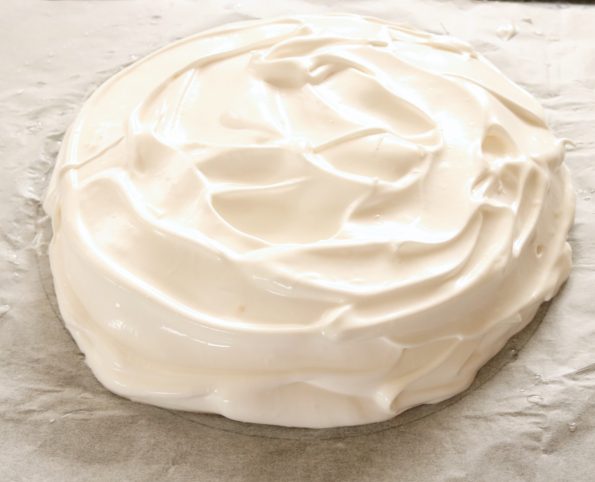
Place it in the oven and bake it for 1 ¼ hours…
…and when anyone speaks loudly, laughs or walks to heavily past the oven, yell at them…”Quiet! I have a Pavlova in the oven!”…and then when it doesn’t turn out blame them, just kidding! But I bet you look at every 5 minutes, lol.
- No opening the door during cooking or cooling…Unless you’re a veteran like my Aunty, she does!!
- And it’s imperative it stays in there until the oven is COLD as it needs this time to dry itself out.
Once thoroughly cooled in the oven if you are finishing it later on it can just stay on the tray, wrapped in cling wrap and be stored in a cool, dry place until it’s ready to be decorated.
Decorating
When you are ready to decorate your gorgeous pavlova… 🙂
Use a skinny, sharp knife or metal spatula to carefully run around in between the paper and the pavlova to loosen it.
Then use two big spatulas to carefully lift the pav to a large, flat, serving plate (this is where it might crack, mine always does!).
To make the ‘Creme Chantilly’ place the cream, the vanilla and the icing sugar in a bowl and…
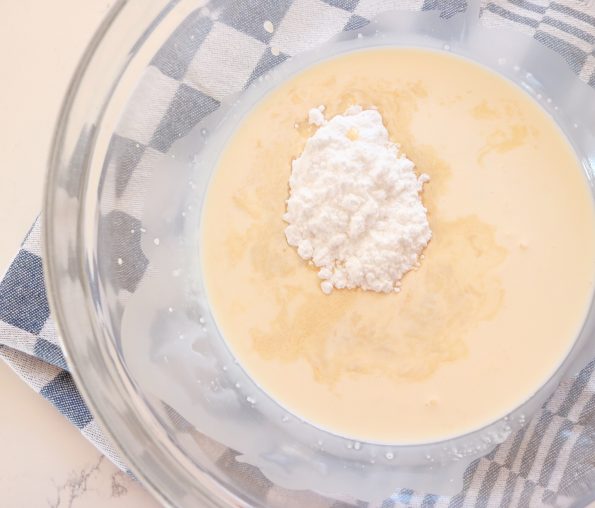
…using the electric beaters on a medium speed again, whip it all together until stiff peaks form (mine took 3 ½ minutes).
- Because the cream on the pav is such an important part of making the pav look amazing and I am such an expert on ever-whipping it, I stop beating it three-quarters of the way through and finish it with the whisk just so I can get it to the perfect thickness that’ll be stiff enough to hold the fruit without over whipping it and it becomes grainy (which it so easy to do).
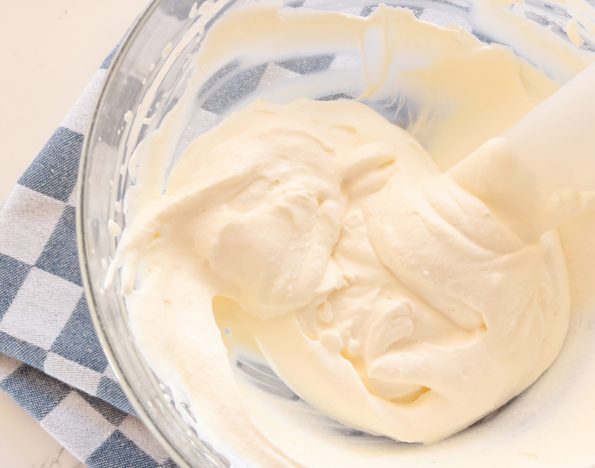
Spoon the cream gently on top before spreading it (the weight of the cream can cause the pav to sink).
- If you like, use a little cream to fill in any cracks on the sides of the pavlova.
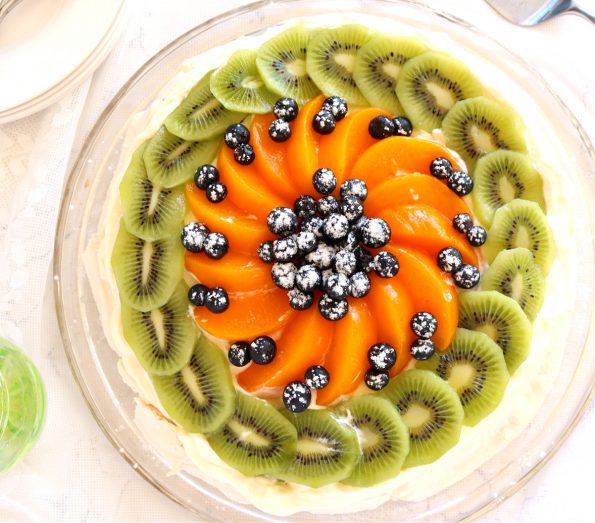
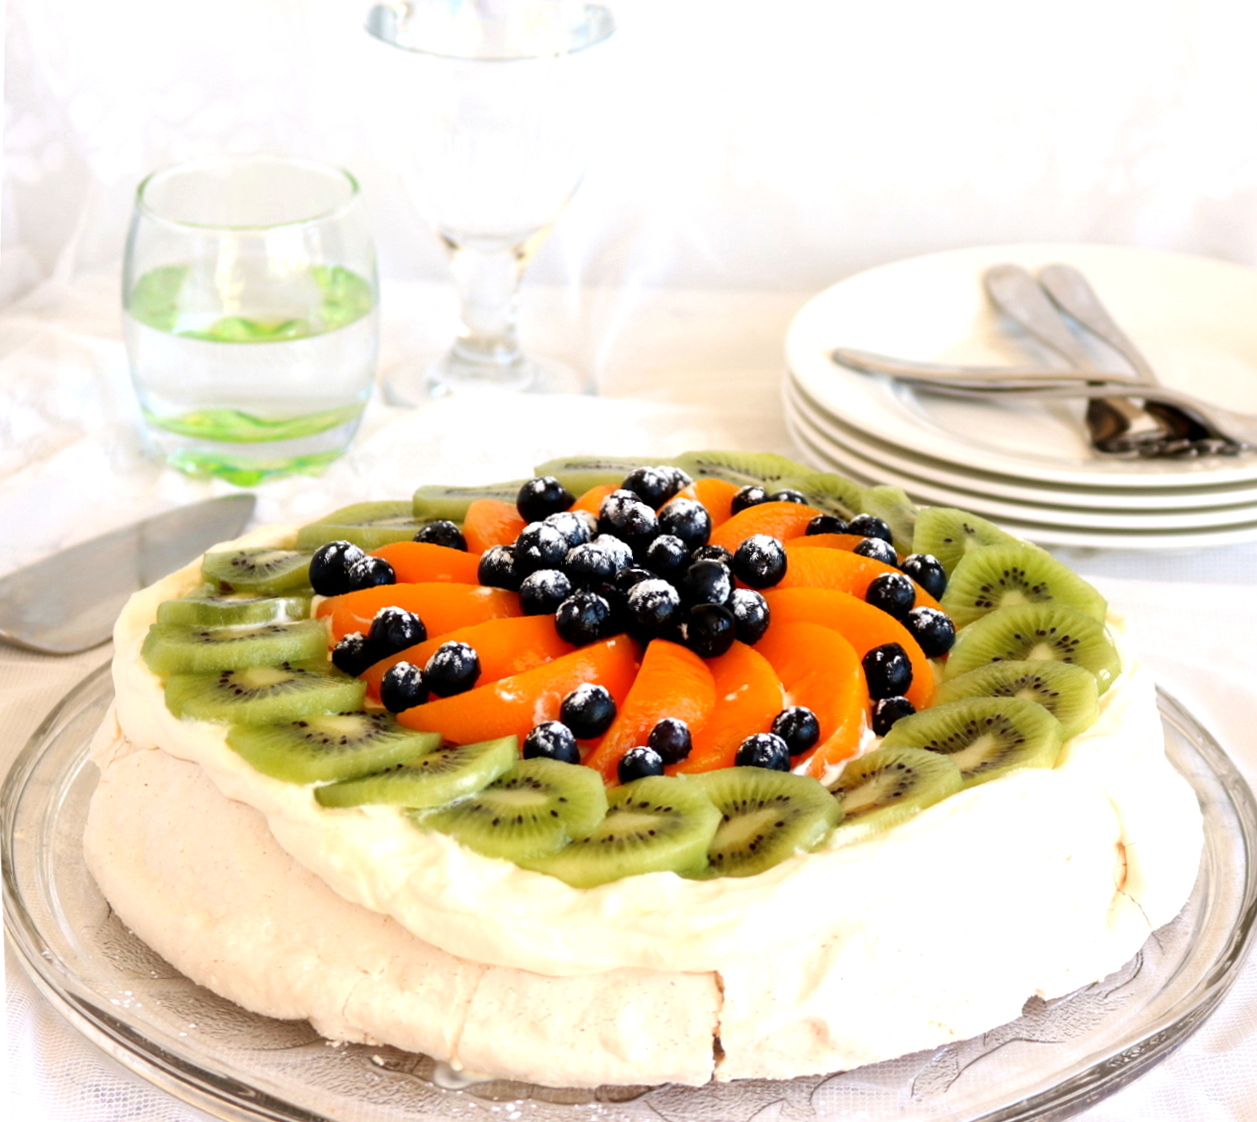
Then decorate it with your chosen fruit any way you please and if you like just before serving dust the fruit with icing sugar.
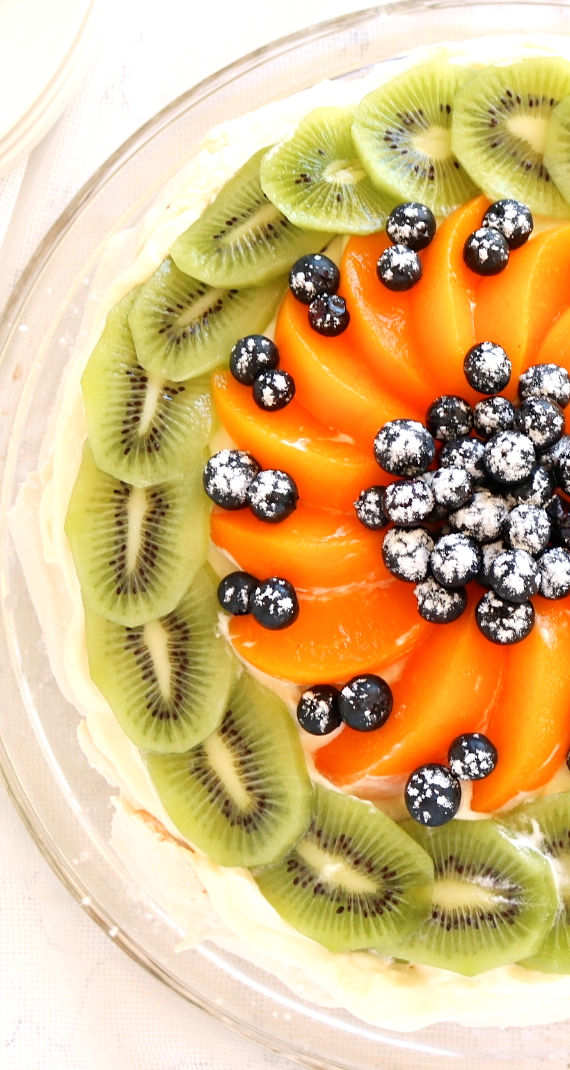
You may like to drizzle passionfruit syrup either over the top of the fruit or over each individual piece just before serving and if you know someone who doesn’t like it because of the pips you may like to sieve it first.
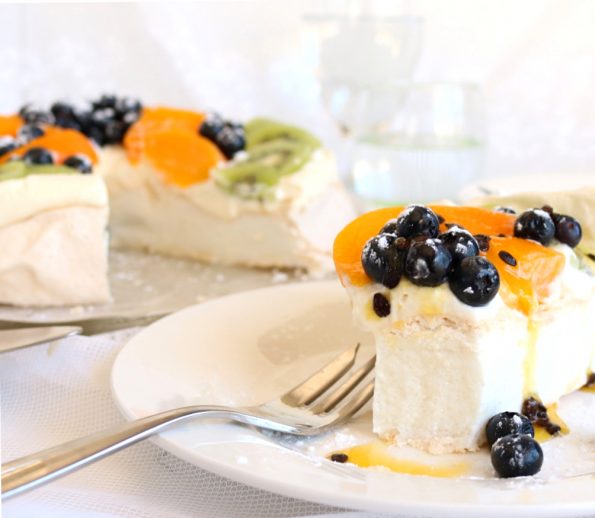
Keepin’ it fresh – Once your pavlova is decorated with cream and/or fruit, it needs to again, be well wrapped in cling wrap and then will keep well in the fridge up to 3 days.
Related Posts…
A meringue dessert popular in Australia & New Zealand that has a crisp crust & a soft, light inside, usually topped with fresh fruit & whipped cream
Ingredients
- 6 medium-sized eggs (I use size 6's)
- 1 ½ cups castor sugar
- 1 ½ teaspoons malt vinegar
- ¾ teaspoon vanilla extract
- 4 ½ teaspoons cornflour
- 300 mls full cream (1 ¼ cups)
- ½ teaspoon vanilla extract
- 2 tablespoons icing sugar
- your favourite fresh or tinned fruit
- icing sugar (confectioners sugar) to dust
- Optional - ¼ cup passionfruit syrup
Instructions
- Cut a piece of non-stick baking paper to line a baking tray and then, using a pencil, pressing down firmly, trace around the base or ring of a 23 cm / 9 in, cake tin.
- Using your fingers flick some cold water all over the tray and then place the paper back on, pencil side down (you should be able to see the outline of the circle through the paper). Set aside.
- Turn the oven on early, to 120°C fan bake oven or 140°C conventional oven, on bake, with a rack situated just below the centre of the oven.
- Get the vinegar, the vanilla and the cornflour out ready, as well as the measuring spoons and a ¼ measuring cup.
- Separate the eggs and place the whites into a very clean and dry, large ceramic, metal or glass bowl.
- Using electric beaters or a stand mixer, on a medium speed, whip the whites until they are stiff peaked (the ends will stay standing when you lift the beaters out), around 1 ½ minutes.
- Once stiff, add ¼ cup of cold water and continue beating for a further 20 seconds or until you think it's 'just' mixed in.
- Still on the same speed, start to add the sugar, ¼ cup at a time, beating for 1 minute between additions (a total of 6 minutes). Once done, it should be stiff peaked, thick and glossy.
- Scrape down the sides of the bowl and add the vinegar, the vanilla, sprinkle over the cornflour and continue beating for a further 30 seconds or until you think it's 'just' mixed in.
- Retrieve the baking tray you prepared and again using your fingers flick some cold water all over it or if you prefer you can give it a light spray with non-stick cooking spray.
- Use a spatula or a large spoon to very carefully and gently (remember you don't want to knock any air out of it) spoon the meringue onto the baking sheet inside the circle (just blob it in there, no need to make it pretty just yet).
- You can actually just leave it as is if you like or you can use a metal spatula and gently run it around the sides, so they are slightly sloping in at the top and then gently smooth/swirl the top over (it's best to keep it around 5 to 7 ½ cm / 2 or 3 in high).
- Place it in the oven and bake it for 1 ¼ hours and then turn the oven off and leave it in there until the oven is thoroughly cold (I leave the door shut). *No opening the door during the baking or cooling period.
- Once thoroughly cooled in the oven if you are finishing it later on it can just stay on the tray, wrapped in cling wrap and be stored in a cool, dry place until it's ready to be decorated.
- Use a skinny, sharp knife or metal spatula to carefully run around inbetween the paper and the pavlova to loosen it and then use two big spatulas to carefully lift the pav to a large, flat, serving plate.
- Place the cream, the vanilla and the icing sugar in a bowl and using the electric beaters again whip it all together until stiff peaks form (mine took 3 ½ minutes).
- Spoon the cream gently (careful, the weight of the cream can cause the pav to sink) on top before spreading it. *If you like you can use a little cream to fill in any cracks around the sides of the pavlova.
- Then decorate it with your chosen fruit any way you please and if you like just before serving dust the fruit with icing sugar. *You may like to drizzle passionfruit syrup either over the top of the fruit or over each individual piece just before serving.
- Once your pavlova is decorated with cream and/or fruit, it needs to again, be well wrapped in cling wrap and then will keep well in the fridge up to 3 days.


Have just put mine in the oven – fingers crossed! My first ever pav – my mum is a master baker but has never achieved a perfect pav, so I’ve always been scared to make one!
Good Luck Bronwyn!
What a lovely easy dessert. Just had it for pudding and the consensus was ‘delicious’. Great recipe as I’ve made plenty of pav’s but never with water in it. Thank you for showing us your Aunts recipe. To be repeated – regularly in our home 😁
So pleased it turned out Great Karla. My Aunt was visiting when you wrote this so I happily read it to her! It is Xmas eve and I am about to make this in a wreath shape. I am just trying to figure out the baking time. Wishing you and your family a wonderful Christmas 🎄🎁🎄
Hi Tania,
I would like to be sure that the recipe calls for corn flour or is it corn starch, since corn flour is little grainy . I would like to make your recipe.
Many thanks
Hi Anna 😀🦋 Yes you can use cornstarch but not cornmeal. I hope it turns out great!
Thanks for sharing such a lovely and delicious recipe.
Thank you for visiting Dannie! 🙂
this looks and sounds amazing! I need to give it a try!
Thanks Jenny! Pavlova is just fab, you should…let me know if you do! 🙂
Your Pavlova looks just perfect. I think this is one of the best desserts, topped with berries and fruits that are in season! Have a happy Easter! 🙂
Hi Alina 🙂 I agree, it’s a wonderful dessert and I hope you also have a lovely Easter!